
THE SPICE IS RIGHT!
SHOP NOW!
53
Days1
Hours46
Minutes57
Seconds Until Labour Day


I gotta say, I feel pretty proud. LET’S BUILD A STORAGE SHED showcases my first-hand, real-life experience building a 10 x 20-foot storage shed. Wait, it gets better! This storage shed is the first thing I’ve ever built in my life. Building something like this from scratch is a fun and very rewarding experience.
Although I’m not a professional builder, I will say that I’m pleased with the end results. My shed is sturdy, dry, and looks pretty darn wonderful too. As a first-time shed builder I wasn’t sure what to expect; I learned a whole set of skills and gained a new level of respect for everyone who has completed a DIY project.
I also learned the importance of hands-on experience, whether I was being guided by a skilled professional or assisted by one of the many trusted friends who visited to help. All of this sure will come in handy when I start my next do-it-myself project. Yup, you read that right! Stay tuned for additional design, decor and how-to stories – we’re just getting started, yay!
LET’S BUILD A STORAGE SHED is being presented in five parts. Each link below leads to a different stage in our shed-building process, and they’ll go live when the story and videos are added and updated. Make sure to follow us on Instagram for updates, BOOKMARK this page and click each LINK to learn more about the specific process and to watch the dedicated VIDEOS.
I spent quite a bit of time figuring out exactly what I needed to build. The existing shed on the property, about 20 years old, is divided into two rooms. One is used to store lawn and garden tools while the second (originally a spare bedroom, weird, I know) is packed to the gills with boxes, furnishings and whatnot. Made sense; I needed a bigger storage space for my tools, garden equipment, canoe, kayak and storage boxes.
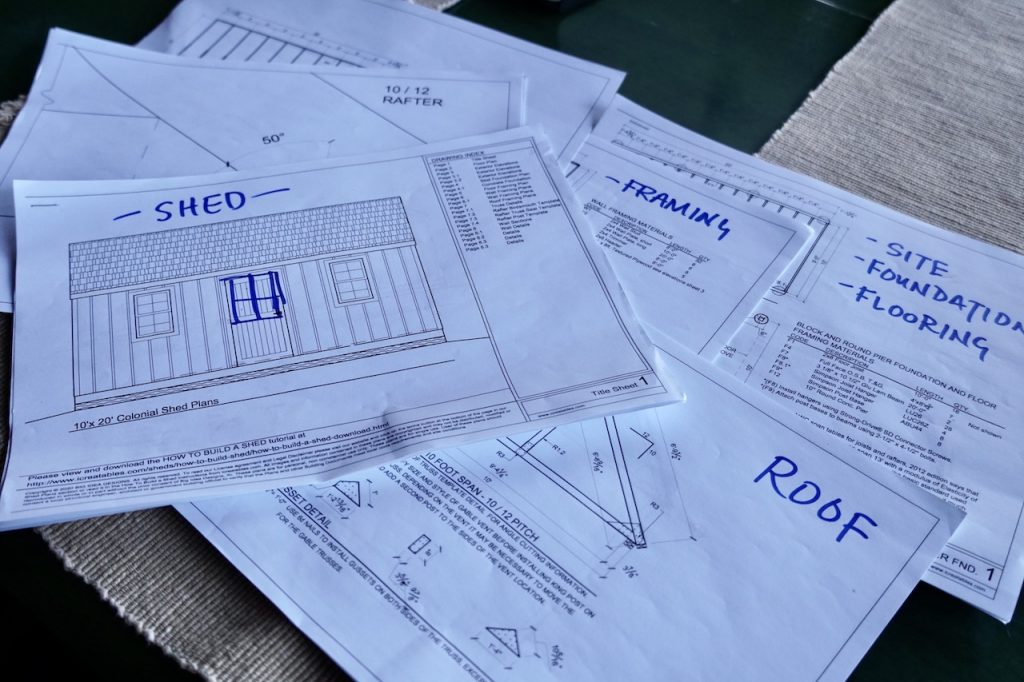
With this in mind, I started searching online for shed plans. I determined it needed to be at least 10 x 20-feet to accommodate storing a 14-foot canoe and all the outdoor furnishings. I also determined I wanted to build a shed with a higher pitched roof so I could also utilize the space in the rafters for additional storage.
With this rough idea of what I needed in mind, I began looking for professionally made plans online. Thankfully, there are tons of options based on size, style, finishes and function. After reading reviews, I found a plan that looked perfect on a site called icreatibles.com. I also appreciated being able to see photos of projects posted by other do-it-yourselfers. I figured if they could do it, so could I!
I strongly suggest you take time to determine your requirements, then source a trusted provider of plans. The one I used also came with a material list of everything I’d need to build my shed. This was especially helpful when I went to a few local building supply stores. They were able to quote on the materials for the entire project and I was able to budget accordingly.
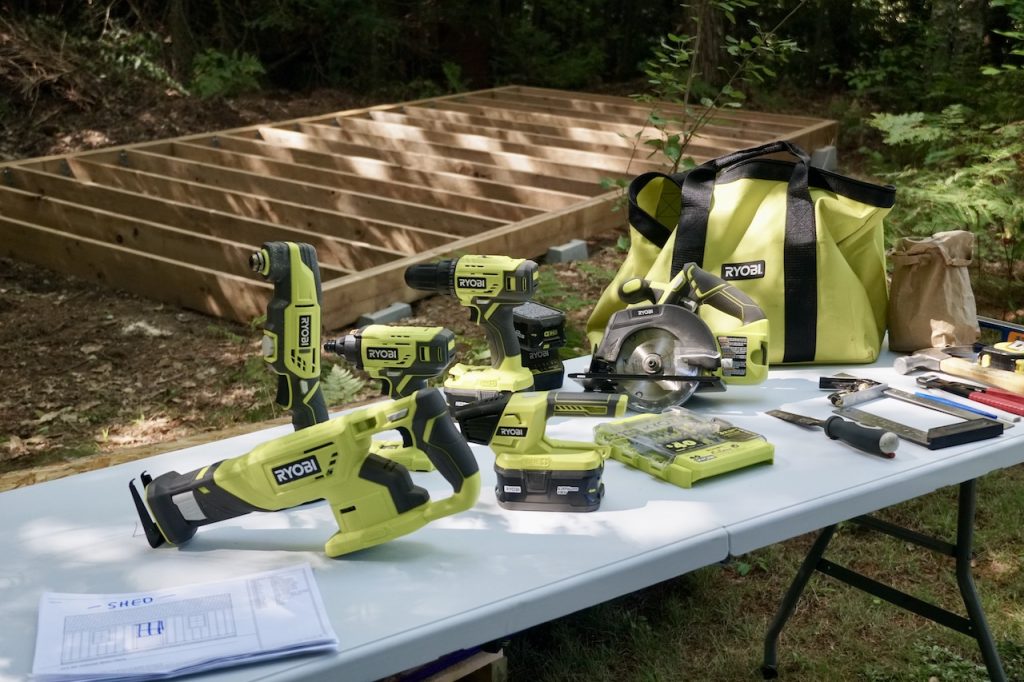
Having the right tools to work on your project is important, and I really thought I was ready, with my hammer, a couple of screwdrivers, a thingamajig and that doohickey I just love using. Boy was I pleasantly surprised after speaking to a few local builders for advice. One suggested I pick up RYOBI’S 6-PIECE TOOL COMBO KIT and I couldn’t be happier with it.
First of all, the tools are all cordless so the only “don’t forget” moment happens when I charge the batteries at the end of each work day. You’ll see me and my friends using these tools in each of VIDEOS attached to this five-part series. I also use a few more RYOBI tools in the series, but the main ones in this set include:
IMPORTANT! Just a reminder, and we really can’t stress this enough; it’s always safety first. Be careful using all tools and follow the manufacturers guidelines for the safe use and operation of all power tools. We also recommend wearing safety glasses at all times.
Within the first five minutes of setting my plan into motion, I learned a most valuable lesson; always seek advice from professionals and others who have experience. The professionals at my local building supply offered invaluable advice on process and the proper way to proceed through the construction process. I found it funny that each one said the same thing; just go slow, take your time and if you’re unsure, stop and give us a call. This gave me great confidence knowing a bunch of pros had my back.
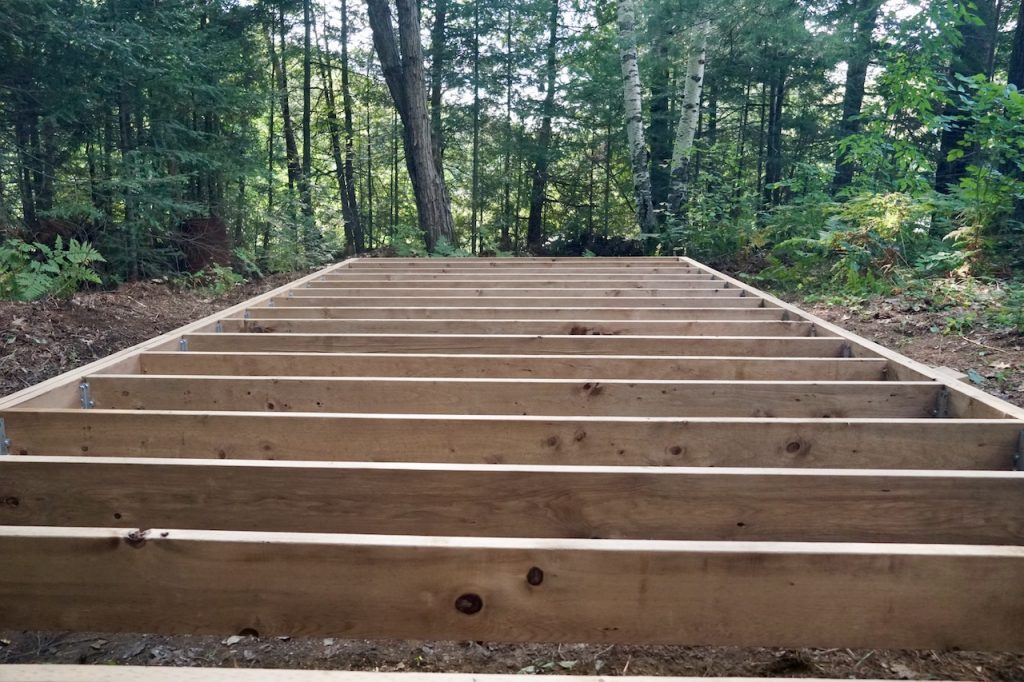
The other thing that really, really helped was the assistance of a bunch of friends. They all helped tremendously with the physically challenging stages of the build; lifting framed walls, roof sheathing, plywood wall coverings, floor joists, etc. Yet, more importantly, they offered advice and guidance. We didn’t always see eye to eye on things, nor did we agree on every decision, but we got the job done and learned a ton in the process. Truth be told, they’re the lucky ones because they all know I’ve promised to help them whenever they need it.
There’s the big picture on this exciting do-it-yourself project. Please make sure to SUBSCRIBE to both Weekend at the Cottage and our YouTube channel, and also follow us on Facebook, Instagram and Pinterest.

Three different sizes of pine cones gathered together and fastened to a wire create a stunning seasonal decor enhancement…
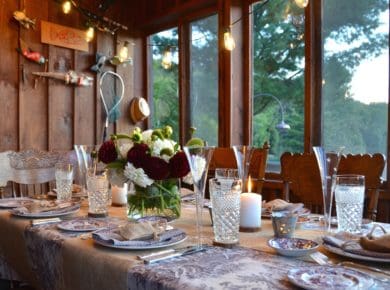
Essential furnishings partnered with inspired accessories and decor enhancements create a cozy and welcoming three-season room in cottage country…
A relaxed vibe a we set our fall tablescape for a cozy weekend at the cottage…