3090 g peaches (about 36 medium-sized peaches), skinned and roughly chopped, stones discarded
2060 g granulated sugar
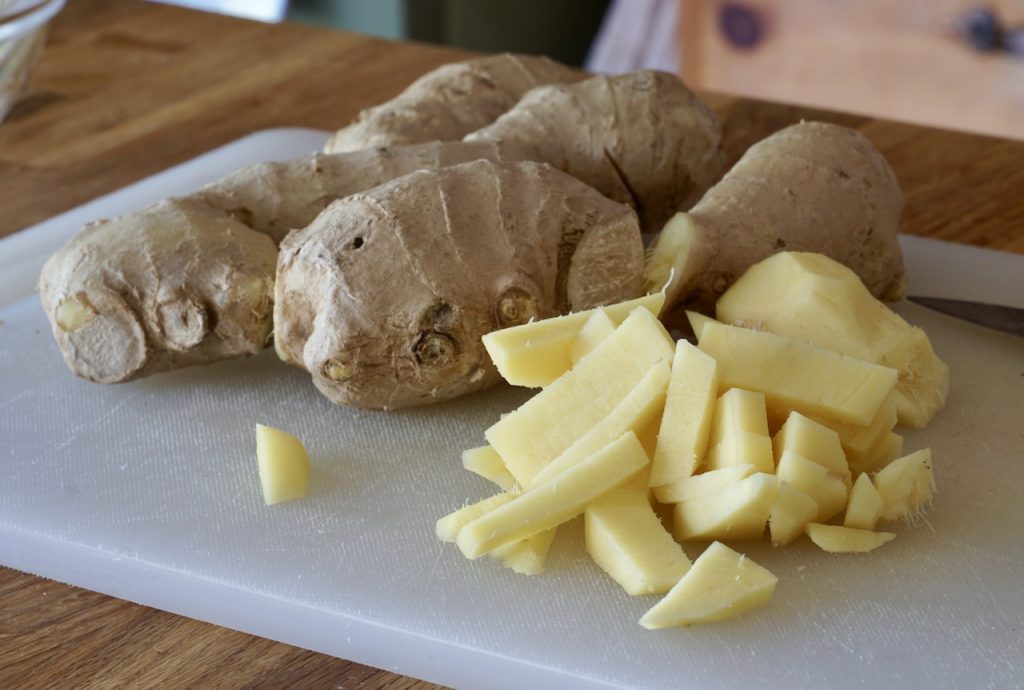
125 g fresh ginger (about ½ cup), peeled and finely chopped
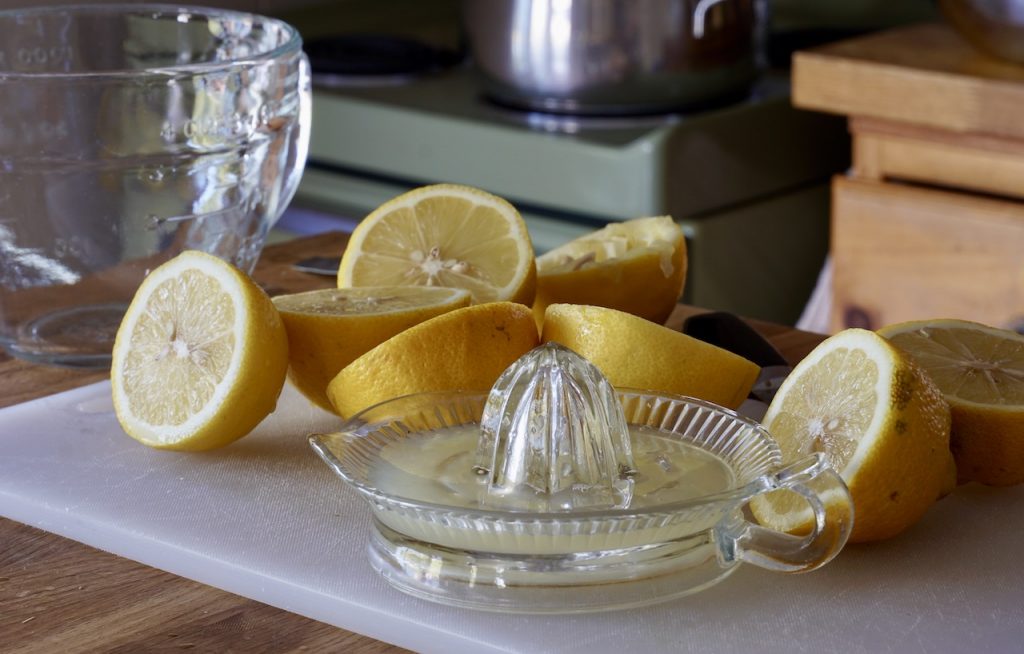
260 g lemon juice (about 1 cup)
20 g butter (about 2 tablespoons), optional, see below
Flavour booster:
skins of the peaches
1 cup water
Takes ,
serves 12.
Instructions
Prepare peaches: Wash peaches then use a paring knife to score the bottom of each with an “x”.
Bring a soup pot filled with water to a boil then reduce to simmer. Drop 6 or 8 peaches into the water at a time, moving them about for approximately 45 seconds. Immediately transfer peaches to a large bowl filled with ice water to cool. Transfer to a bowl.
Peel skins and reserve them in a small saucepan. Open peaches, discard the stone, then roughly chop the flesh. Place all of the chopped peaches into a bowl and measure by weight.
Prepare the flavour booster: Add water to peach skins. Bring to a boil, then reduce to simmer and cook for 5 minutes. Strain and reserve liquid.
Prepare the jam: Measure ingredients by weight, then place chopped peaches, sugar, ginger, lemon juice and flavour booster into a wide heavy-bottomed pot. Stir to combine.
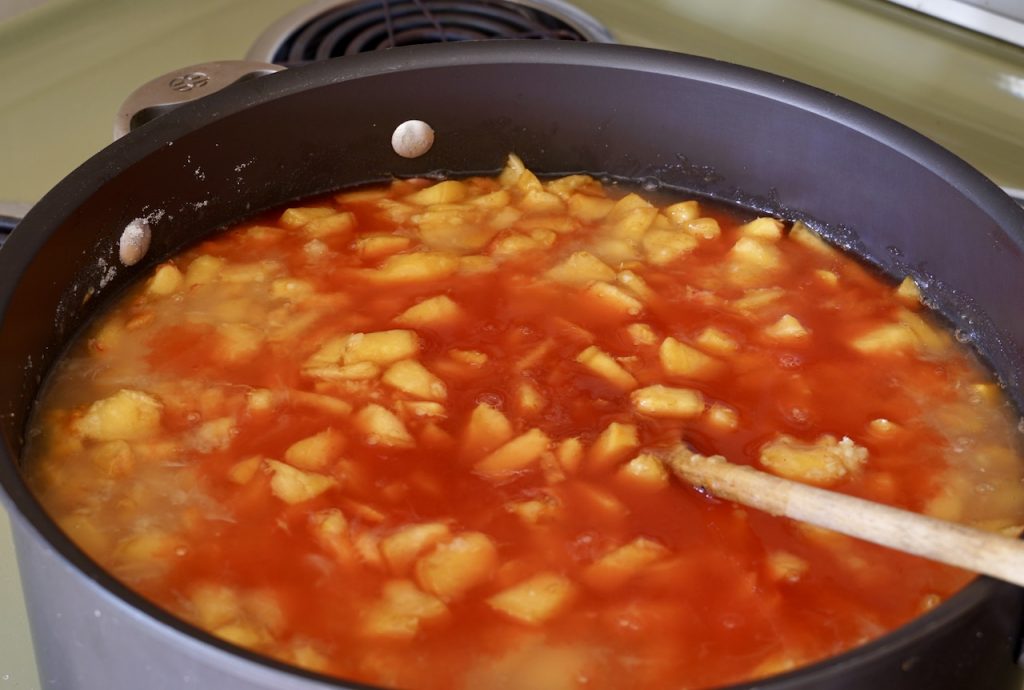
Place over medium heat, stirring often, until the sugar dissolves.
Increase temperature to just shy of high. Bring mixture to a boil, stirring frequently. As mixture begins to bubble, skim and discard foam. Add butter if desired to also calm the foam from rising. Continue stirring mixture frequently as jam cooks. DO NOT LEAVE JAM COOKING UNATTENDED, stir frequently!
When the jam reaches 220°F, remove from heat. Using a masher, mash any larger pieces of peach pulp that remain. Stir and let jam sit for 20 minutes.
For home canning:
Run jars through a hot cycle in dishwasher without soap, or submerge jars, funnel and ladle in a large pot of boiling water for at least 10 minutes.
Separate jar lids and rings into two medium-sized bowls and cover with boiling water. Let sit for 10 minutes. Dip tongs in boiling water for a few moments before using them to carefully remove jars from boiling water or dishwasher.
Place jars onto a clean work surface. Place sterilized funnel on top of the first jar and scoop cooked jam in using the sterilized ladle. Leave ¼-inch of space (headroom) at the top. Use a damp paper or cloth towel to wipe any jam from the rim of the jar.
Place sterilized lid on top using magnet wand or tongs. Place ring on top and turn just until finger tight. Repeat process until all jars are filled.
Transfer filled jars to boiling water and process for 10 minutes.
Carefully remove jars from pot, place onto work surface and let cool for 24 hours. Check lids to ensure raised centre has depressed, indicating a secure seal.
Wipe jars clean and store in a cool, dark and dry place, or gift to someone special.
Peach-Ginger Jam
Ingredients
3090 g peaches (about 36 medium-sized peaches), skinned and roughly chopped, stones discarded
2060 g granulated sugar
125 g fresh ginger (about ½ cup), peeled and finely chopped
260 g lemon juice (about 1 cup)
20 g butter (about 2 tablespoons), optional, see below
Flavour booster:
skins of the peaches
1 cup water
Directions
Prepare peaches: Wash peaches then use a paring knife to score the bottom of each with an “x”.
Bring a soup pot filled with water to a boil then reduce to simmer. Drop 6 or 8 peaches into the water at a time, moving them about for approximately 45 seconds. Immediately transfer peaches to a large bowl filled with ice water to cool. Transfer to a bowl.
Peel skins and reserve them in a small saucepan. Open peaches, discard the stone, then roughly chop the flesh. Place all of the chopped peaches into a bowl and measure by weight.
Prepare the flavour booster: Add water to peach skins. Bring to a boil, then reduce to simmer and cook for 5 minutes. Strain and reserve liquid.
Prepare the jam: Measure ingredients by weight, then place chopped peaches, sugar, ginger, lemon juice and flavour booster into a wide heavy-bottomed pot. Stir to combine.
Place over medium heat, stirring often, until the sugar dissolves.
Increase temperature to just shy of high. Bring mixture to a boil, stirring frequently. As mixture begins to bubble, skim and discard foam. Add butter if desired to also calm the foam from rising. Continue stirring mixture frequently as jam cooks. DO NOT LEAVE JAM COOKING UNATTENDED, stir frequently!
When the jam reaches 220°F, remove from heat. Using a masher, mash any larger pieces of peach pulp that remain. Stir and let jam sit for 20 minutes.
For home canning:
Run jars through a hot cycle in dishwasher without soap, or submerge jars, funnel and ladle in a large pot of boiling water for at least 10 minutes.
Separate jar lids and rings into two medium-sized bowls and cover with boiling water. Let sit for 10 minutes. Dip tongs in boiling water for a few moments before using them to carefully remove jars from boiling water or dishwasher.
Place jars onto a clean work surface. Place sterilized funnel on top of the first jar and scoop cooked jam in using the sterilized ladle. Leave ¼-inch of space (headroom) at the top. Use a damp paper or cloth towel to wipe any jam from the rim of the jar.
Place sterilized lid on top using magnet wand or tongs. Place ring on top and turn just until finger tight. Repeat process until all jars are filled.
Transfer filled jars to boiling water and process for 10 minutes.
Carefully remove jars from pot, place onto work surface and let cool for 24 hours. Check lids to ensure raised centre has depressed, indicating a secure seal.
Wipe jars clean and store in a cool, dark and dry place, or gift to someone special.
Peach-Ginger Jam
Loading...
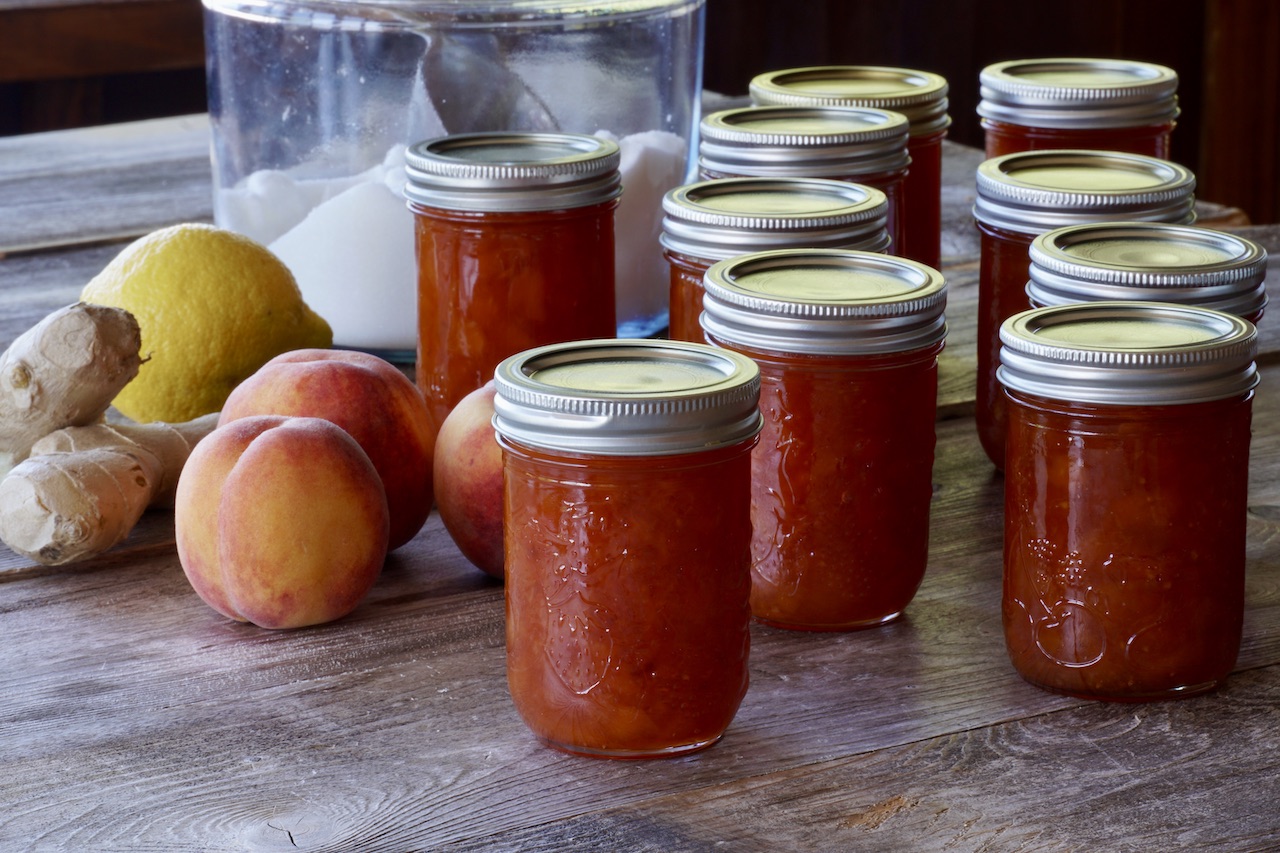
Perfectly ripened Redhaven peaches slowly simmered with fresh ginger, lemon and granulated sugar…
Find out why the first taste of this phenomenal PEACH-GINGER JAM left all of us happily speechless and smiling!
This fabulous PEACH-GINGER JAM is truly a lesson on everything good about making jam. The selection of peaches, the two add-ins that brighten the flavour, a secret flavour booster and a never-fail jam-making process – this recipe has it all!
There are a few big picture things to point out. First, this recipe is easy to accomplish whether you’re seasoned at jam making or an eager beginner. If you’re the latter, it’s a good idea to read our article about HOME CANNING before you begin. It’s filled with helpful tips to ensure this adventure in jam making is a pleasant one.
Second thing is a suggestion to watch the VIDEO attached to this recipe before you begin. We’re hoping it gives confidence to anyone on the fence about giving the recipe a go. That said, safety in numbers comes to mind. Questioning your abilities? Call a friend to make the jam with you. Sure, you’ll have to share the 12 x 250 ml jars this recipe yields, but you’ll be tackling it together. Call that bestie already!
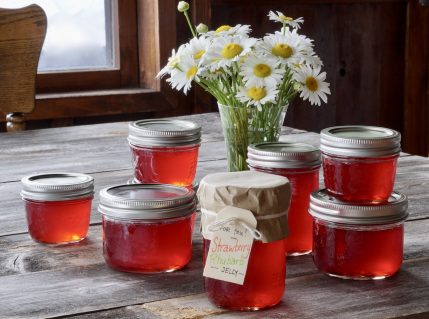
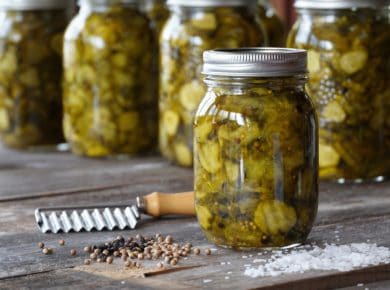
Lastly, this home-canning recipe is presented hot on the heels of a number of very popular posts. If jam is your thing, please also check out this recipe for APRICOT JAM and this one for HOMEMADE GOOSEBERRY JAM. If pickled vegetables are more to your liking, check out our HOMEMADE ANTIPASTO and our famous GARLIC DILL PICKLES.
Here’s the deal on how to make PEACH-GINGER JAM:
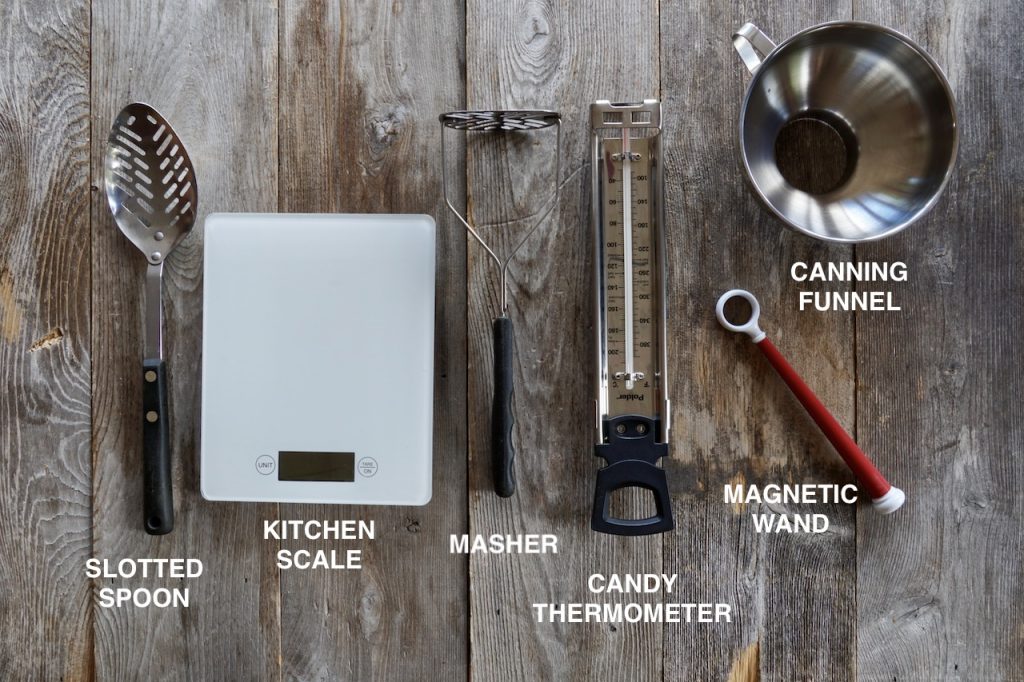
UTENSILS AND TOOLS
Not pictured in the above photo is my wide, heavy-bottomed 8.5 quart pot and my 20 quart stock pot that I use to process the jam filled jars (you can see them in the video). Instead, I’m showing a few kitchen utensils and tools that will make this process run smoothly.
The slotted spoon will help with the blanching of the peaches while the masher will assist in breaking up any of the larger chunks of peach flesh. This recipe has been crafted by weight, so you’ll need a kitchen scale, and since it’s based on temperature, a candy thermometer is essential too.
The last two utensils are inexpensive but really come in handy during the bottling step: a canning funnel and a magnet wand to help get the sterilized lids onto the jars. I’ve listed links to purchase all of these items, plus the two large pots, at the bottom of this post.
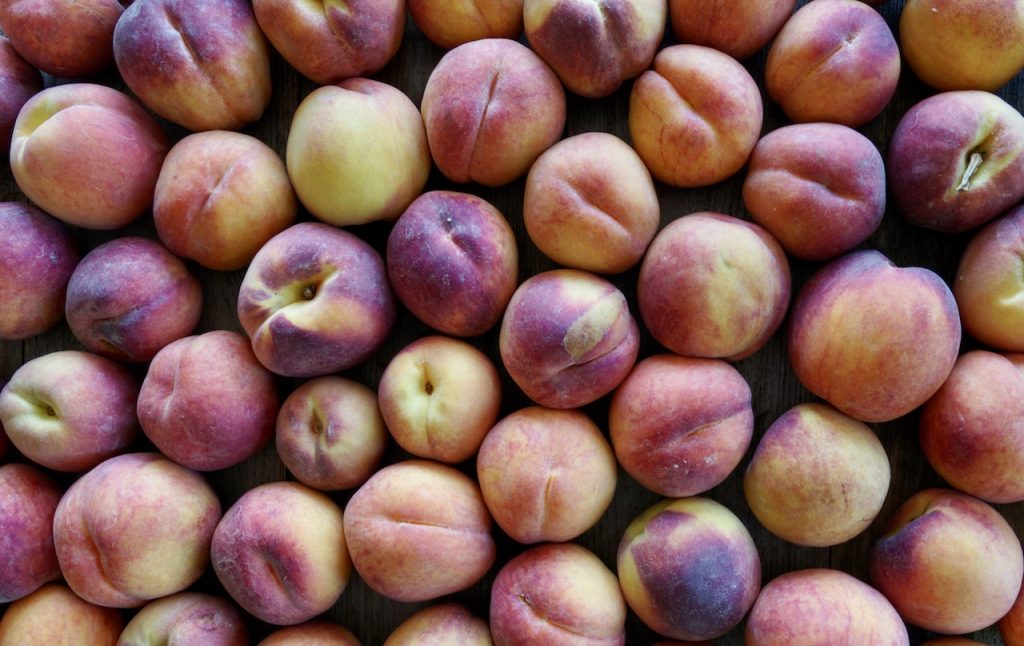
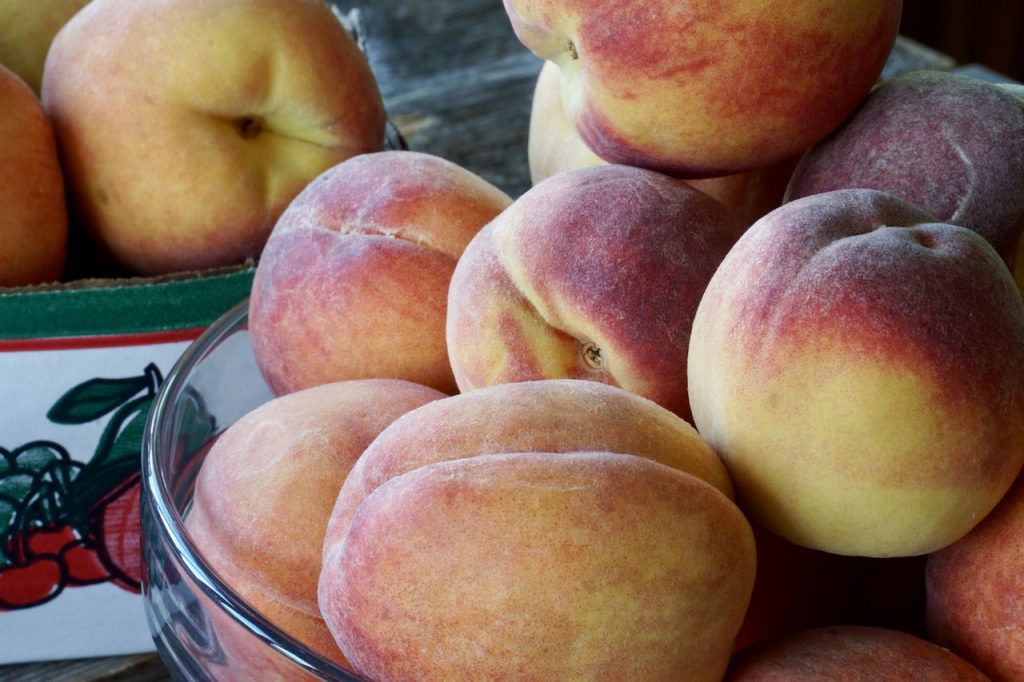
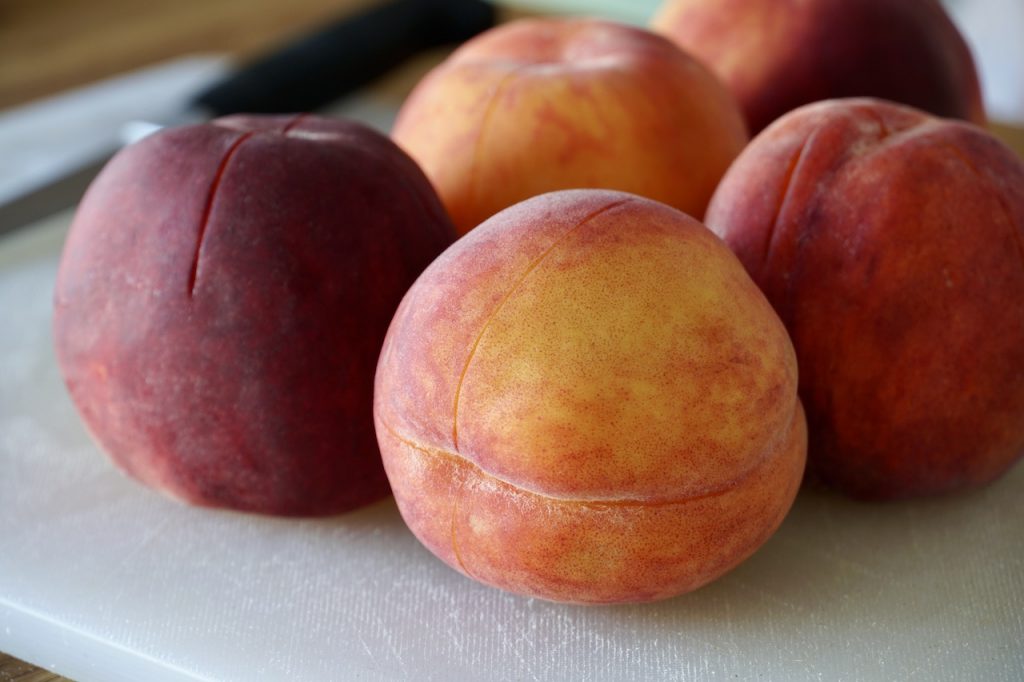
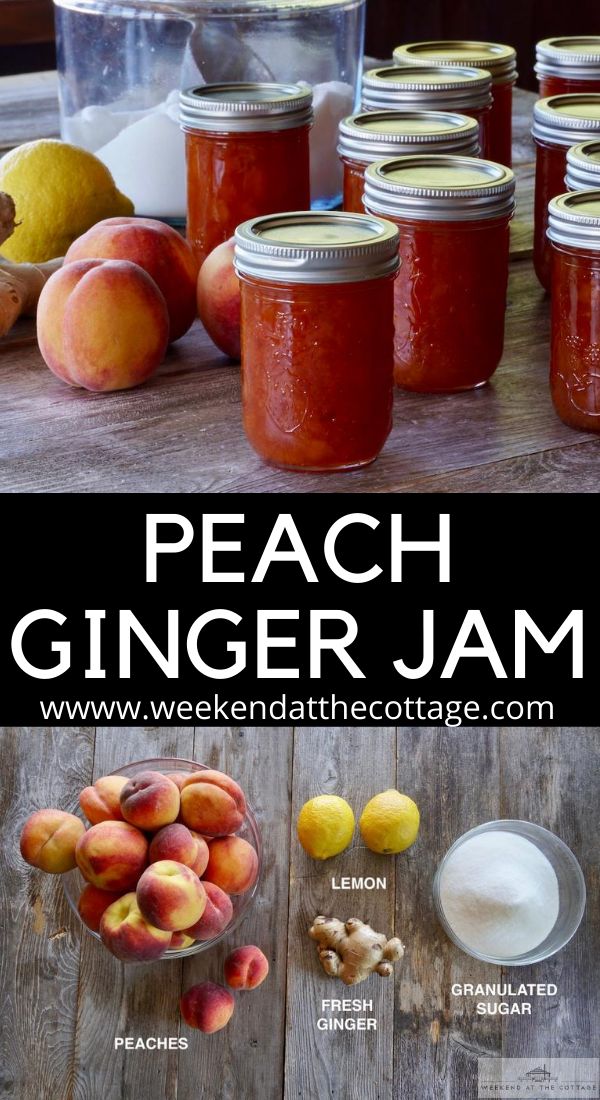
PEACHES
The ripening of fresh fruit and veggies in cottage country usually lags about two weeks behind the warmer, southern locales. Thankfully, a friend in the city called about a month ago mentioning how stellar stone fruit was this year. I instantly knew to call my local farmstead and place my peach order early. One flat of Redhaven peaches please!
I specifically wanted to use Redhaven peaches for this recipe – it’s the variety often referred to as the “blue ribbon of peaches”. This wonderful, all-purpose peach is held in high regard for its sweetness and creamy-textured flesh. For best results, prepare this recipe when the peaches are fully ripened. They should feel slightly soft to the touch and also be very fragrant. I actually collected my peaches from my local farmer and then waited five days for them to fully ripen.
FRESH GINGER
The first meeting of peaches and fresh ginger in a Weekend at the Cottage recipe happened in this CLASSIC PEACH PIE, and we could not have been more satisfied with the results. When used in a jam recipe, ginger imparts the tiniest bit of heat but adds a heady fragrance and warm flavour. This is a really stellar combination in pies and now jams too!
LEMON
Adding citrus to this recipe cuts the sweetness slightly while also brightening the flavours of both the peaches and the ginger. Although you could use lime in the recipe, we found lemon more pleasing.
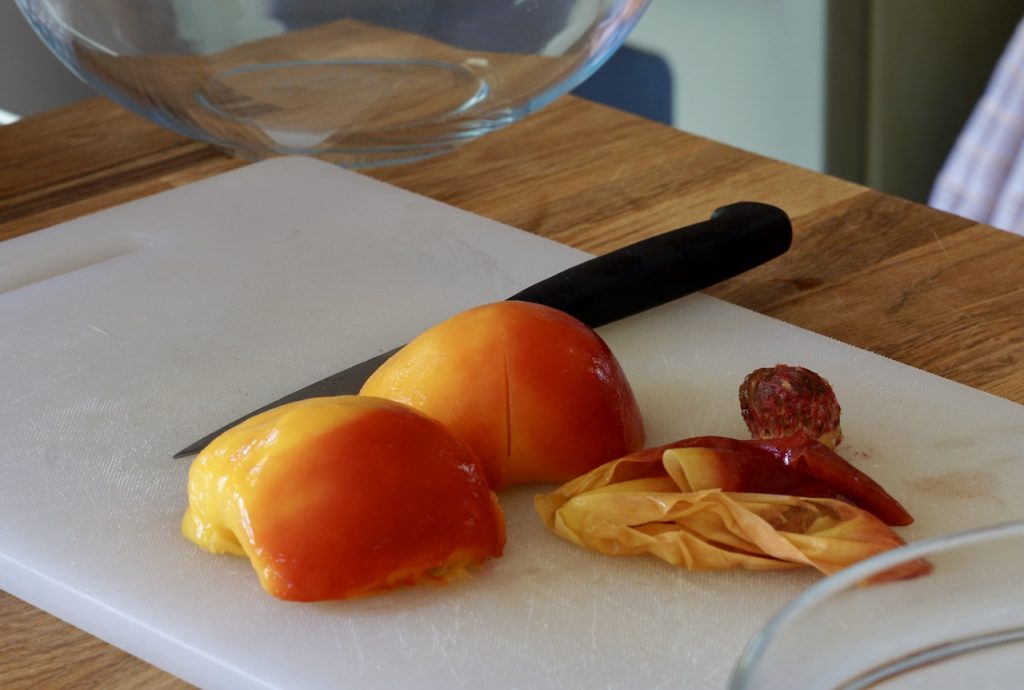
HE SCORES!
One of the fiddly but key steps in this recipe is to score the peaches, blanch them in simmering water, then plunge them into cold water. This process helps make peeling the peaches way easier. It was during this process that I had the following “ah-ha” moment!
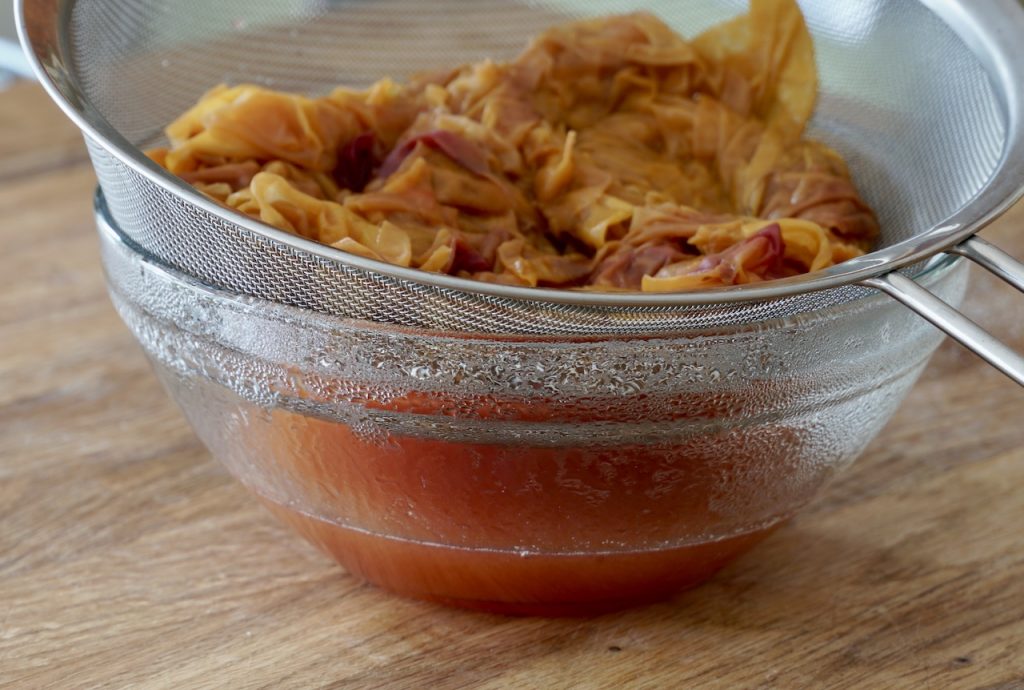
While removing the skins from the peaches, a thought crossed my mind: “Hmmm, seems like a shame, I bet there’s some serious flavour in them there skins?!”
My solution is to take all of the peach skins, bring them to a boil with a cup of water, simmer for 5 minutes, then strain the liquid from the boiled skins.
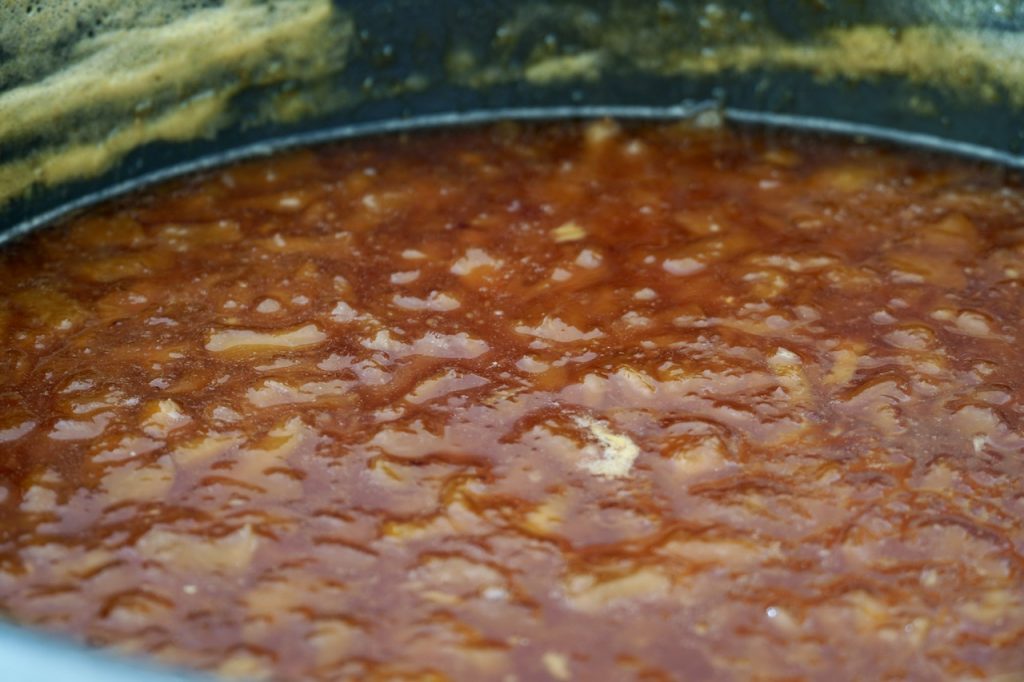
The result is akin to a flavour booster of peach nectar. Adding it to the peaches moments before we begin cooking the jam is this recipe’s moment of greatness. The addition of this liquid helps give the jam way more peachy flavour, along with a distinctive rich, deep amber colour.
WEIGHING IN
There’s a new school of thought amongst jam makers when it comes to the ratio of fruit to sugar; many are moving away from the 1:1 ratio. If that’s still your jam and you feel like sticking with it, you can adjust this recipe to your liking. For the rest of you, try this new approach.
This PEACH-GINGER JAM was made with 200 g sugar : 300 g fruit. Those of you wishing even less sugar can use a 150 g sugar : 300 g fruit mix with great results, albeit a jam that is less sweet. This adjusted sugar-to-fruit ratio does take longer to cook, as we also didn’t use pectin. Our end goal remained centred on maximizing the flavour of the peaches.
As a point of reference, this recipe uses about 36 peaches. Don’t forget to adjust the weight of the ginger, lemon juice and other ingredients if you halve the recipe.
ALL SET
In other recipes, we’ve tested jam using a frozen plate method. This involves dropping a spoon of jam on a frozen plate and then running a finger through it. If the jam wrinkles, it’s done. If you tilt the plate and it runs, it needs to be cooked longer.
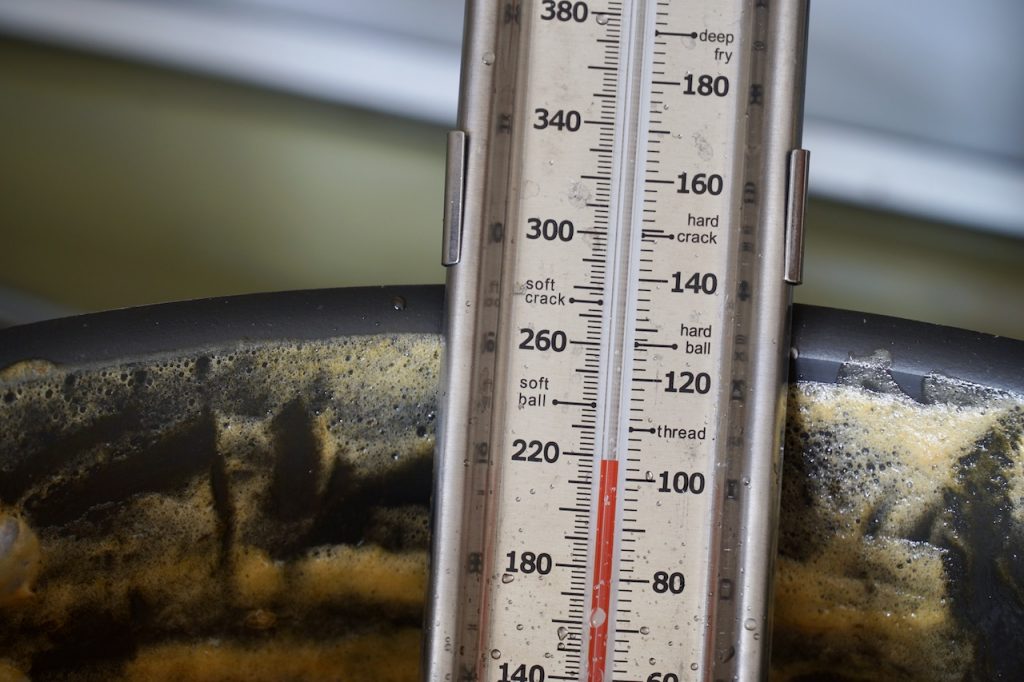
For this recipe we used the temperature method. This involves testing doneness with a candy thermometer. The temperature slowly rises as the jam cooks, and once it reaches 220°F you know the jam is done and will set. We followed this method and it worked perfectly, no guessing involved.
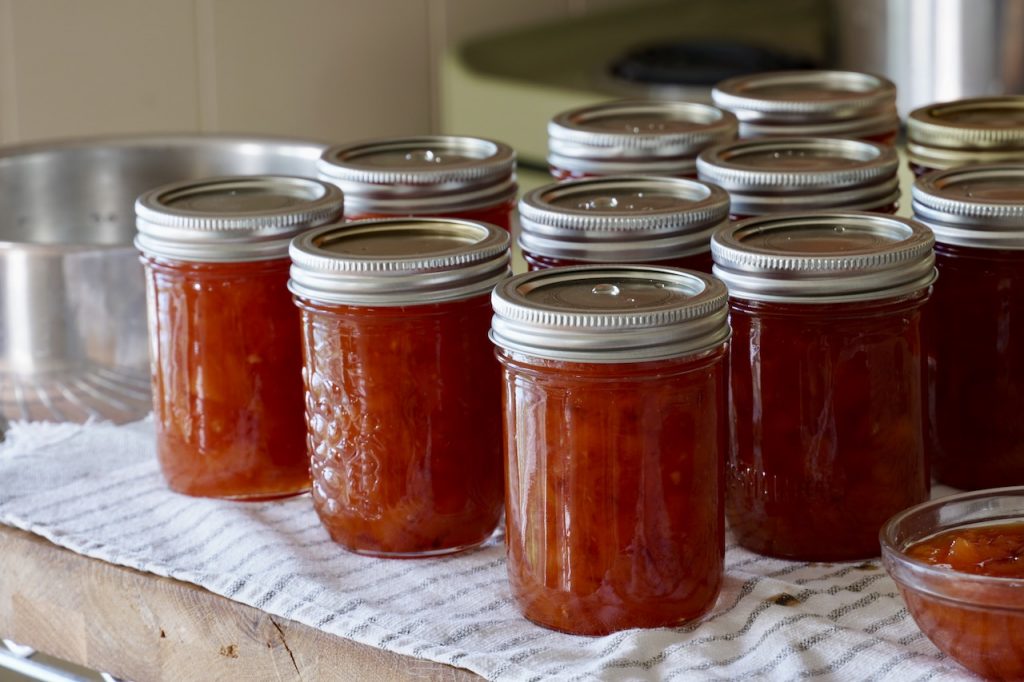
JARRING
The final step in this process has us ladling the jam into jars, adding the lids and rings and processing them fully submerged in a pot of boiling water for 10 minutes. As mentioned from the top, you’ll end up with 12 jars of jam if you use the quantities we’ve listed below.
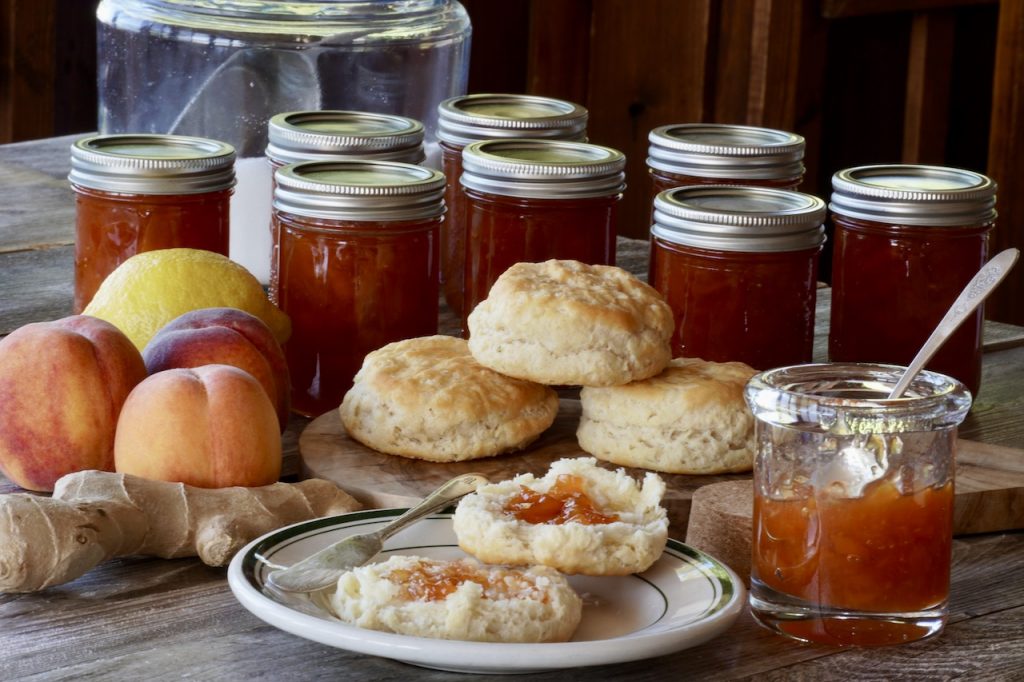
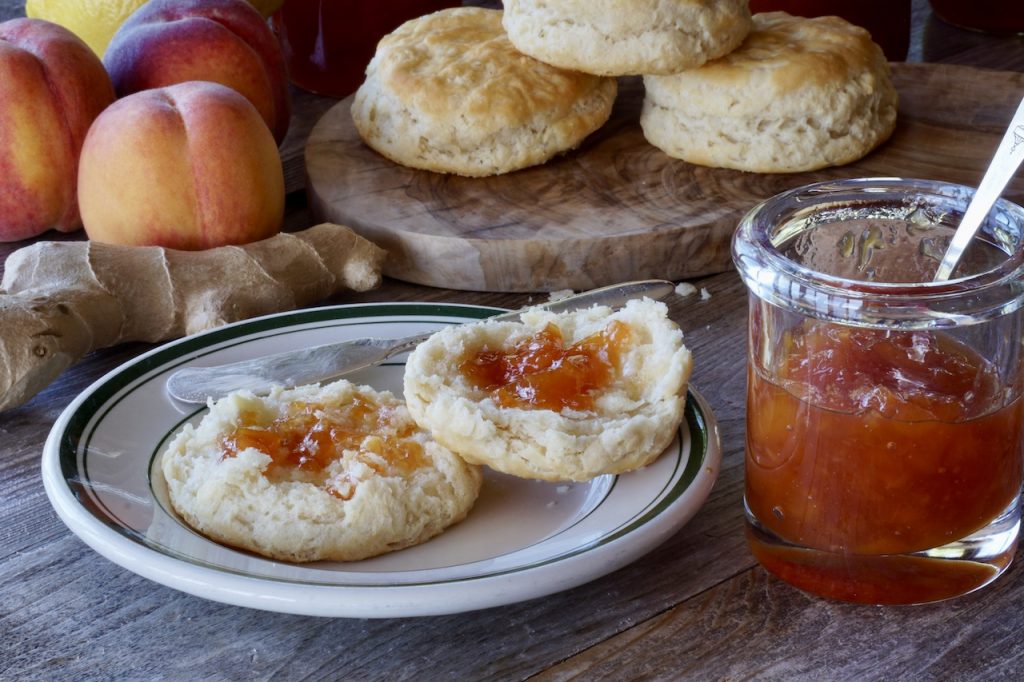
FINAL THOUGHTS
Please follow my lead and try this superior-flavoured and richly coloured jar on a buttered bread of your choice. Just to be sure, I tried it on SOURDOUGH, CHEDDAR CORNMEAL MUFFINS and TEA BISCUITS fresh out of the oven. I’m happy to report, it really is one of the finest peach jams I’ve ever made or even tasted! I know you’ll share these same sentiments.
Cook Mode Use cook mode to keep your screen on while cooking.
Ingredients
3090 g peaches (about 36 medium-sized peaches), skinned and roughly chopped, stones discarded
2060 g granulated sugar
125 g fresh ginger (about ½ cup), peeled and finely chopped
260 g lemon juice (about 1 cup)
20 g butter (about 2 tablespoons), optional, see below
Flavour booster:
skins of the peaches
1 cup water
Directions
Prepare peaches: Wash peaches then use a paring knife to score the bottom of each with an “x”.
Bring a soup pot filled with water to a boil then reduce to simmer. Drop 6 or 8 peaches into the water at a time, moving them about for approximately 45 seconds. Immediately transfer peaches to a large bowl filled with ice water to cool. Transfer to a bowl.
Peel skins and reserve them in a small saucepan. Open peaches, discard the stone, then roughly chop the flesh. Place all of the chopped peaches into a bowl and measure by weight.
Prepare the flavour booster: Add water to peach skins. Bring to a boil, then reduce to simmer and cook for 5 minutes. Strain and reserve liquid.
Prepare the jam: Measure ingredients by weight, then place chopped peaches, sugar, ginger, lemon juice and flavour booster into a wide heavy-bottomed pot. Stir to combine.
Place over medium heat, stirring often, until the sugar dissolves.
Increase temperature to just shy of high. Bring mixture to a boil, stirring frequently. As mixture begins to bubble, skim and discard foam. Add butter if desired to also calm the foam from rising. Continue stirring mixture frequently as jam cooks. DO NOT LEAVE JAM COOKING UNATTENDED, stir frequently!
When the jam reaches 220°F, remove from heat. Using a masher, mash any larger pieces of peach pulp that remain. Stir and let jam sit for 20 minutes.
For home canning:
Run jars through a hot cycle in dishwasher without soap, or submerge jars, funnel and ladle in a large pot of boiling water for at least 10 minutes.
Separate jar lids and rings into two medium-sized bowls and cover with boiling water. Let sit for 10 minutes. Dip tongs in boiling water for a few moments before using them to carefully remove jars from boiling water or dishwasher.
Place jars onto a clean work surface. Place sterilized funnel on top of the first jar and scoop cooked jam in using the sterilized ladle. Leave ¼-inch of space (headroom) at the top. Use a damp paper or cloth towel to wipe any jam from the rim of the jar.
Place sterilized lid on top using magnet wand or tongs. Place ring on top and turn just until finger tight. Repeat process until all jars are filled.
Transfer filled jars to boiling water and process for 10 minutes.
Carefully remove jars from pot, place onto work surface and let cool for 24 hours. Check lids to ensure raised centre has depressed, indicating a secure seal.
Wipe jars clean and store in a cool, dark and dry place, or gift to someone special.

 Until Labour Day