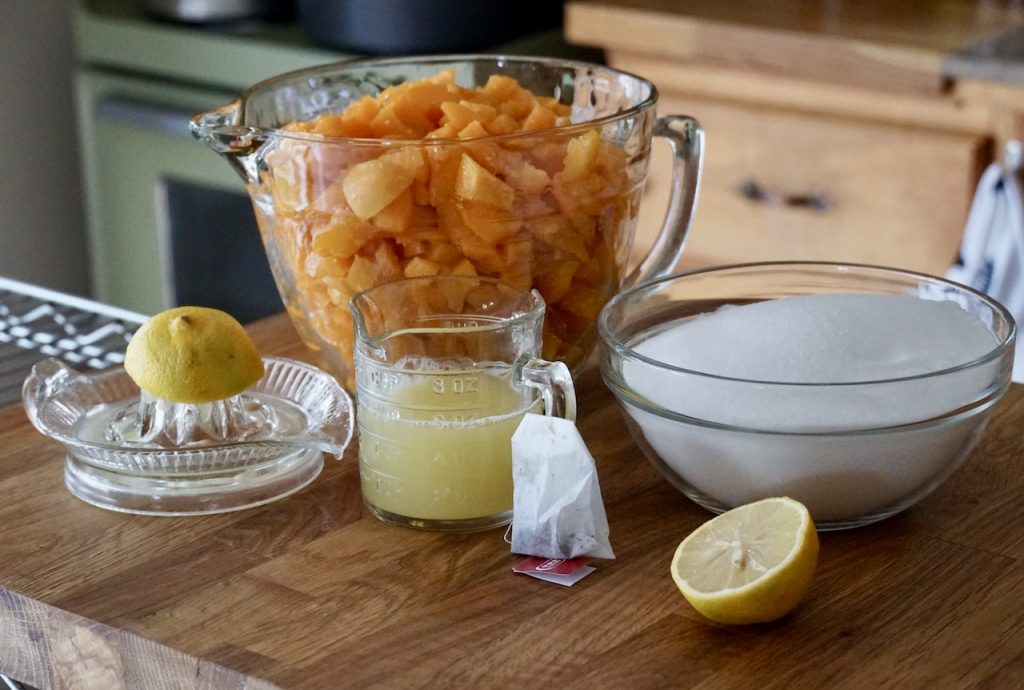
Place all of the ingredients in a large heavy-bottomed pot and stir to combine.
Place over medium heat, stirring often, until the mixture begins to bubble and foam, about 25 minutes.
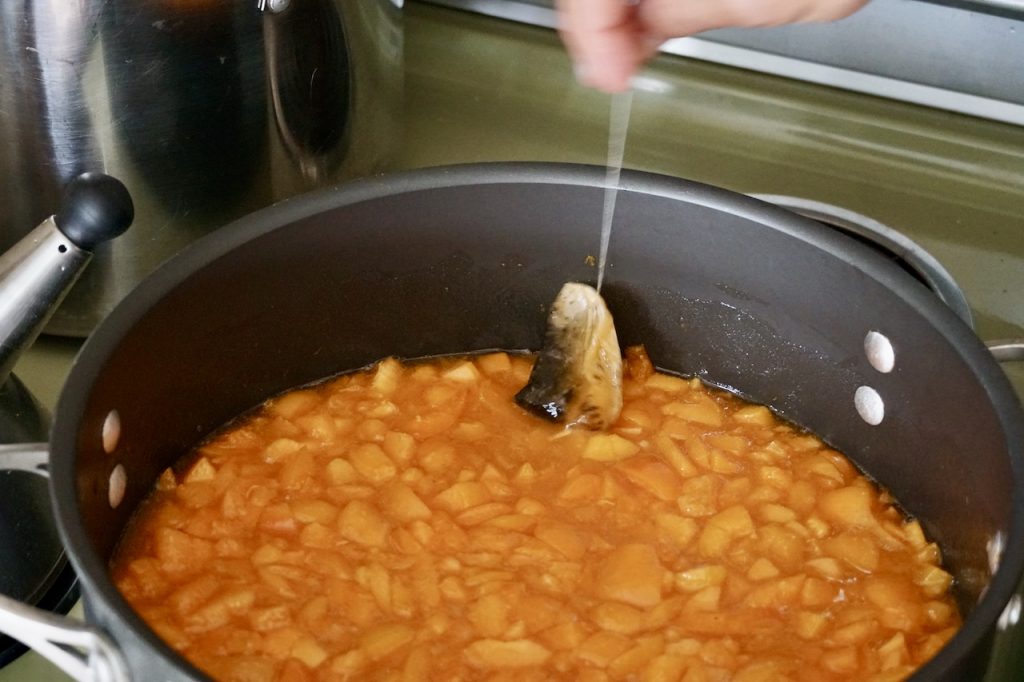
Remove tea bag before processing into sterilized jars.
Carefully pour into 8oz. canning jars and follow canning guidelines to seal properly. Here are mine for reference:
For home canning:
Submerge jars, funnel and ladle in a large pot of boiling water for at least 10 minutes
Place jar lids and rings into a medium-sized bowl and cover with boiling water. Let sit for 10 minutes. Dip tongs in boiling water for a few moments before using them to carefully remove sterilized jars from hot water.
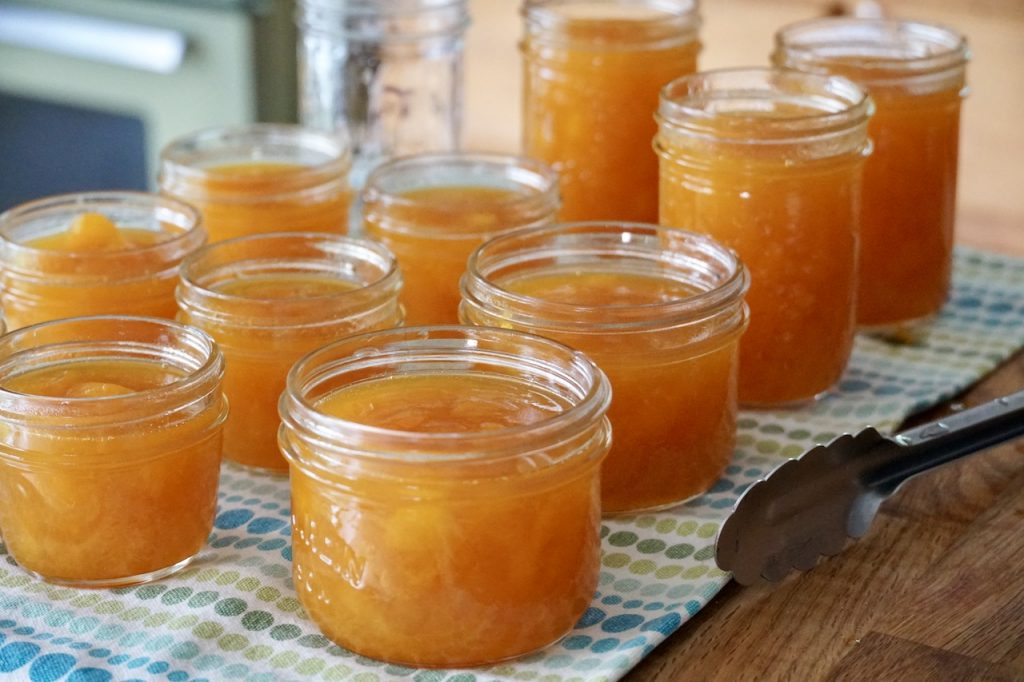
Place jars onto a clean work surface. Place sterilized funnel on top of the first jar and scoop cooked jam in using the sterilized ladle. Leave ¼-inch of space at the top. Wipe with a wet paper towel to remove any jam on the rim of the jar. Tap jars gently on work surface to remove air bubbles.
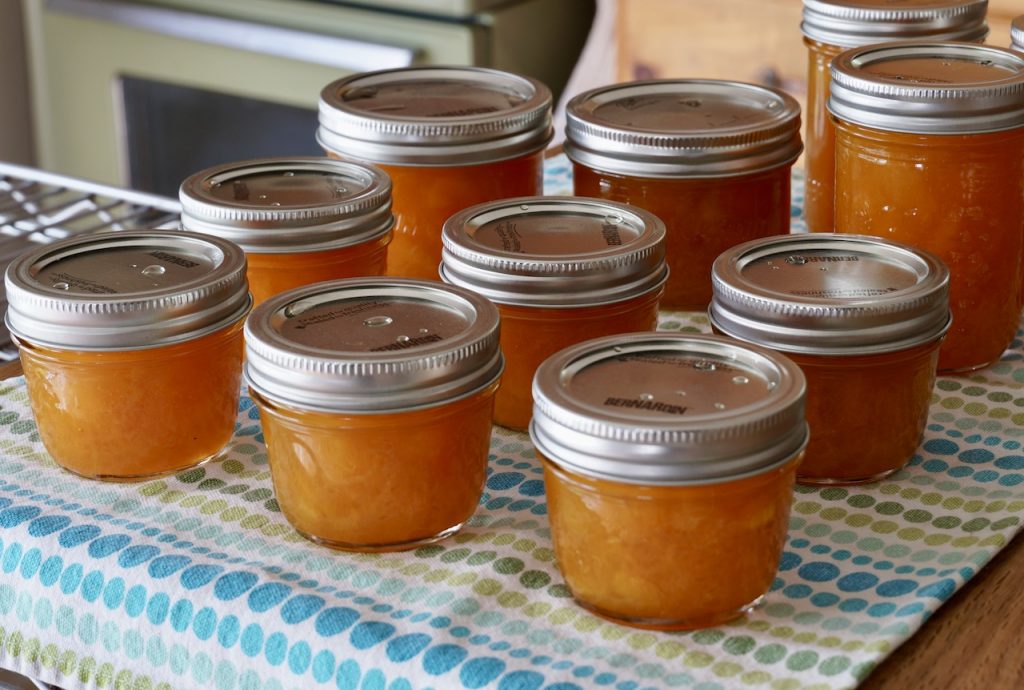
Place sterilized lid on top using magnet wand or tongs. Place ring on top and turn just until finger tight. Repeat process until all jars are filled.
Transfer filled jars to boiling water and process for 10 minutes
Carefully remove jars from pot, place onto work surface and let cool for 24 hours. Check lids to ensure raised centre has depressed, indicating a secure seal.
Wipe jars clean and store in a cool, dark and dry place, or gift to someone special.
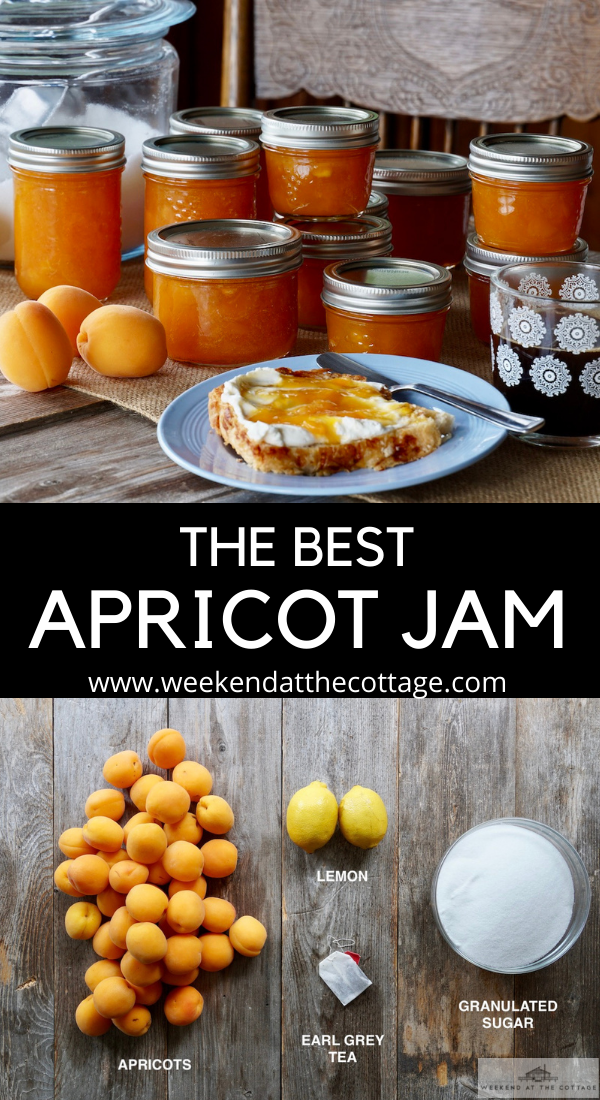
The Best Apricot Jam
Ingredients
8 cups chopped apricots, pitted and diced
4 cups granulated sugar
¼ cup fresh lemon juice
1 Earl Grey tea bag
Directions
Place all of the ingredients in a large heavy-bottomed pot and stir to combine.
Place over medium heat, stirring often, until the mixture begins to bubble and foam, about 25 minutes.
Remove tea bag before processing into sterilized jars.
Carefully pour into 8oz. canning jars and follow canning guidelines to seal properly. Here are mine for reference:
For home canning:
Submerge jars, funnel and ladle in a large pot of boiling water for at least 10 minutes
Place jar lids and rings into a medium-sized bowl and cover with boiling water. Let sit for 10 minutes. Dip tongs in boiling water for a few moments before using them to carefully remove sterilized jars from hot water.
Place jars onto a clean work surface. Place sterilized funnel on top of the first jar and scoop cooked jam in using the sterilized ladle. Leave ¼-inch of space at the top. Wipe with a wet paper towel to remove any jam on the rim of the jar. Tap jars gently on work surface to remove air bubbles.
Place sterilized lid on top using magnet wand or tongs. Place ring on top and turn just until finger tight. Repeat process until all jars are filled.
Transfer filled jars to boiling water and process for 10 minutes
Carefully remove jars from pot, place onto work surface and let cool for 24 hours. Check lids to ensure raised centre has depressed, indicating a secure seal.
Wipe jars clean and store in a cool, dark and dry place, or gift to someone special.
The Best Apricot Jam
Loading...
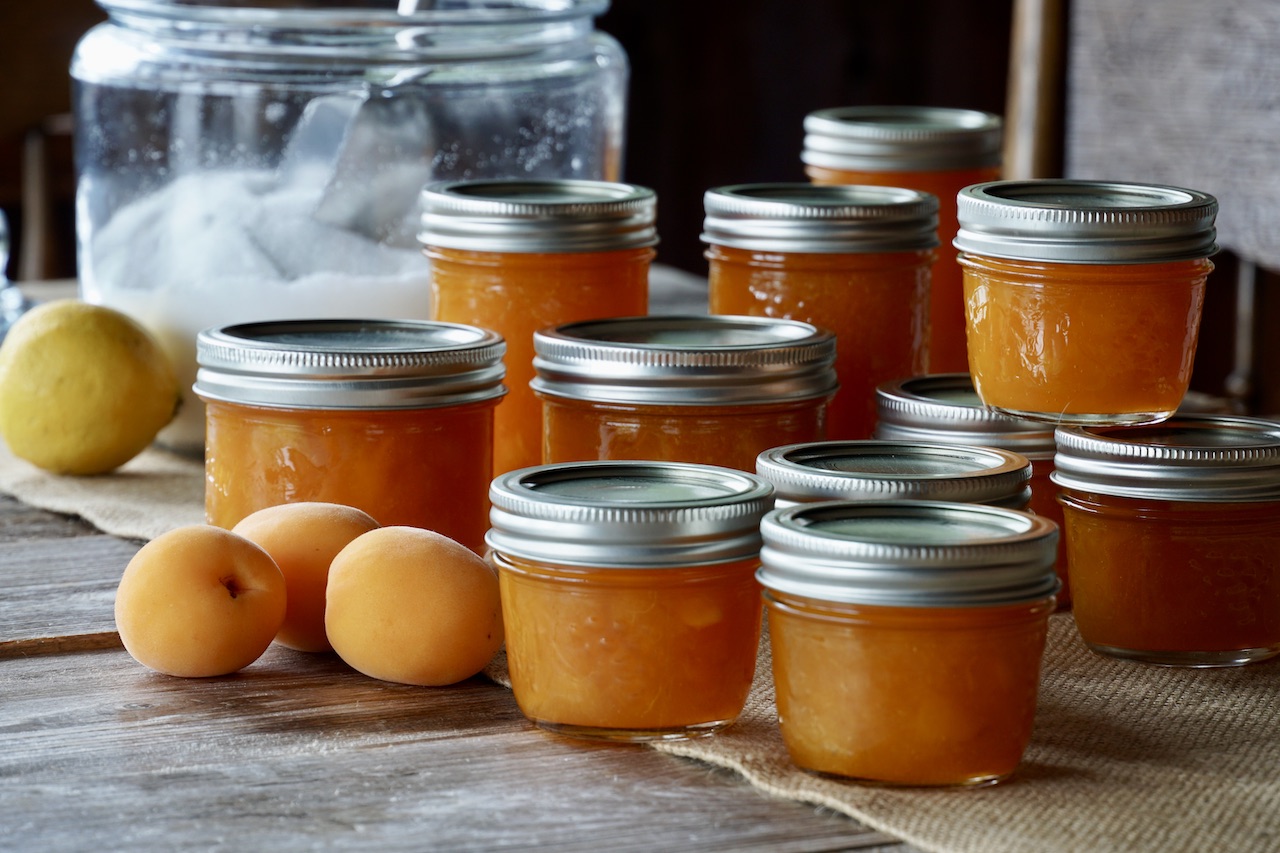
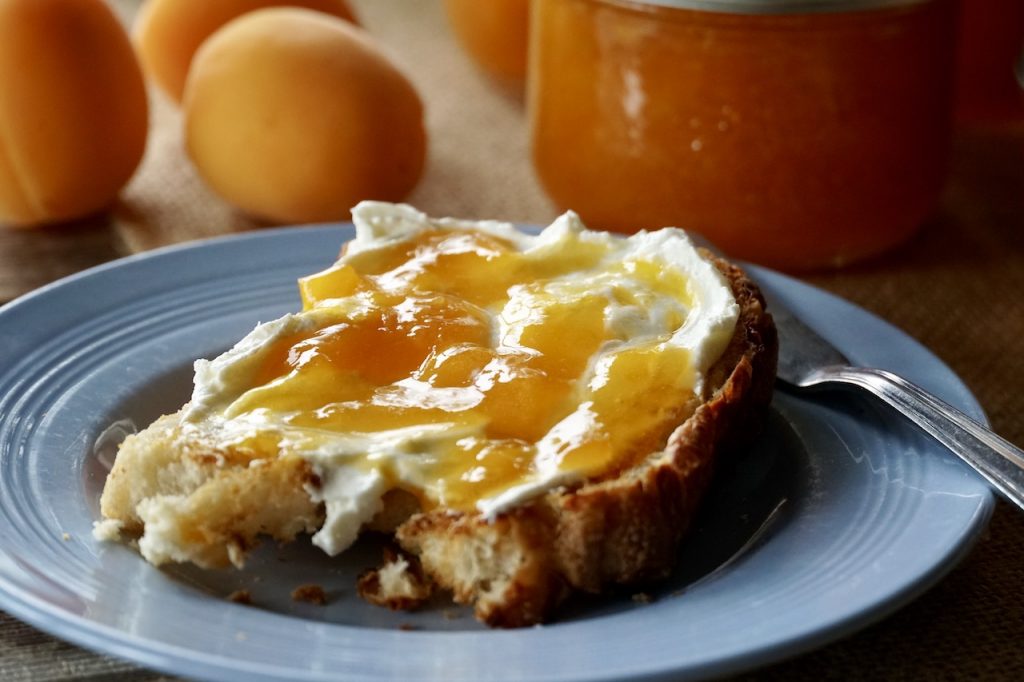
Freshly picked apricots cooked slowly with sugar, lemon juice and a secret flavour enhancement…
When only the finest will do, this is THE BEST APRICOT JAM!
My wonderful friend Nancy is the best! We’ve known each other for years and I love how she lights up a room with her happy disposition; it always warms my heart to see her smile. No surprise then that her recipe for homemade jam helped us create THE BEST APRICOT JAM, ever!
This gorgeous recipe is a joyous concoction of apricots, sugar and lemon that Nancy layers with her secret ingredient: Earl Grey tea. Every time I taste this heavenly jam, I smile from ear to ear – funny since that’s exactly what happens whenever I see Nancy!
Here’s what I thought about while preparing Nancy’s recipe:
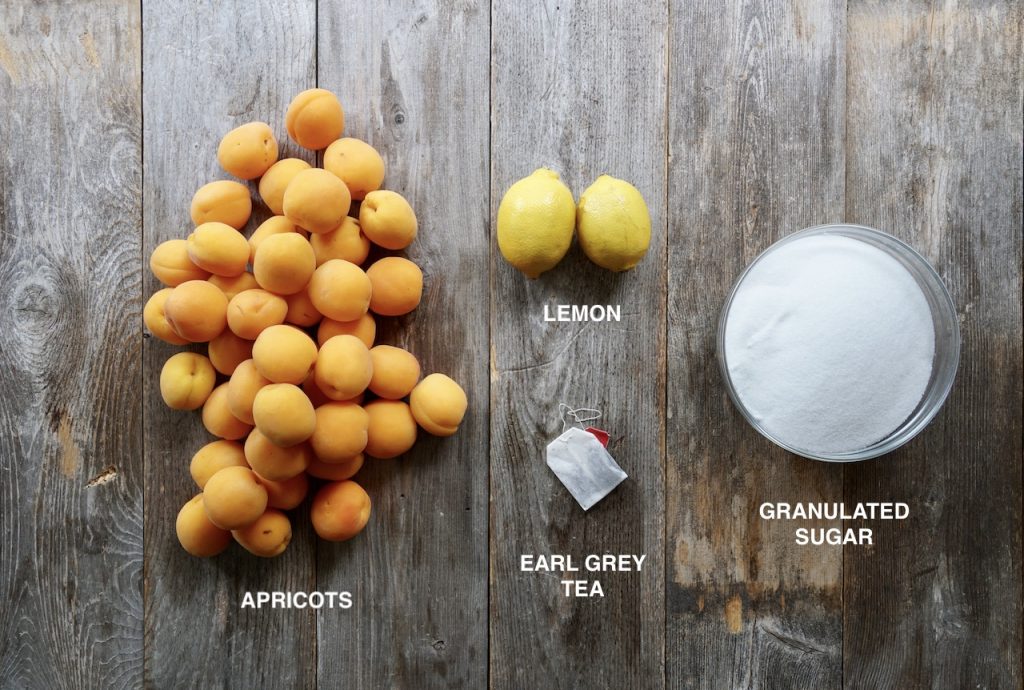
APRICOTS
Apricots are wondrous little things; I love their vibrant orange colour and the way they play with my taste buds, both tart and sweet at the same time. I also like how their stones come away from the flesh with barely any effort, and these soft-skinned beauties don’t need to be peeled when making this jam. Almost forgot – they’re rich in fibre, as well as Vitamins A and C.
EARL GREY
This is the first time I’ve ever dangled a tea bag in a pot of bubbling preserves, and to be honest, I had my doubts. The bag got all goopy and bits of apricot started clinging to the string, and I keep wondering how the tea would steep into the preserves. But it did, and the flavour is fabulous.
CANNING
I really love Nancy’s direction to place the canning jar lids and rings into a bowl, then fill it with boiling water. I used to boil my lids and rings in a pot to sterilize them, but now realize Nancy’s method is just as effective and so much simpler. Head HERE for a refresher on the home canning process.
One final thank you to Nancy who answered my call for a killer jam recipe. After all these years, you learn a thing or two – jars of delicious jam may not last long, but friendship surely does!
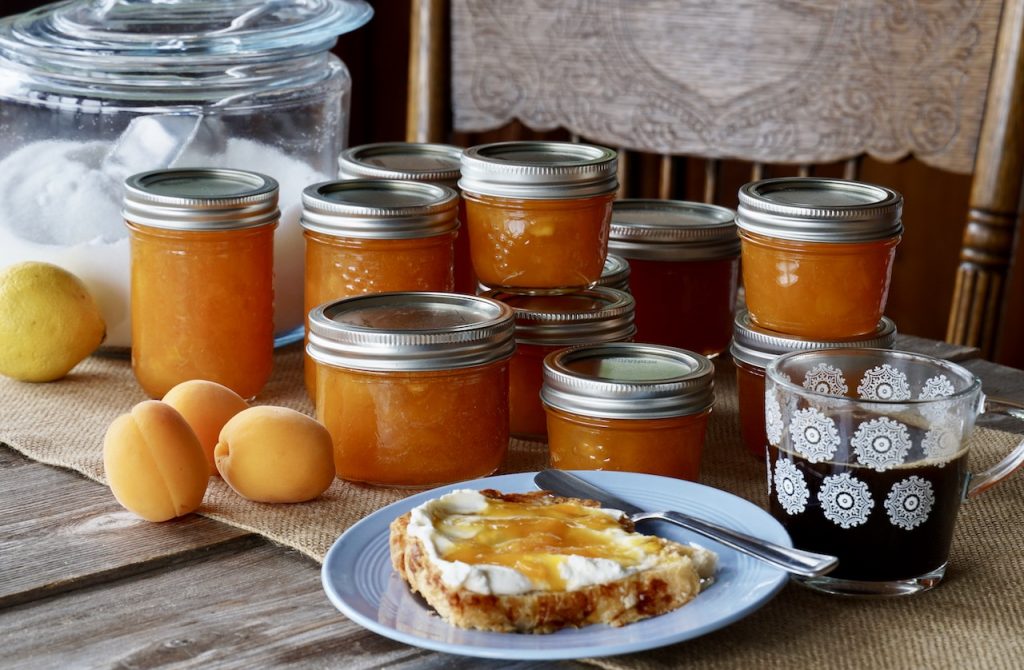
Earl Grey tea goes with preserves like jam goes with bread, and THE BEST APRICOT JAM is living proof – enjoy!
Cook Mode Use cook mode to keep your screen on while cooking.
Ingredients
8 cups chopped apricots, pitted and diced
4 cups granulated sugar
¼ cup fresh lemon juice
1 Earl Grey tea bag
Directions
Place all of the ingredients in a large heavy-bottomed pot and stir to combine.
Place over medium heat, stirring often, until the mixture begins to bubble and foam, about 25 minutes.
Remove tea bag before processing into sterilized jars.
Carefully pour into 8oz. canning jars and follow canning guidelines to seal properly. Here are mine for reference:
For home canning:
Submerge jars, funnel and ladle in a large pot of boiling water for at least 10 minutes
Place jar lids and rings into a medium-sized bowl and cover with boiling water. Let sit for 10 minutes. Dip tongs in boiling water for a few moments before using them to carefully remove sterilized jars from hot water.
Place jars onto a clean work surface. Place sterilized funnel on top of the first jar and scoop cooked jam in using the sterilized ladle. Leave ¼-inch of space at the top. Wipe with a wet paper towel to remove any jam on the rim of the jar. Tap jars gently on work surface to remove air bubbles.
Place sterilized lid on top using magnet wand or tongs. Place ring on top and turn just until finger tight. Repeat process until all jars are filled.
Transfer filled jars to boiling water and process for 10 minutes
Carefully remove jars from pot, place onto work surface and let cool for 24 hours. Check lids to ensure raised centre has depressed, indicating a secure seal.
Wipe jars clean and store in a cool, dark and dry place, or gift to someone special.

 Until Labour Day