½ bushel #2 Kirby cucumbers (about 24 pounds), washed and sorted by size
3 garlic bulbs, peeled and sliced
1 cup whole black peppercorns
3 bunches dill weed, heads and stalks trimmed
7 bird’s eye chili peppers (optional)
For the pickling brine:
12 cups water
4 cups pickling vinegar
¾ cup pickling salt
2 tablespoons granulated sugar
Takes ,
serves 15.
Instructions
Sterilize jars and equipment: Place jar lids and rings into a medium-sized bowl and cover with boiling water. Let stand for at least 10 minutes. Sterilize 16, 1-quart canning jars either in a dishwasher run full cycle without soap or by washing them, then letting them simmering in boiling water for 10 minutes. Sterilize canning funnel and ladle in the same manner.
Make the brine: Place all of the ingredients for the brine into a medium-sized stainless steel pot and stir until the sugar and salt dissolve. Bring the brine to a boil. (see note in story regarding the quantity of brine required)
Fill the jars: Place one head from the dill weed and few bits of the stalk into each sterilized jar. Add about a tablespoon of garlic and 8 to 10 peppercorns. Add the peppers if using.
Pack cucumbers tightly, positioned upright, into the jars. Stuff the jars to ½ inch from the top.
Canning - here are my guidelines to seal properly:
Place sterilized funnel on top of the first jar. Carefully ladle the hot brine into the jar leaving ¼-inch of space at the top. Wipe with a wet paper towel to remove any ingredients from the rim of the jar. Tap jars gently on work surface to remove air bubbles.
Place sterilized lid on top using magnet wand or tongs. Place ring on top and turn just until finger tight. Repeat process until all jars are filled.
Transfer filled jars to boiling water and process for 10 minutes. Carefully remove jars from pot while the colour of the cucumbers is still slightly mottled. Place onto work surface and leave undisturbed for 24 hours. Check that the centre area of each lid has compressed or, popped. Wipe jars clean and store in a cool, dark and dry place, or gift to someone special.
Garlic Dill Pickles Recipe
Ingredients
½ bushel #2 Kirby cucumbers (about 24 pounds), washed and sorted by size
3 garlic bulbs, peeled and sliced
1 cup whole black peppercorns
3 bunches dill weed, heads and stalks trimmed
7 bird’s eye chili peppers (optional)
For the pickling brine:
12 cups water
4 cups pickling vinegar
¾ cup pickling salt
2 tablespoons granulated sugar
Directions
Sterilize jars and equipment: Place jar lids and rings into a medium-sized bowl and cover with boiling water. Let stand for at least 10 minutes. Sterilize 16, 1-quart canning jars either in a dishwasher run full cycle without soap or by washing them, then letting them simmering in boiling water for 10 minutes. Sterilize canning funnel and ladle in the same manner.
Make the brine: Place all of the ingredients for the brine into a medium-sized stainless steel pot and stir until the sugar and salt dissolve. Bring the brine to a boil. (see note in story regarding the quantity of brine required)
Fill the jars: Place one head from the dill weed and few bits of the stalk into each sterilized jar. Add about a tablespoon of garlic and 8 to 10 peppercorns. Add the peppers if using.
Pack cucumbers tightly, positioned upright, into the jars. Stuff the jars to ½ inch from the top.
Canning - here are my guidelines to seal properly:
Place sterilized funnel on top of the first jar. Carefully ladle the hot brine into the jar leaving ¼-inch of space at the top. Wipe with a wet paper towel to remove any ingredients from the rim of the jar. Tap jars gently on work surface to remove air bubbles.
Place sterilized lid on top using magnet wand or tongs. Place ring on top and turn just until finger tight. Repeat process until all jars are filled.
Transfer filled jars to boiling water and process for 10 minutes. Carefully remove jars from pot while the colour of the cucumbers is still slightly mottled. Place onto work surface and leave undisturbed for 24 hours. Check that the centre area of each lid has compressed or, popped. Wipe jars clean and store in a cool, dark and dry place, or gift to someone special.
Garlic Dill Pickles Recipe
Loading...
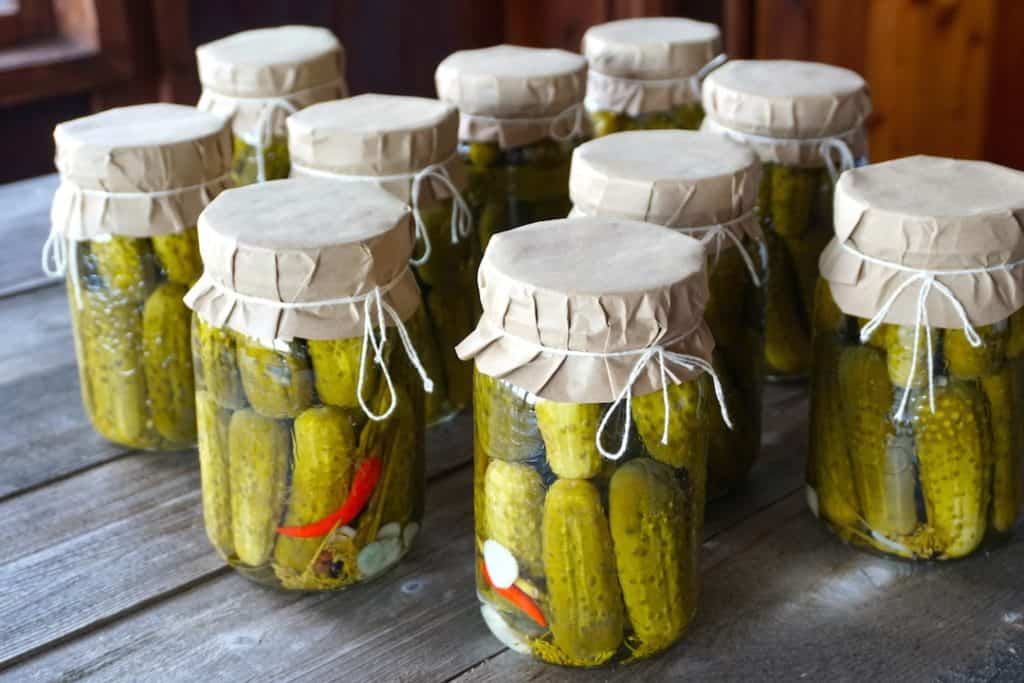
Our famous recipe for pickled Kirby cukes in a tangy dill and garlic brine, crisp and crunchy to the last bite…
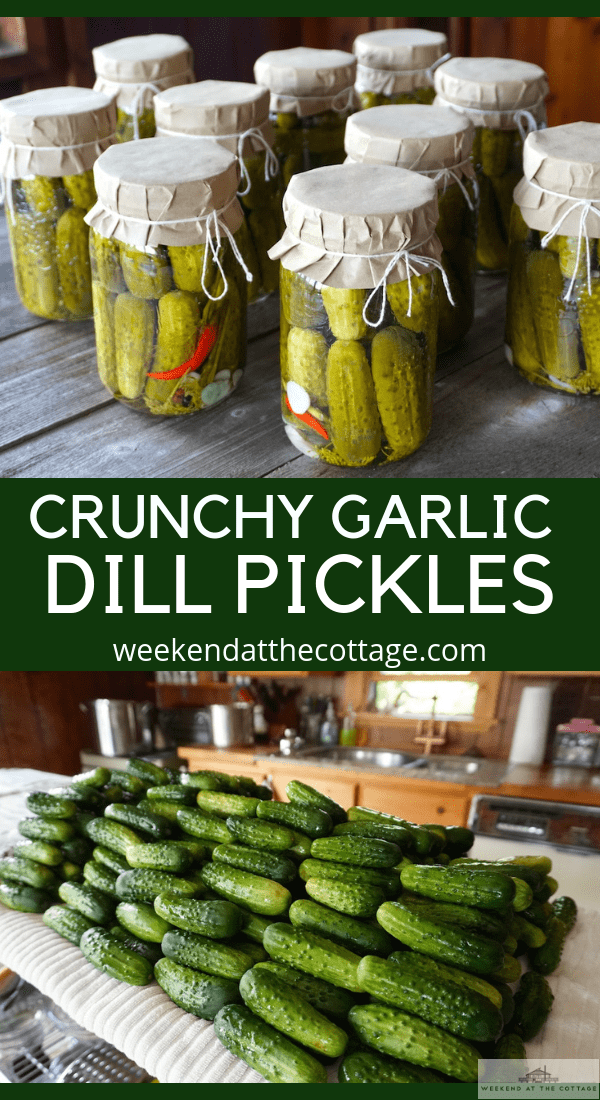
This is the best GARLIC DILL PICKLES RECIPE, you’ll see!
This GARLIC DILL PICKLES RECIPE yields a favourite treat, and we expect this recipe to become one of your most treasured. That said, don’t forget to BOOKMARK this page and save the PIN attached to this story to one of your favourite PINTEREST boards.
This recipe, in particular, has made the rounds amongst friends and loved ones and been the subject of many a conversation. The pickles deliver such memorable flavours while holding their shape and stellar appearance. Yes, they are crispy and crunchy too! Prepare to feel really proud of the accomplishment of making something so delicious!
Here’s what to expect and consider when preparing them:
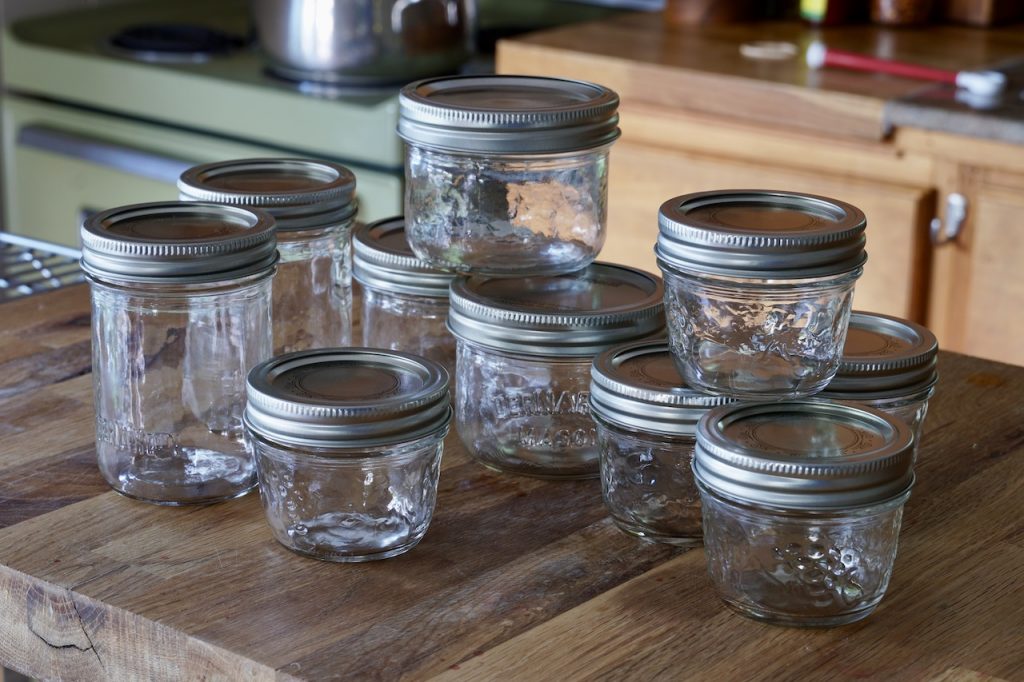
CANNING
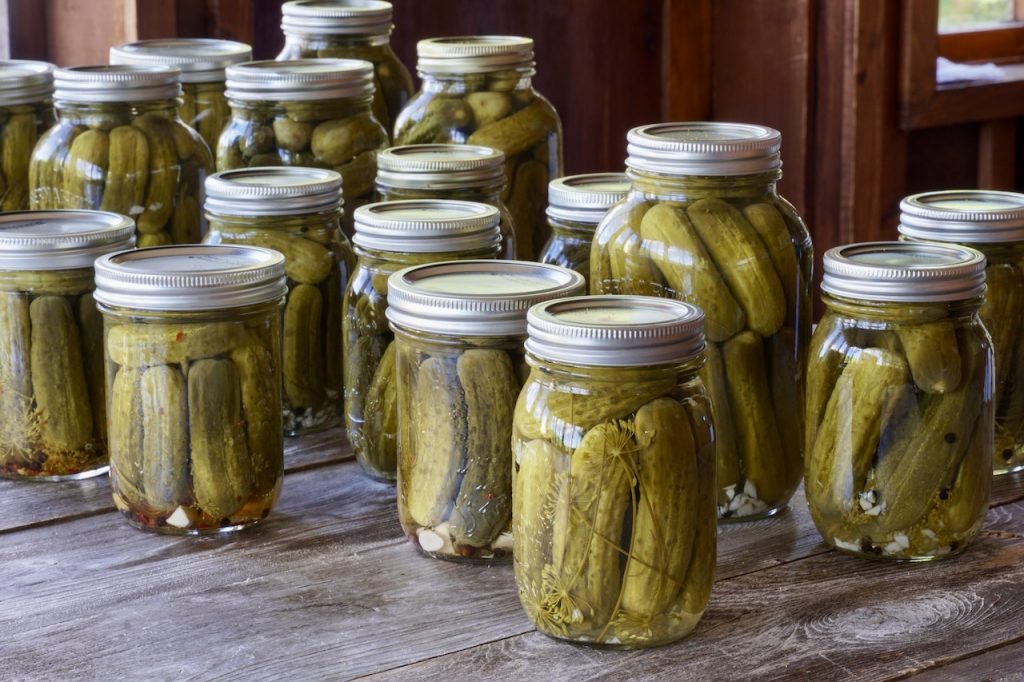
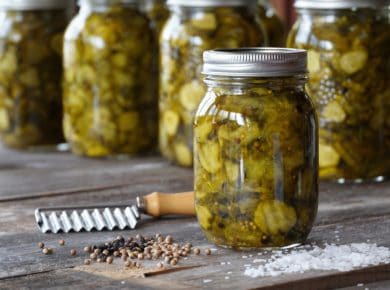
The process of canning vegetables is always a rewarding endeavour. We suggest you head HERE to read our post about canning. You can also click HERE to watch the video of us making another fabulous recipe, our BREAD & BUTTER PICKLES. Oh, and this pic, just to give you a sense – for sure buy the BIG JARS!
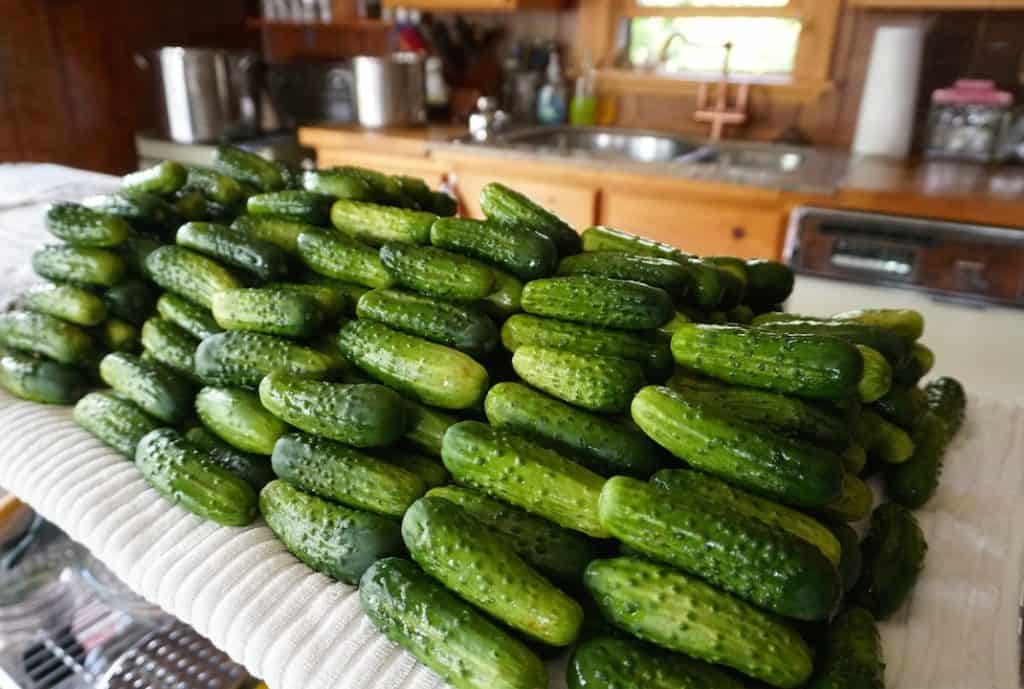
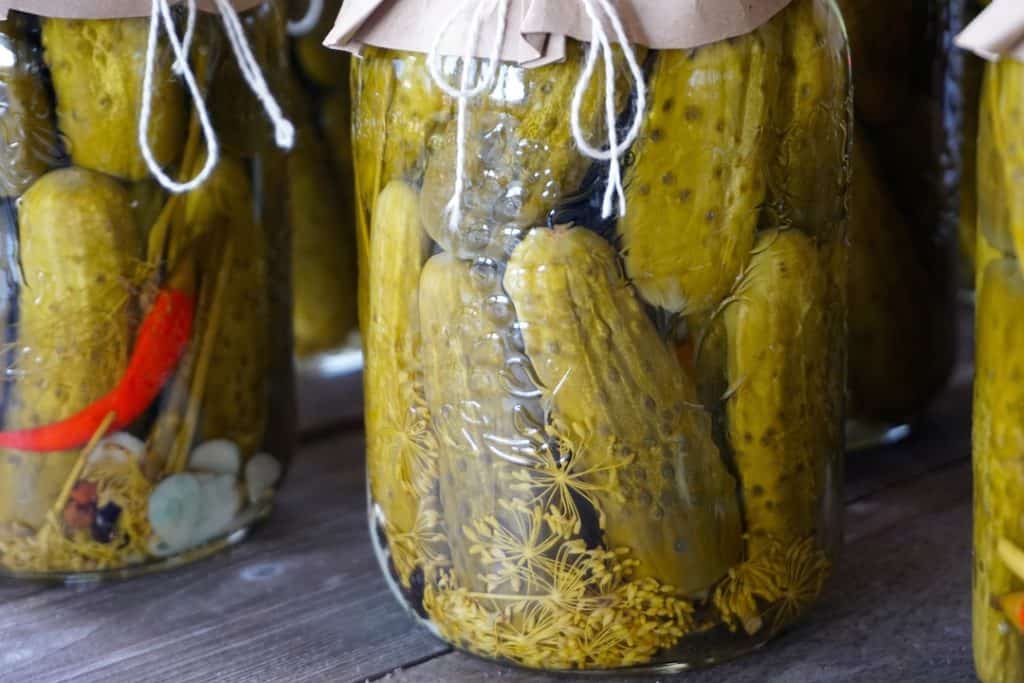
CUCUMBERS
We’ve said it before – every great pickle recipe begins with great cucumbers. We used #2 Kirby’s for this recipe and they’re perfect. Kirby cucumbers are known for their crunchiness and the number 2 refers to their size, about 2-inches in length. Since this pickle recipe yields whole pickles as opposed to slices or spears, we think this the ideal size.
Look for #2 Kirby’s at a local farmstand or farmer’s market, but you may even find them occasionally in a larger supermarket during the late summer pickling season.
Regarding quantity, we purchased a half-bushel of cucumbers and ended up with 15, 1-quart jars. That represents some serious good eats for a bit of hard work.
SIZING
This was the first time that Carol and I made DILL PICKLES together. She was busy working on preparing the dill weed and garlic while I washed the cucumbers (BTW, it’s essential that your cucumbers are thoroughly washed before you begin the recipe). She was particularly interested in why I took the extra time to organize the cucumbers by size.
Although I’d purchased #2s, the cucumbers still varied a bit in size. Sorting them into tiny, medium and full size helps when you go to stuff them into the sterilized jars. Stuffing the jars is kind of like a pickling puzzle where you need the perfect sized cucumber to fit somewhere. Having them sized in advance helps.
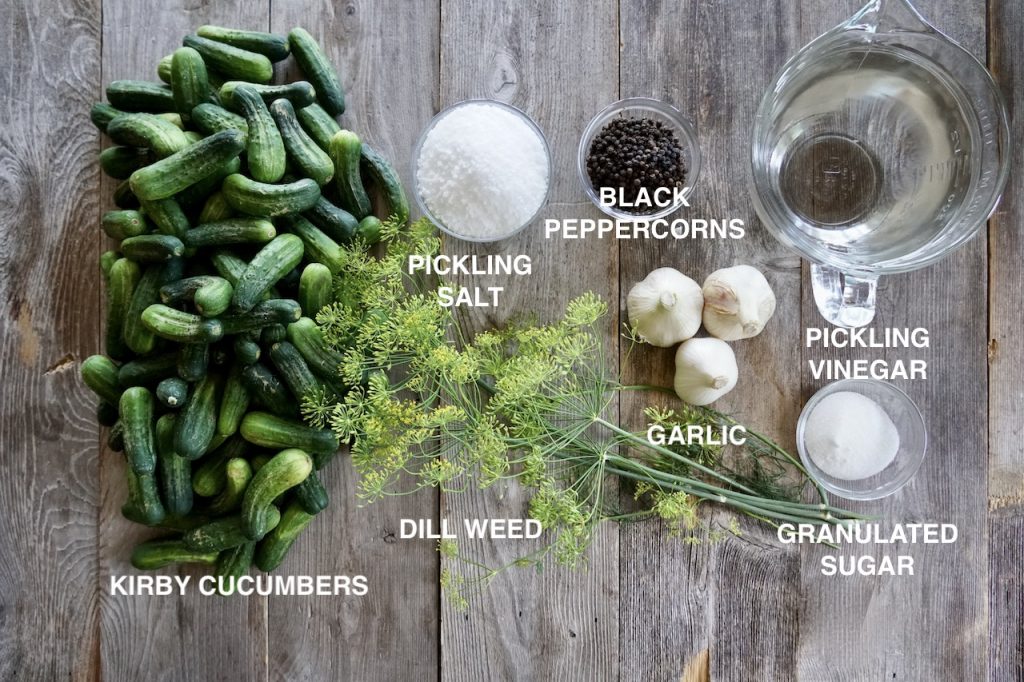
THE BRINE
We always suggest using pickling vinegar instead of white vinegar for canning recipes; the higher percentage of acetic acid is essential for shelf-stable canning. We also used pickling salt for this recipe and I did take my sister Dana’s advice and added just a smidge of sugar – old family secret, apparently! The sugar doesn’t make the brine sweet, but I do think it takes some of the edge off the vinegar.
Please note, you’ll need twice the amount of pickling brine for this recipe to fill all of the jars. Instead of doubling the recipe, we did it in two sessions to prevent too much water from evaporating during the ladling process.
DILL, GARLIC AND PEPPERCORNS
Using conventionally grown fresh dill found in the herb section of a supermarket won’t cut it. Look for dill weed at the market when you purchase your cucumbers. It’s important to work with the head of the dill plant, and also add in a few bits of the dill stalk for an added flavour boost.
I’ve learned not to be bashful when adding the sliced garlic to the jars, they are garlic dills after all. The peppercorns also add a subtle spiciness to the pickles.
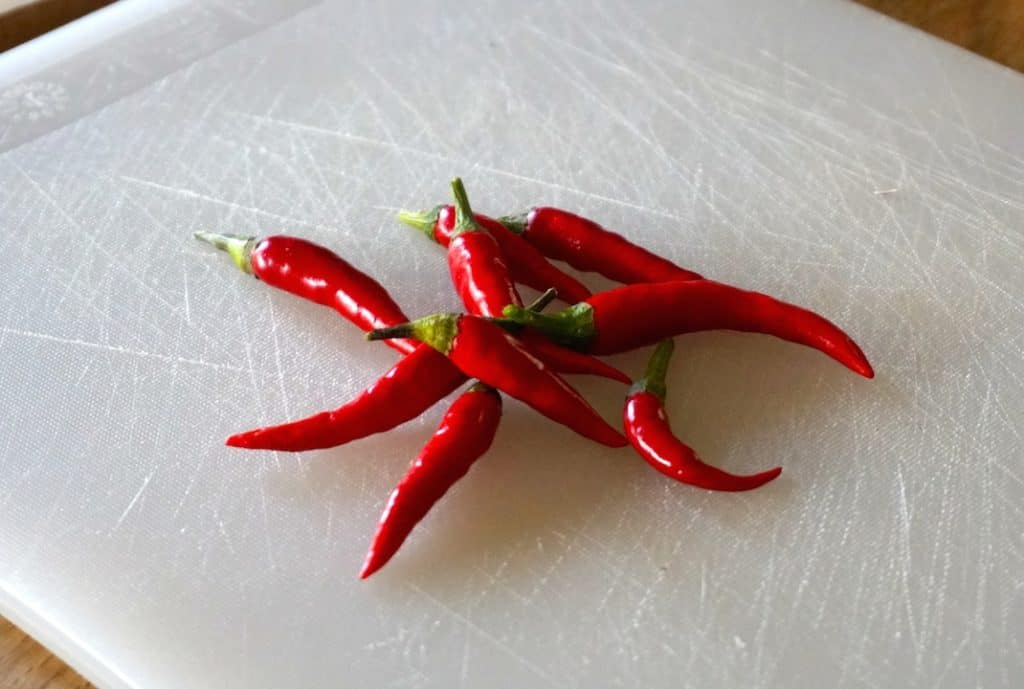
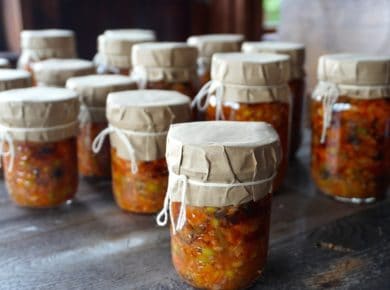
BIRD’S EYE CHILI PEPPERS
On a whim, I decided to add whole bird’s eye chili peppers to some of the jars, and in retrospect, I’m glad I did. It’s always fascinating to experiment and try new things whenever we’re testing a recipe.
I was thinking the added heat of the peppers may create an entirely new taste sensation and was I ever right. The pickles made with the peppers are awesome and I suggest you follow my lead and add a pepper into a few of your jars. Let us know what you think in the comment section at the bottom of this post.
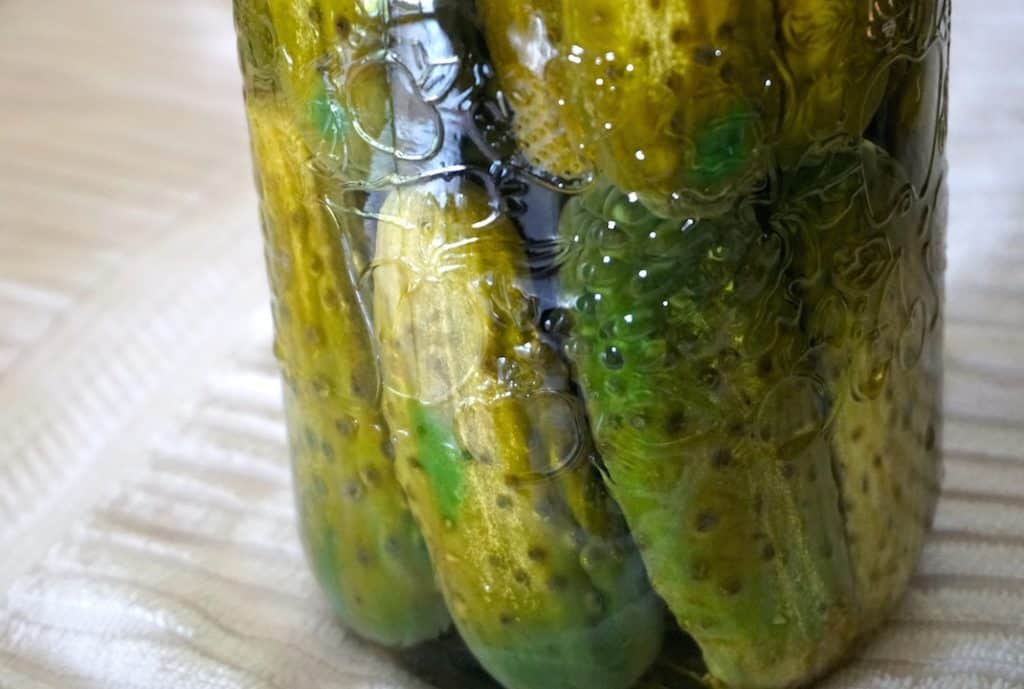
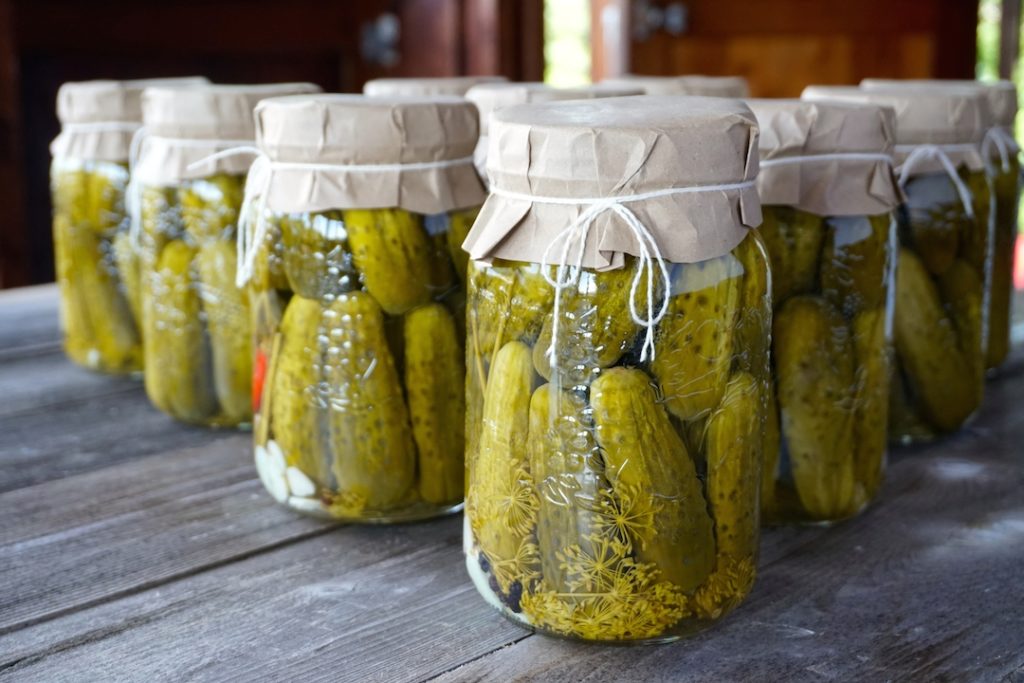
THE WAIT
Here’s the tough part – as all expert home canners will tell you, wait three weeks before you open a jar and try the fruits of your pickling labour. It gives the pickles a chance to mature in their salty brine but also gives you a chance to work on your list of who’ll you’ll be giving a jar of your very own GARLIC DILL PICKLES too.
Cook Mode Use cook mode to keep your screen on while cooking.
Ingredients
½ bushel #2 Kirby cucumbers (about 24 pounds), washed and sorted by size
3 garlic bulbs, peeled and sliced
1 cup whole black peppercorns
3 bunches dill weed, heads and stalks trimmed
7 bird’s eye chili peppers (optional)
For the pickling brine:
12 cups water
4 cups pickling vinegar
¾ cup pickling salt
2 tablespoons granulated sugar
Directions
Sterilize jars and equipment: Place jar lids and rings into a medium-sized bowl and cover with boiling water. Let stand for at least 10 minutes. Sterilize 16, 1-quart canning jars either in a dishwasher run full cycle without soap or by washing them, then letting them simmering in boiling water for 10 minutes. Sterilize canning funnel and ladle in the same manner.
Make the brine: Place all of the ingredients for the brine into a medium-sized stainless steel pot and stir until the sugar and salt dissolve. Bring the brine to a boil. (see note in story regarding the quantity of brine required)
Fill the jars: Place one head from the dill weed and few bits of the stalk into each sterilized jar. Add about a tablespoon of garlic and 8 to 10 peppercorns. Add the peppers if using.
Pack cucumbers tightly, positioned upright, into the jars. Stuff the jars to ½ inch from the top.
Canning - here are my guidelines to seal properly:
Place sterilized funnel on top of the first jar. Carefully ladle the hot brine into the jar leaving ¼-inch of space at the top. Wipe with a wet paper towel to remove any ingredients from the rim of the jar. Tap jars gently on work surface to remove air bubbles.
Place sterilized lid on top using magnet wand or tongs. Place ring on top and turn just until finger tight. Repeat process until all jars are filled.
Transfer filled jars to boiling water and process for 10 minutes. Carefully remove jars from pot while the colour of the cucumbers is still slightly mottled. Place onto work surface and leave undisturbed for 24 hours. Check that the centre area of each lid has compressed or, popped. Wipe jars clean and store in a cool, dark and dry place, or gift to someone special.
 Until Labour Day