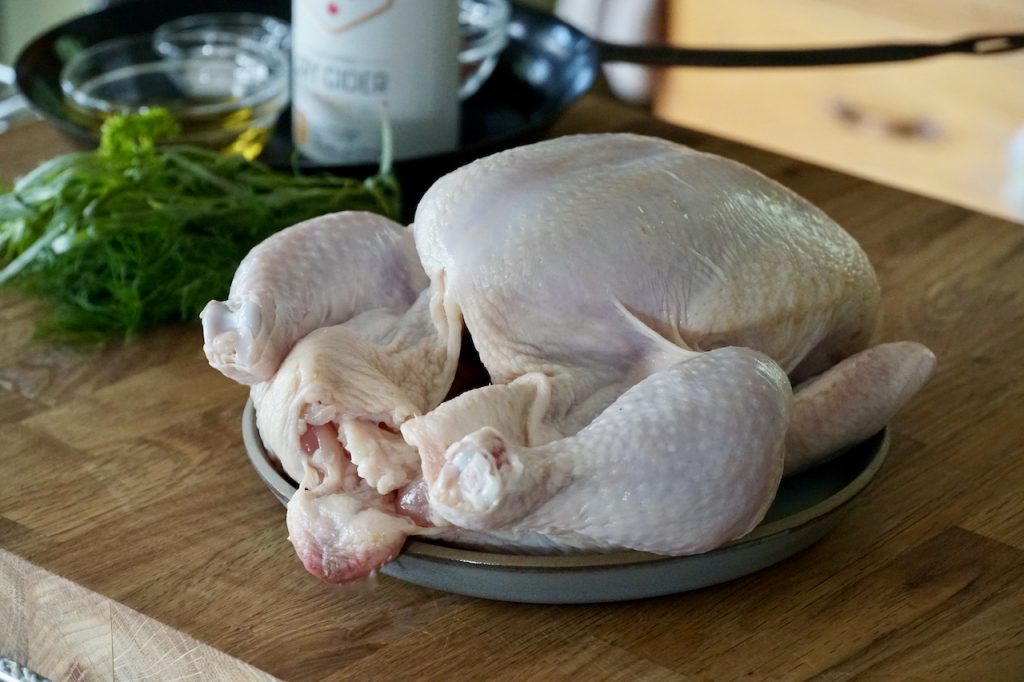
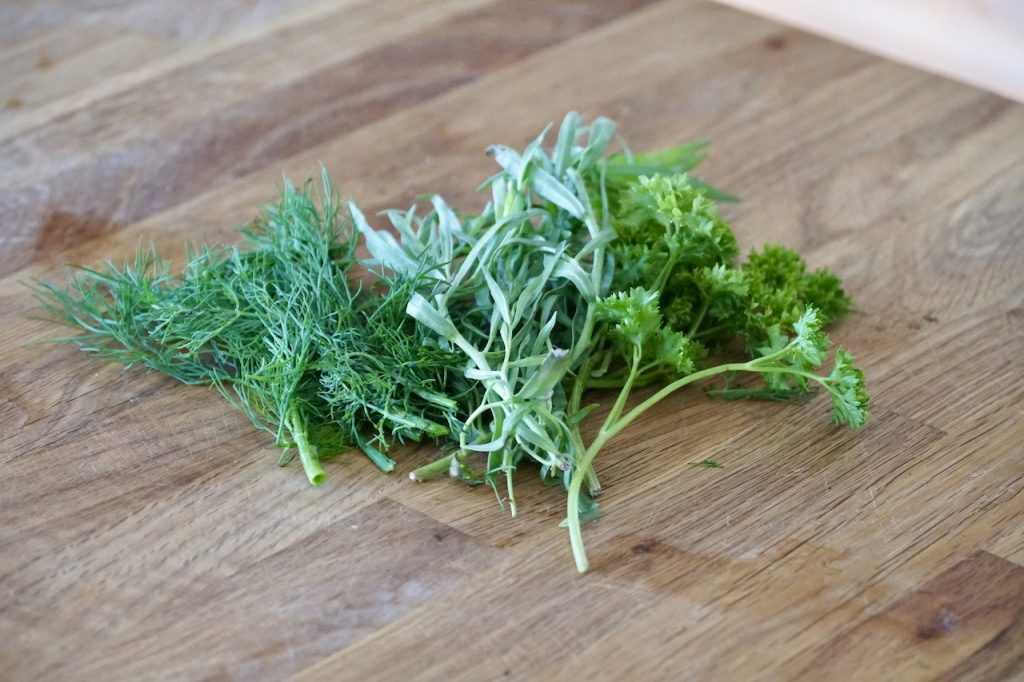
Prepare the chicken: Remove chicken from fridge 30 minutes before starting. Pat dry using paper towel. Rub salt and one tablespoon of spice rub into cavity of bird. Place fresh herbs in cavity. Rub the outside of the chicken with olive oil and remaining spice rub.
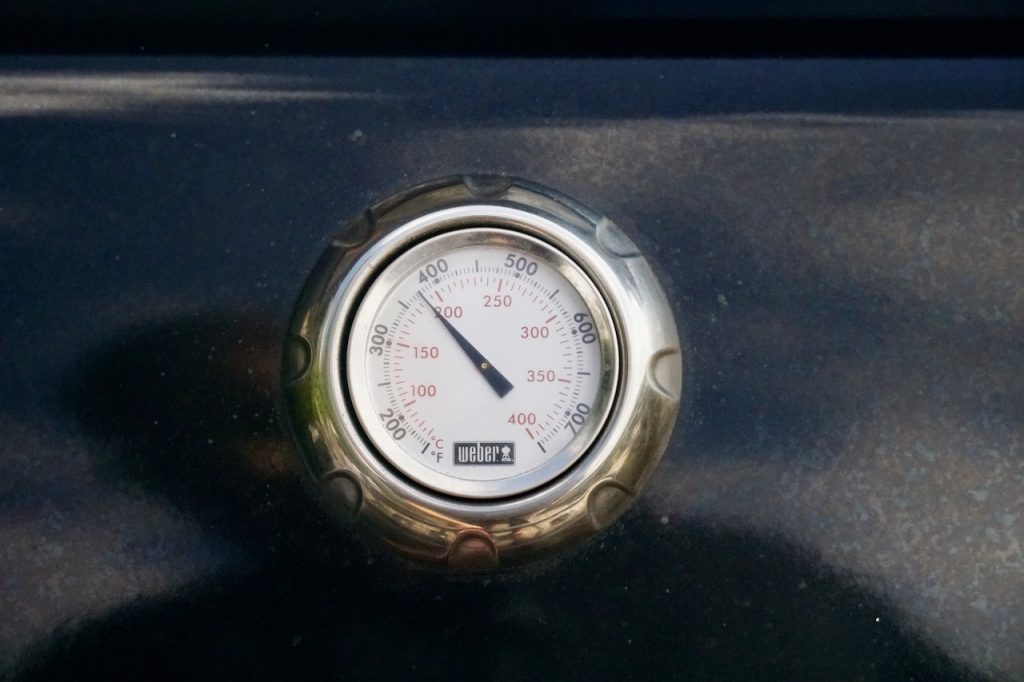
Prepare the grill: Turn one half of the grill on to moderate heat and adjust until it’s preheated to a consistent 375°F.
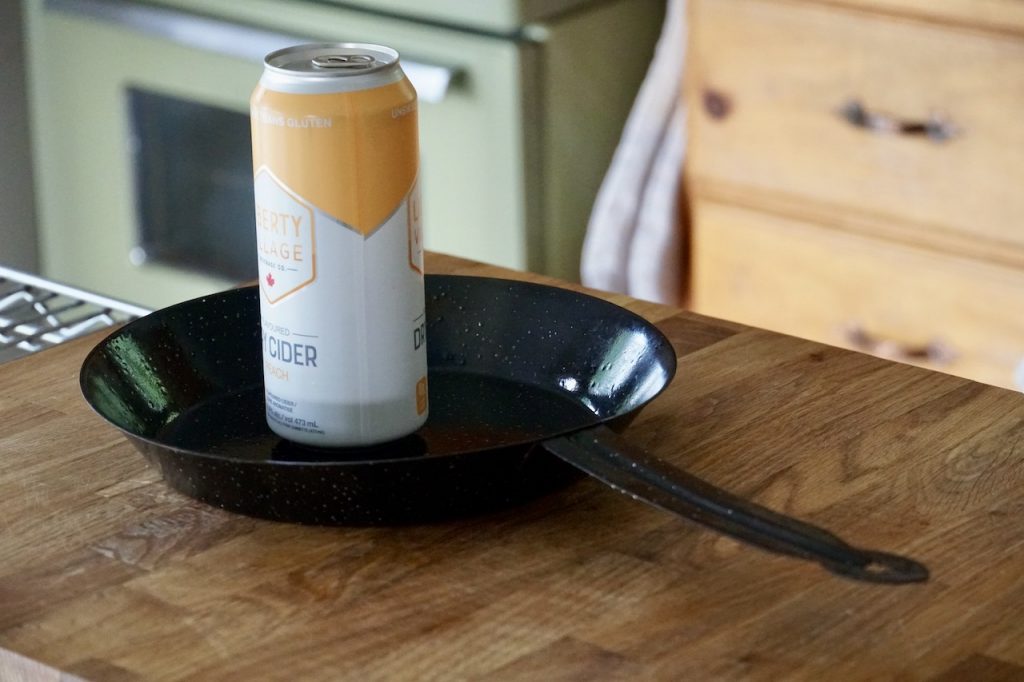
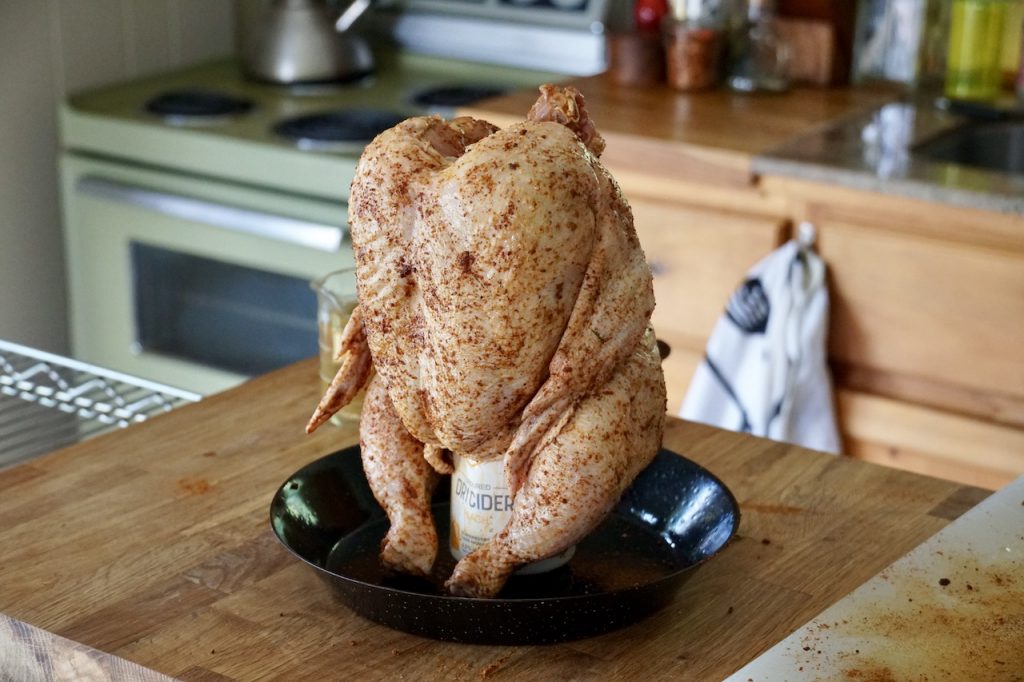
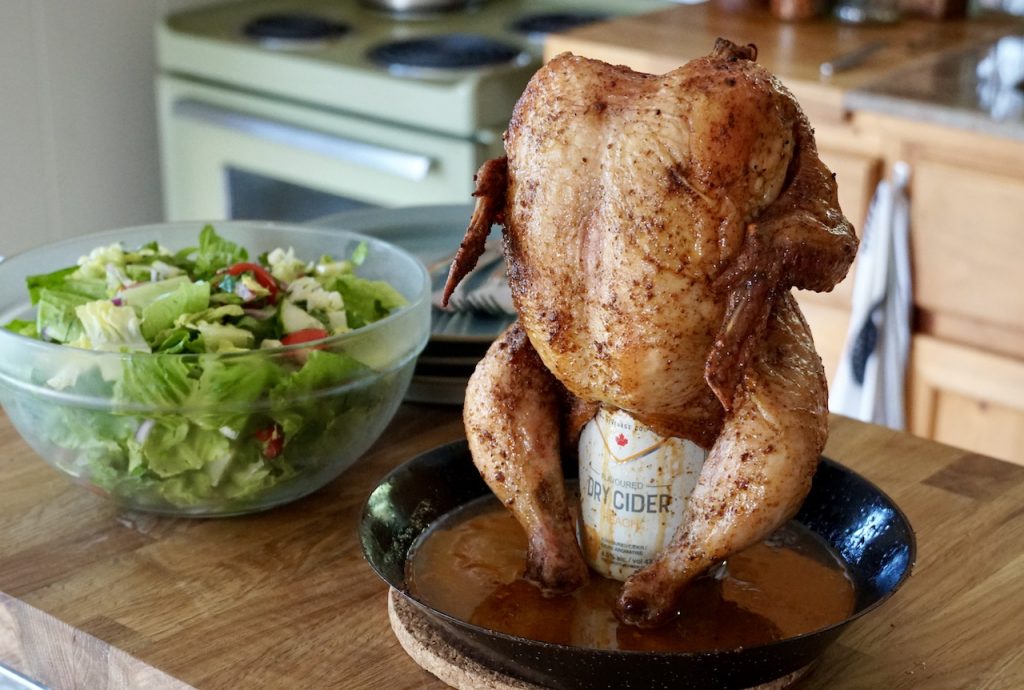
Set chicken to cook: Open canned beverage, pouring 1 cup off into a measure. Stand open can upright in centre of the skillet or baking pan. Place the chicken onto the can with the legs pointing down so that can fits securely in chicken cavity.
Cook the chicken: Carefully place the skillet onto the right side of the grill. Pour the reserved liquid into the skillet. Close the lid and leave chicken to cook undisturbed for 1 hour and 15 minutes or until juices run clear and a probe thermometer placed into the thickest part of the breast reads 75°C / 165°F.
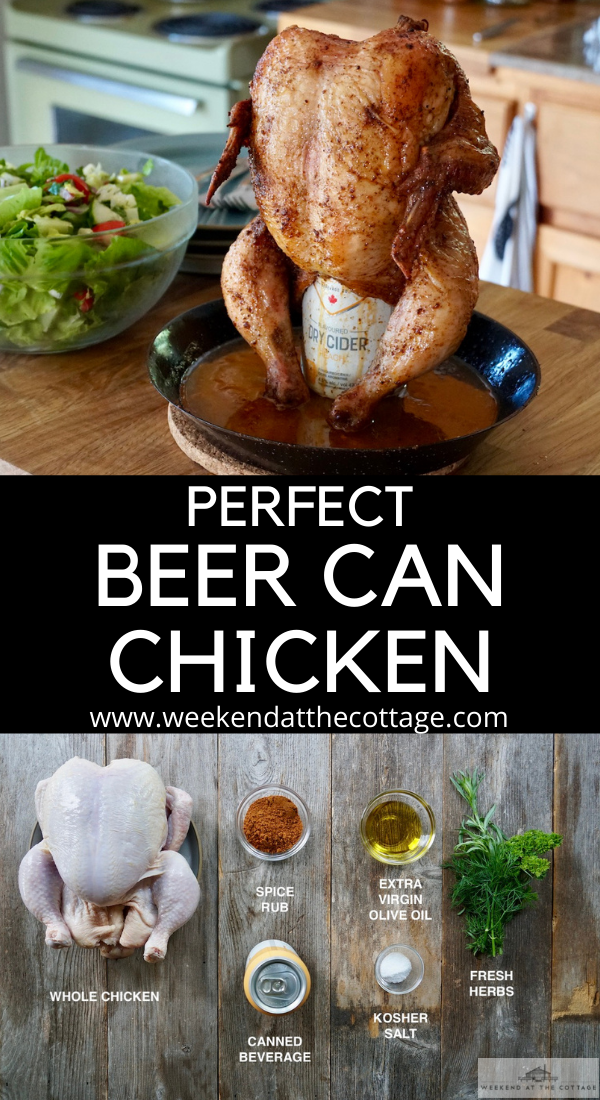
Perfect Beer Can Chicken
Ingredients
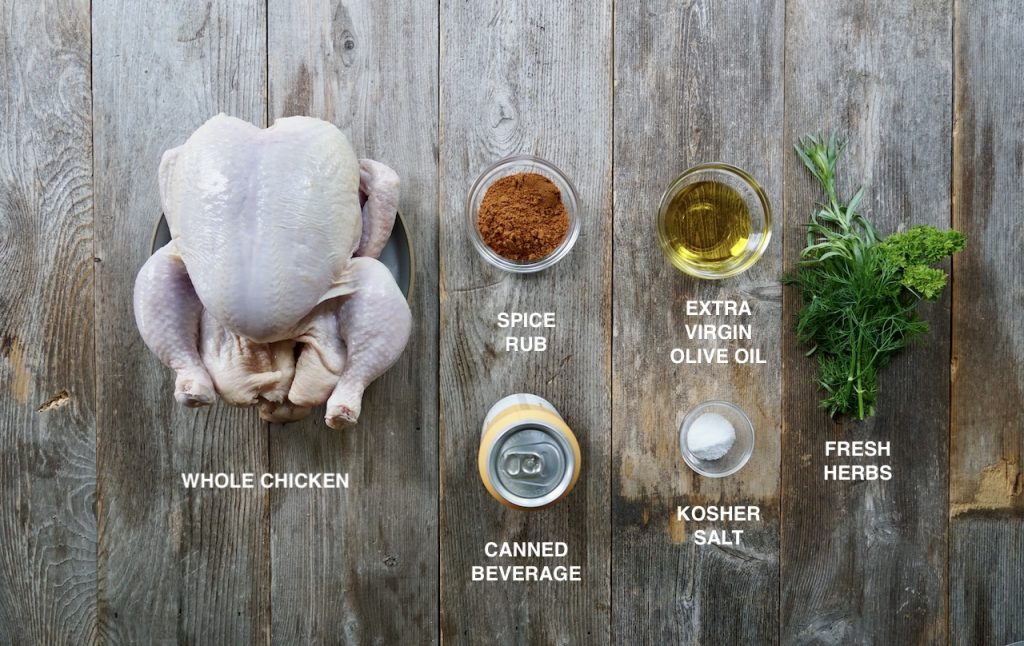
1 4-pound chicken
1 474 ml can of beer, cider or wine
1 handful fresh herbs
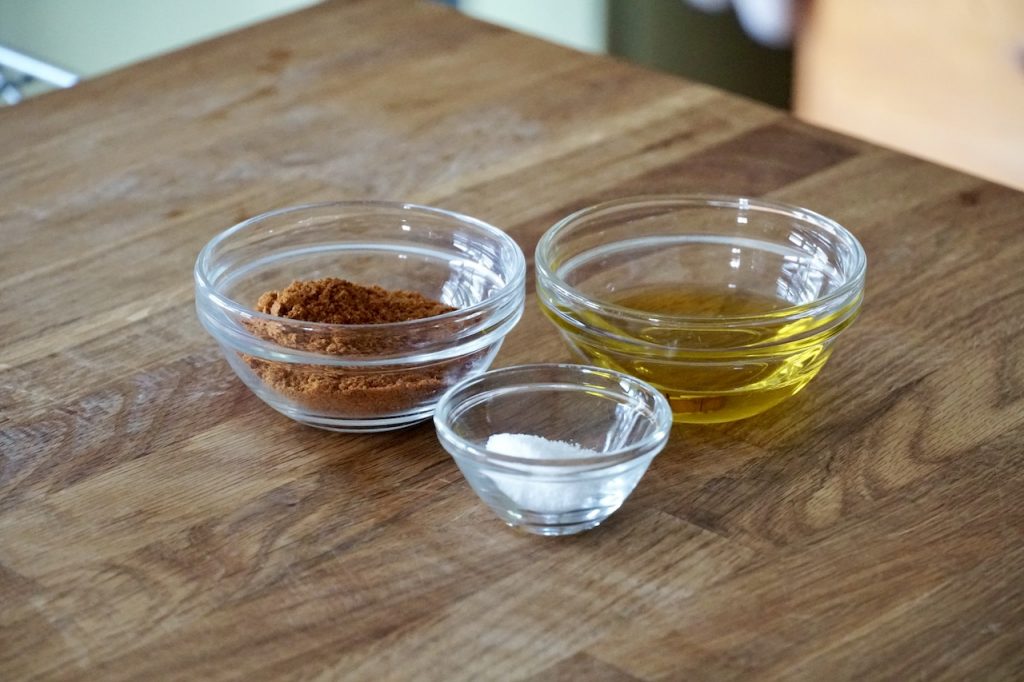
3 tablespoons spice rub
2 tablespoons extra virgin olive oil
1 teaspoon kosher salt
Directions
Prepare the chicken: Remove chicken from fridge 30 minutes before starting. Pat dry using paper towel. Rub salt and one tablespoon of spice rub into cavity of bird. Place fresh herbs in cavity. Rub the outside of the chicken with olive oil and remaining spice rub.
Prepare the grill: Turn one half of the grill on to moderate heat and adjust until it’s preheated to a consistent 375°F.
Set chicken to cook: Open canned beverage, pouring 1 cup off into a measure. Stand open can upright in centre of the skillet or baking pan. Place the chicken onto the can with the legs pointing down so that can fits securely in chicken cavity.
Cook the chicken: Carefully place the skillet onto the right side of the grill. Pour the reserved liquid into the skillet. Close the lid and leave chicken to cook undisturbed for 1 hour and 15 minutes or until juices run clear and a probe thermometer placed into the thickest part of the breast reads 75°C / 165°F.
Perfect Beer Can Chicken
Loading...
A plump chicken seasoned with a favourite spice rub, then barbecue-roasted over a can of fragrant fruit cider…
Here’s the recipe for PERFECT BEER CAN CHICKEN you’ve been looking for!
We’re always on the quest for recipes that help make things easier. When that recipe also exceeds expectations for delicious flavour and superior results, first we cheer (hurray!) and then we add it to the content calendar. Case in point is this recipe for PERFECT BEER CAN CHICKEN. Just read on to learn how we made it – it really is perfect!
Before I list a few key points to ensure your complete success, there a few things to mention. Chicken is a favourite main, so if you’ve arrived for a word on this favourite bird, you’ve come to the right place. Other recipes we know you’ll love include our EASY ROAST CHICKEN, our perfect-for-warm-weather GRILLED CHICKEN, this cheesy CHICKEN PARMESAN and our skillet-loving FRENCH ONION CHICKEN.
Spoiler alert! The end of the HOW-TO VIDEO created for this story has us cutting into this BEER CAN CHICKEN. It’s a few mouthwatering moments of how exceptionally juicy this perfectly prepared chicken actually is. That said, the carving is made easier by using my MISEN CHEF’S KNIFE. Click THIS LINK to visit the site then enter code COTTAGE to receive a 20% discount on your knife order. You’ll be carving your chicken like a pro in no time!
Here are the things you need to know about making BEER CAN CHICKEN:
YOU GOT THIS!
I’m putting up this photo of the ingredients like I always do, but I already know you literally got this! Chicken, oil, a spice rub and maybe some fresh herbs, this recipe proves fabulous taste can happen with just a few key ingredients.
CHICKEN
A big part of the success of this recipe will go to the way we cook the chicken, yet we can’t overlook the importance of the bird itself. I really want you to source a plump chicken that’s certified organic and naturally raised. You’ll want a bird that’s grown cage free, drug free, raised on GMO-free, organically grown grains and feed. We maintain, you will taste a difference – these chickens are way more flavourful.
RUB
Grab some extra virgin olive oil, kosher salt and your favourite spice rub; that’s it. There’s nothing groundbreaking in the rub portion of this recipe except for application. It’s a 2-for-1 special; a tablespoon of the spice rub gets worked into the cavity of the bird with the kosher salt, while the outside of the bird gets oiled and rubbed with the remaining tablespoons of the spices. This ensures the bird is well-seasoned.
HERBS
We’ve included a little bouquet of fresh herbs for two reasons. First, we had them at hand, growing in the garden. Second, they add yet another level of flavour and enticing aromas when placed in the cavity of the chicken. If you have fresh herbs handy, use them.
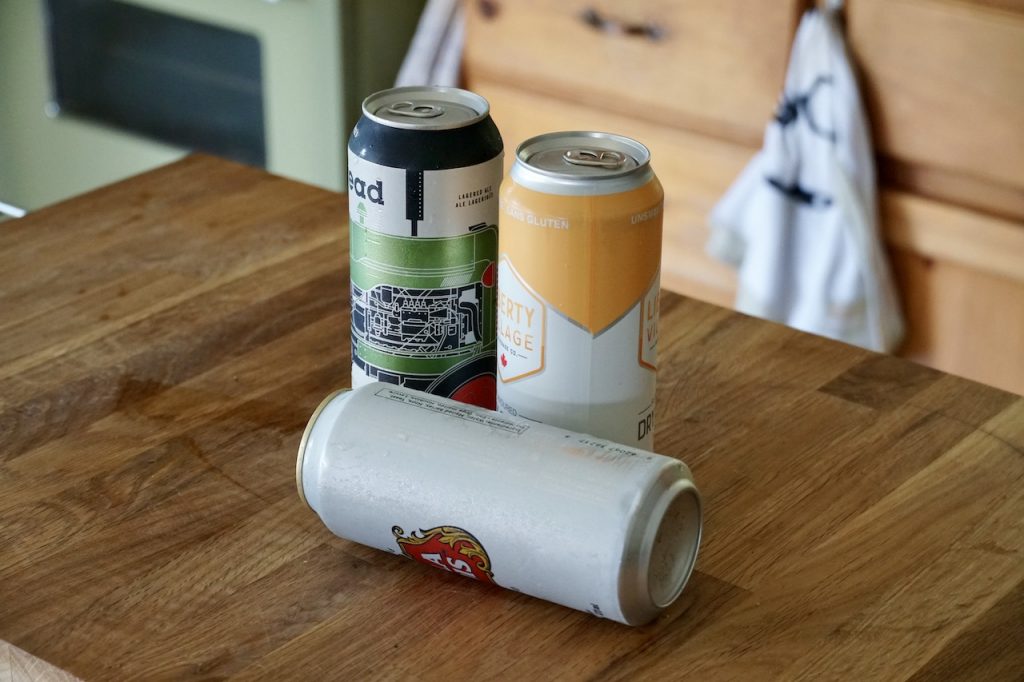
CAN DOOR
We’re leaving the door open; you get to decide on the type of canned beverage to use for the recipe. The can itself is essential in that the chicken actually sits on it giving the bird the full 360° of surround heat from the barbecue. Using a can of beer for this recipe always works, but we’re happy to report that fruit ciders and canned sparkling wines work too. We used a fruit cider for this post and loved the flavours. Try a different canned drink each time you make this and it’ll be like a new recipe every time.
PAN HANDLE
There are a few purpose-made pans that you can use for this recipe; I’ll list some in the Amazon section further down in this post. I found using an enamel skillet also works perfectly, and I especially like how the handles allow for the easy removal of the chicken when it’s done.
That skillet also provides an excellent vessel in which to add some of the pour-off beverage from the can (see instructions below) which helps keep this chicken extra moist.
GRILL TIME AND TEMP
There are two important things to note when we consider grilling and temperature. First, it’s important to cook this chicken in a barbecue pre-heated to 375°F. That consistent, moderate heat cooks the chicken evenly so that the fat renders away, leaving a nice crispy skinned and tender meat. The second key step about the grill is to cook the chicken over indirect heat. This is so easy. Turn the left and centre side of the grill to moderate heat and leave the right section off. When the barbecue reaches and holds that important 375°F, place the chicken in on that right side. Close the lid and walk away, leaving the chicken to cook undisturbed for 1 hour and 15 minutes. If you’re nervous, go ahead and peek, but be quick – keep that temperature stable.
LAST STAND
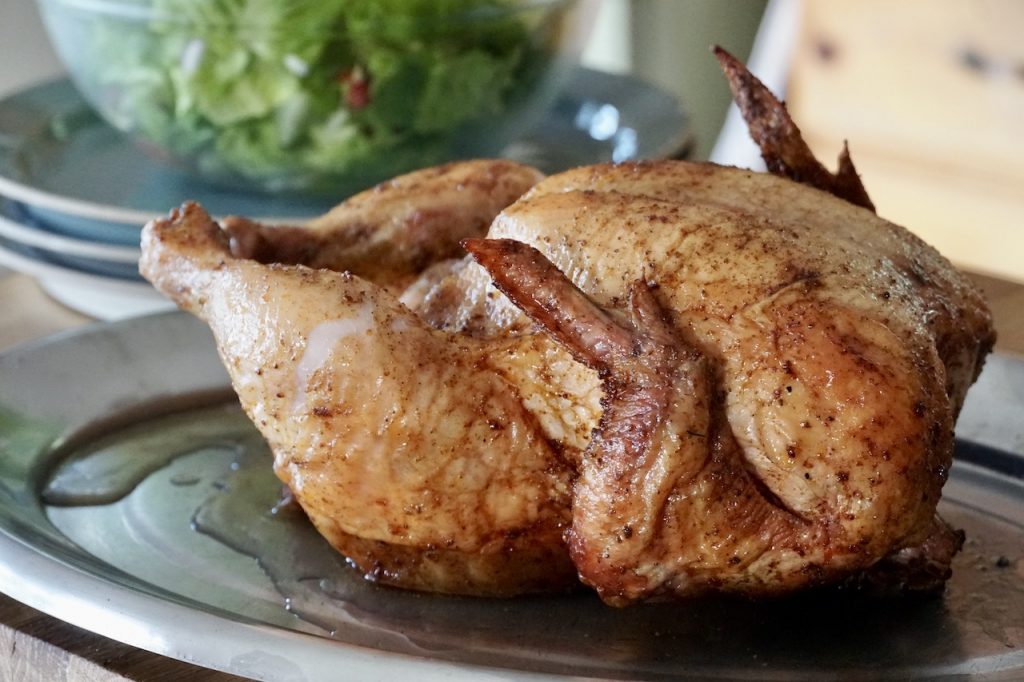
Once the chicken is cooked, remove it from the barbecue, bring it to your work surface and leave it to stand for 15 minutes. We suggest this two-step check for doneness. First, poke the chicken in a few spots to see if the juices run clear. The second test is to place a meat thermometer in the breast of the chicken. The temperature should read read 75°C / 165°F. Now that the chicken is done, there’s just one final step. Our cooking pan collected the drippings that mixed in with the liquid we added to the pan. Brush or spoon some of the rich, fragrant and flavourful drippings over the chicken. You’ll love this extra layering of flavours.
LET’S EAT
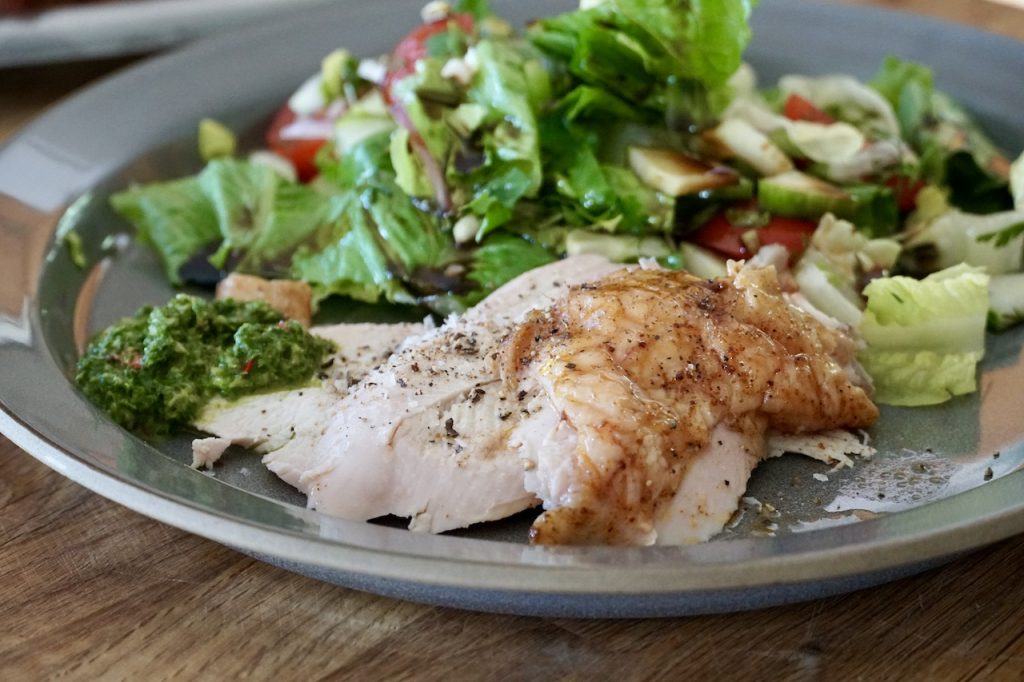
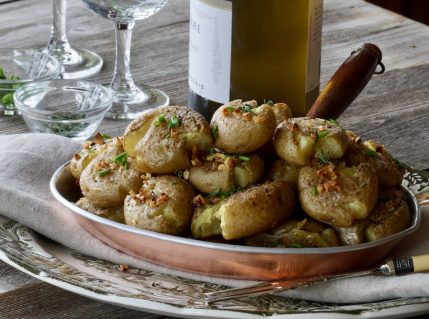
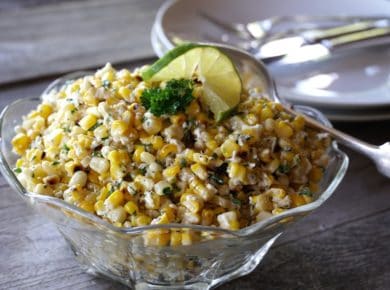
Again, you’ll see how perfect this is when you take an excellent and sharp knife and carve the chicken up to enjoy. Because this recipe itself is so easy and straightforward, we didn’t want to muck things up with complicated sides. Instead follow our lead and serve it with nothing more than a mixed green salad drizzled with this ASIAN SALAD DRESSING. If you have an extra five minutes, make an EASY CHIMICHURRI SAUCE to go accompany it. It won’t disappoint.
Toss me a cold one! Time to make PERFECT BEER CAN CHICKEN.
Cook Mode Use cook mode to keep your screen on while cooking.
Ingredients
1 4-pound chicken
1 474 ml can of beer, cider or wine
1 handful fresh herbs
3 tablespoons spice rub
2 tablespoons extra virgin olive oil
1 teaspoon kosher salt
Directions
Prepare the chicken: Remove chicken from fridge 30 minutes before starting. Pat dry using paper towel. Rub salt and one tablespoon of spice rub into cavity of bird. Place fresh herbs in cavity. Rub the outside of the chicken with olive oil and remaining spice rub.
Prepare the grill: Turn one half of the grill on to moderate heat and adjust until it’s preheated to a consistent 375°F.
Set chicken to cook: Open canned beverage, pouring 1 cup off into a measure. Stand open can upright in centre of the skillet or baking pan. Place the chicken onto the can with the legs pointing down so that can fits securely in chicken cavity.
Cook the chicken: Carefully place the skillet onto the right side of the grill. Pour the reserved liquid into the skillet. Close the lid and leave chicken to cook undisturbed for 1 hour and 15 minutes or until juices run clear and a probe thermometer placed into the thickest part of the breast reads 75°C / 165°F.

 Until Labour Day