Easy Sourdough Starter
Ingredients
- SEE ABOVE
Takes , serves .
Instructions
- SEE ABOVE
37
Days23
Hours14
Minutes19
Seconds Until Labour Day


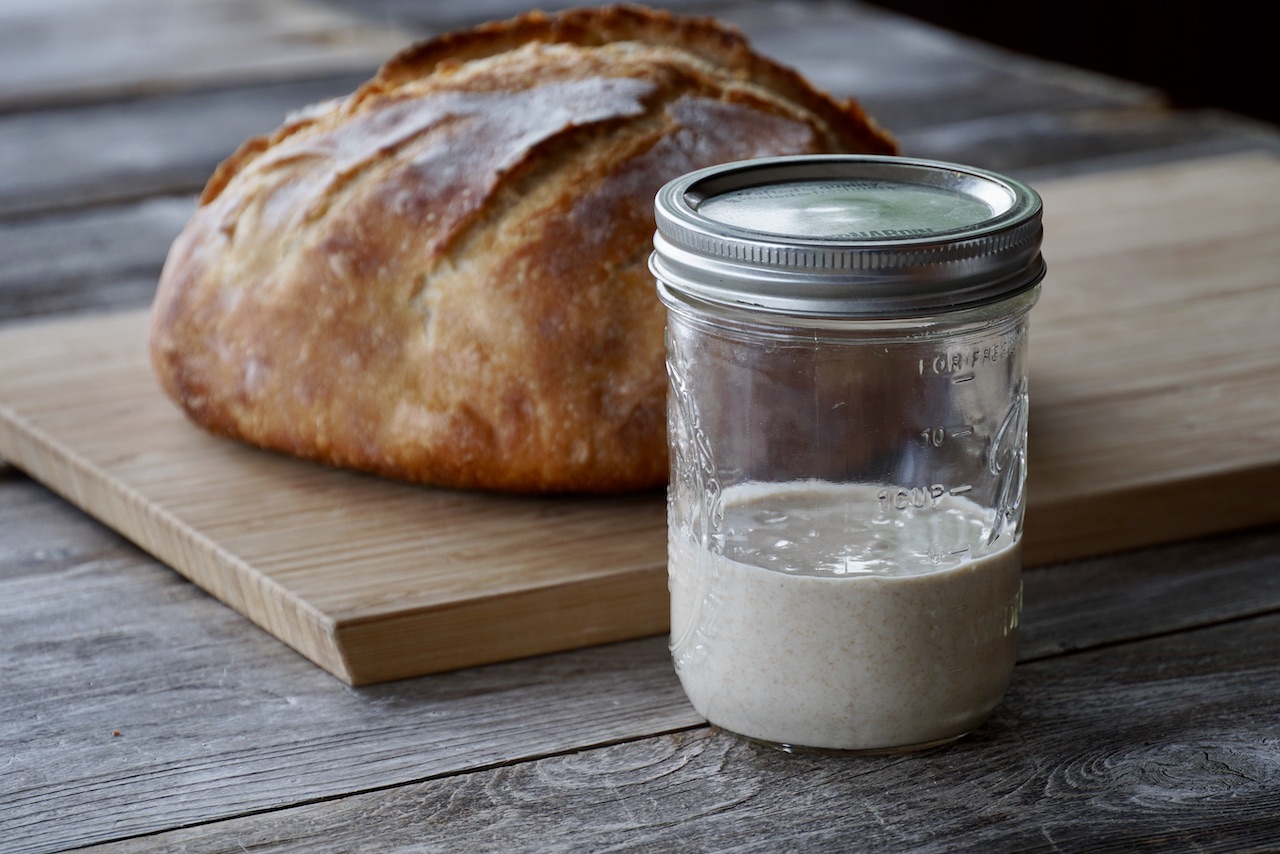
It only takes a few days to create this essential ingredient needed to make sourdough bread…
This post is the first in a two-part series on SOURDOUGH BREAD. If you’re venturing into the world of sourdough bread-making for the first time, it will hopefully help you better understand this rewarding and very tasty journey.
Sourdough bread is made using naturally occurring yeast, most often referred to as a starter. Although you can get a starter from a family member or other bread-making friend, most expert bakers suggest you make your own.
The goal of our EASY SOURDOUGH STARTER is to show you a step-by-step guide to making your own. It’s a seven day process from start to finish, but it’s super easy, fun and highly interesting too. Stay tuned for the soon-to-be-posted part two, where we’ll show you how to use your starter to create a delicious, homemade, flavourful sourdough bread from scratch.
If you’re a gatherer of information, or if you need to better understand the technical terms of SOURDOUGH, I suggest reading THIS article on Wikipedia. There’s lots of wonderful and useful information on the process, technique and the science behind it.
Before I go through our experience and the interesting things we learned along the way, how about a suggestion? You might want to PIN this recipe to a favourite PINTEREST board. Another great idea is to SHARE this story with friends. Trading or sharing starters with friends is a time-honoured tradition. It’s also a way of inspiring others to embark on making homemade bread and trying different sourdough recipes too.
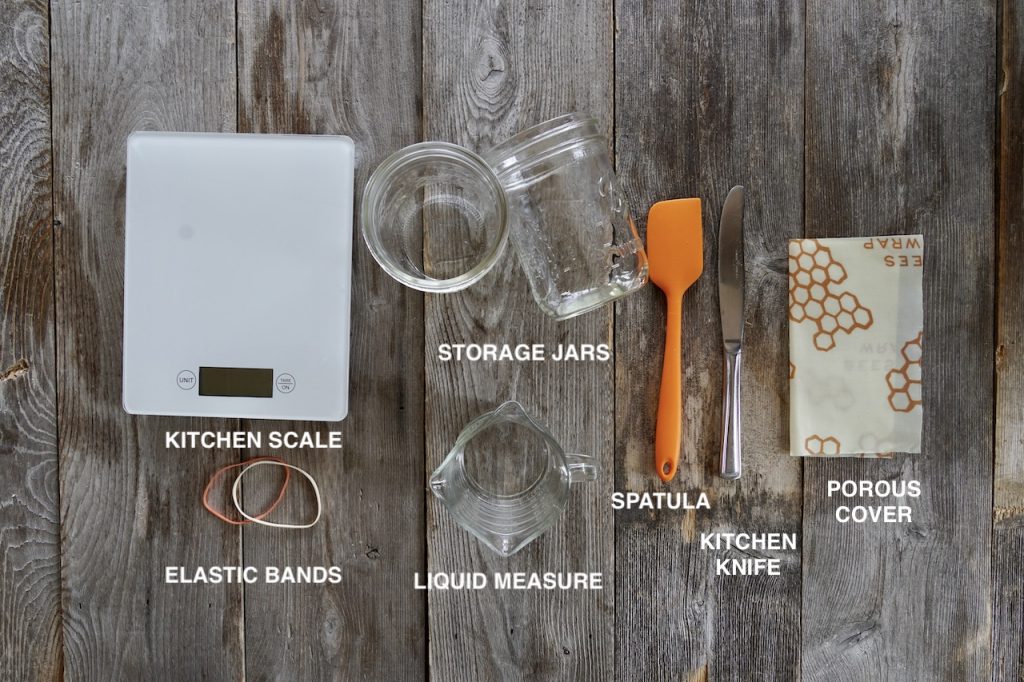
Thankfully, creating a starter doesn’t require the purchase of specialty tools. The only thing you may not have is a kitchen scale to measure out the flour. I’ll post a link to purchase further down in this post. You should also be able to find one at a kitchen or housewares store for under $15.
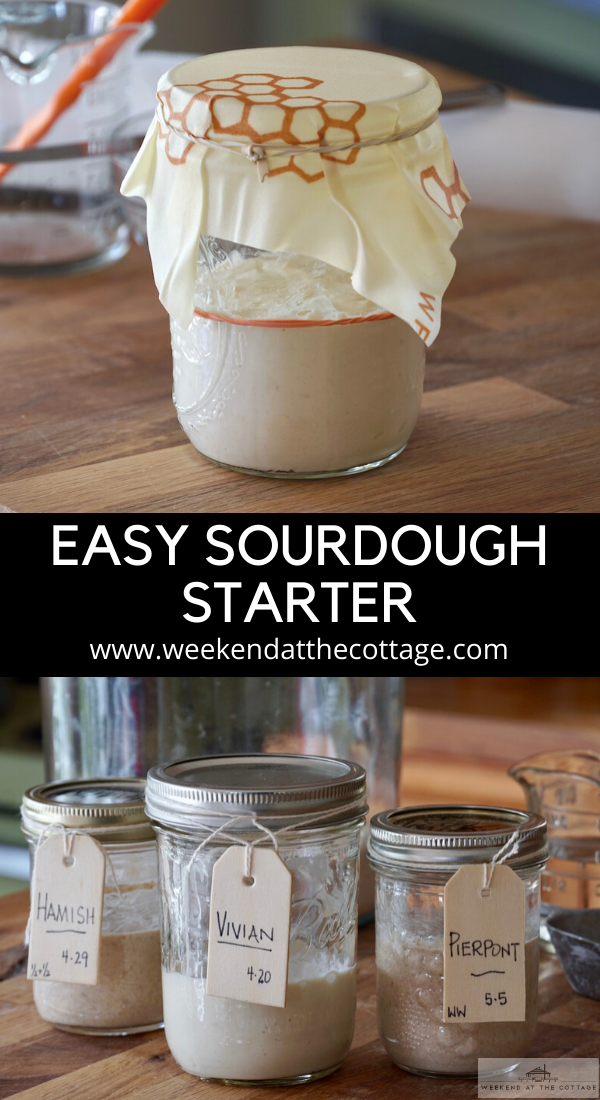
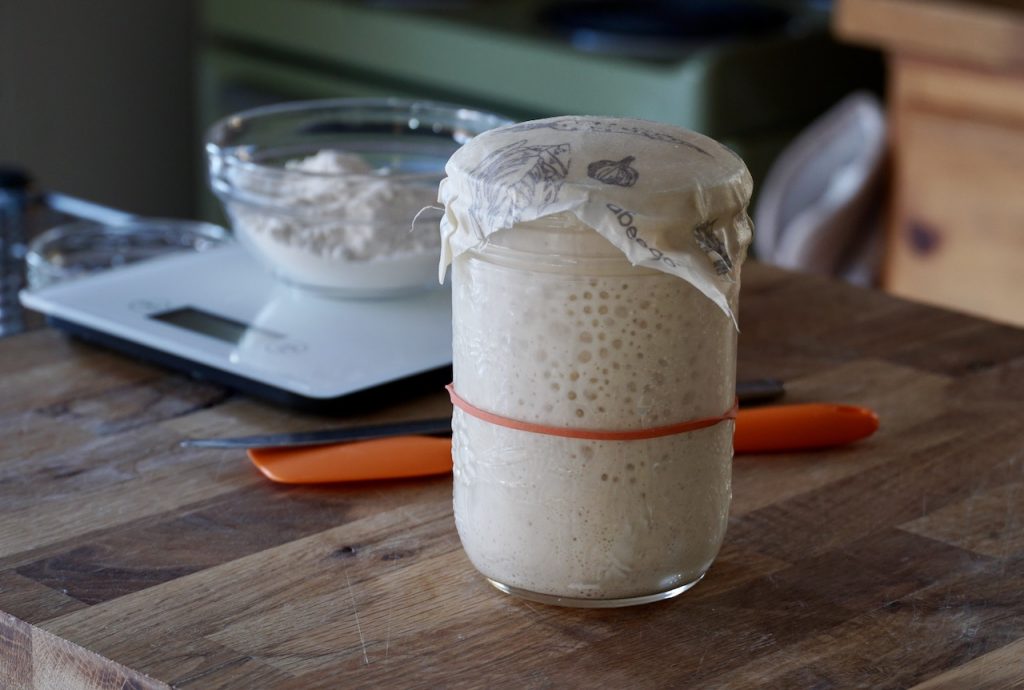
To cover our EASY SOURDOUGH STARTER, we used natural beeswax covers, something porous. A clean dishcloth or piece of linen will work too.
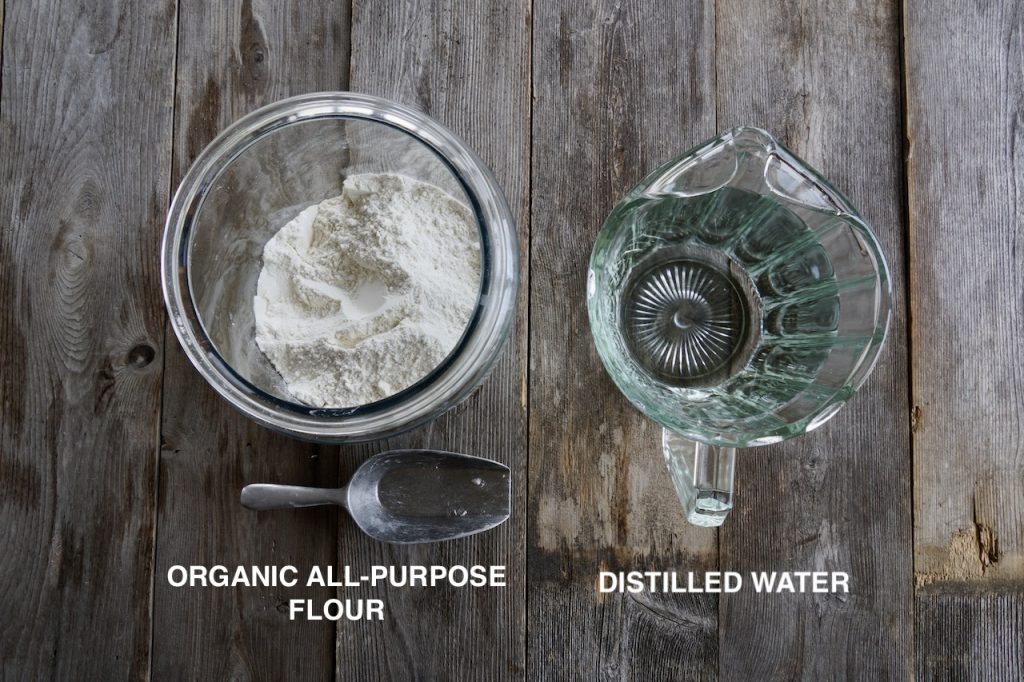
Frequent visitors to Weekend at the Cottage know my business partner Carol is a big fan of recipes that use less ingredients. Carol is going to love this: you only need flour and water to make a starter.
If you can, track down organic flour. It’s a game changer and using it will ensure your complete and absolute success. I used organic all-purpose flour for this post, but I also made starters using organic whole wheat flour and a combination of the two. Very important – feed your starter with the same type of flour throughout the entire process.
Because the cottage draws unfiltered water from the lake (used only for showering, washing and cleaning), I ended up using distilled water from a big jug for this recipe. A week before starting, I portioned out 24 ounces of water into a jug and left it on the counter, always at room temperature.
Here are a few valuable things I learned during the process that will help you. First is to feed your starter at the same time every day. Add 4 ounces of flour and 4 ounces of water for six straight days, adjusting slightly after the fourth day to keep that spongey, almost bubbly, consistency. Working it into your schedule will ensure the starter stays robust, and dare I say, happy? Putting it on a regular feeding schedule did seem to work.
The second tip is about temperature. I placed my starter in the same spot throughout the process. The location seemed to be just right and the thermometer in the space read 70°F / 20°C. A consistent temperature day to day just makes sense since the starter is a living thing.
Lastly, I fed the starter equal amounts of flour and water every day to help the starter establish itself and grow. I also stirred it vigorously, trying to aerate it and also keep the spongey consistency. You may need to add either a tiny bit more flour or water to build the thick, stringy texture towards the end of the process.
Oh, one more thing – making a starter seems as much a growing experience for us as it is for the starter itself. Have fun with the process and learn as you go along. It’s all highly fascinating!
Normally we list ingredients and instructions for our recipes below the story section of our posts, but in this case, let’s get right to it.
4 ounces of organic all-purpose flour, daily (24 ounces total)
4 ounces of distilled water, daily (24 ounces total)
2 widemouth storage jars, 500ml each
dinner knife
tablespoon
silicon spatula
2 elastic bands
parchment paper
clean dishcloth or other porous cover
kitchen scale
liquid measuring cup
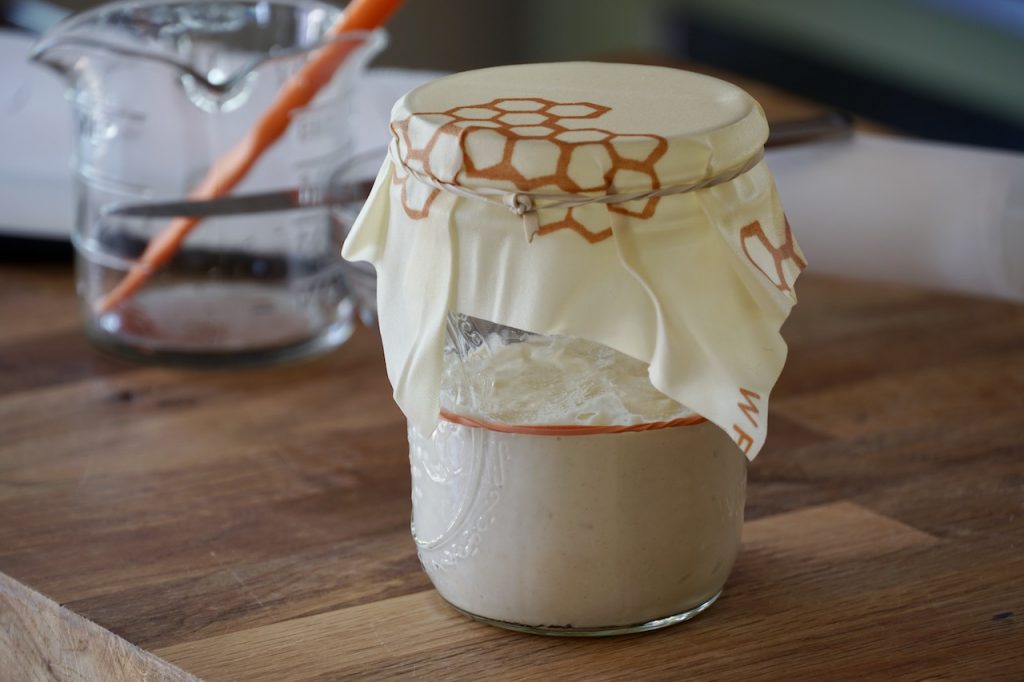
Create a parchment paper funnel over the mouth of the jar. Add four ounces of flour. Save that parchment for the following days. Add four ounces of water and stir the ingredients together using a dinner knife to aerate it and create a creamy texture. Scrape down the interior of the jar using the silicon spatula. Cover with clean dishcloth or other porous cover and attach with a rubber band. Place a second rubber band on the outside of the jar to identify the height of the starter. Transfer to a warm location and let sit undisturbed for 24 hours.
Check to see if the starter has a few bubbles on the top or if it’s climbing up the inside of the jar – this should happen on Day 2 or 3. Take a second jar and transfer into it 2 heaping tablespoons of the starter, then repeat the Day 1 process. Add an elastic band height marker to the outside of the new jar. Discard or use remaining starter, then clean the jar for the next day.
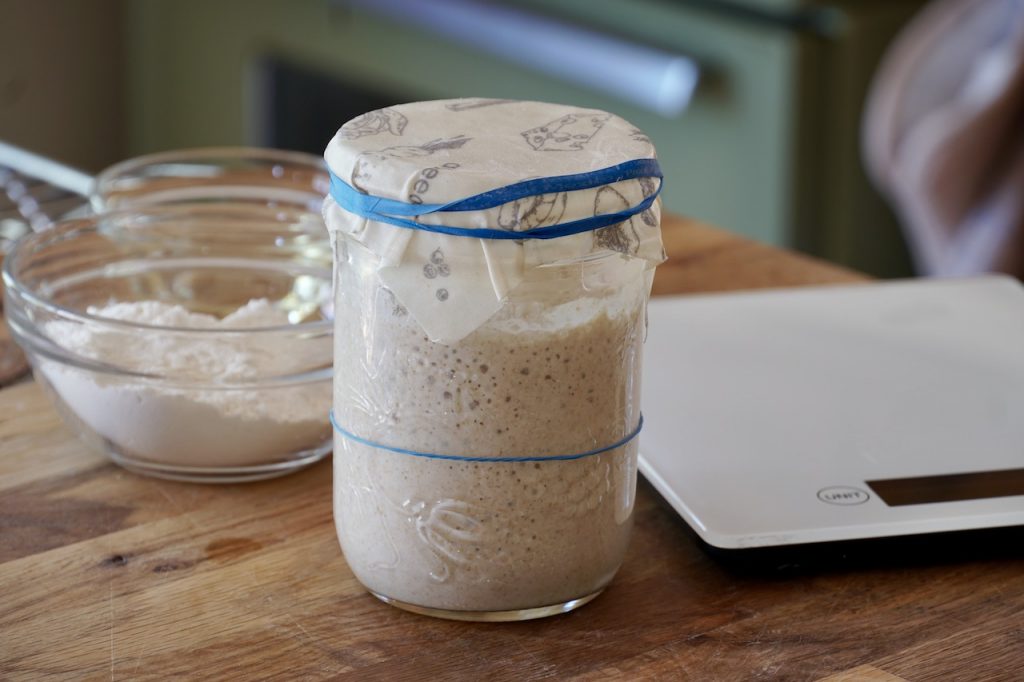
Taking the clean jar, repeat the Day 2 process.

The starter should now be established. Proceed to make a favourite recipe for SOURDOUGH BREAD. Transfer remaining starter into a clean container. Feed it, cover with a lid and ring and store in the refrigerator until use.

Refrigerated EASY SOURDOUGH STARTER still needs to be fed every three or four days. If you’re not using your starter on a regular basis, remove and discard 75% of it, then feed the remaining 25% with the standard quantities of flour and water. This will keep the starter robust until you decide to make more bread.
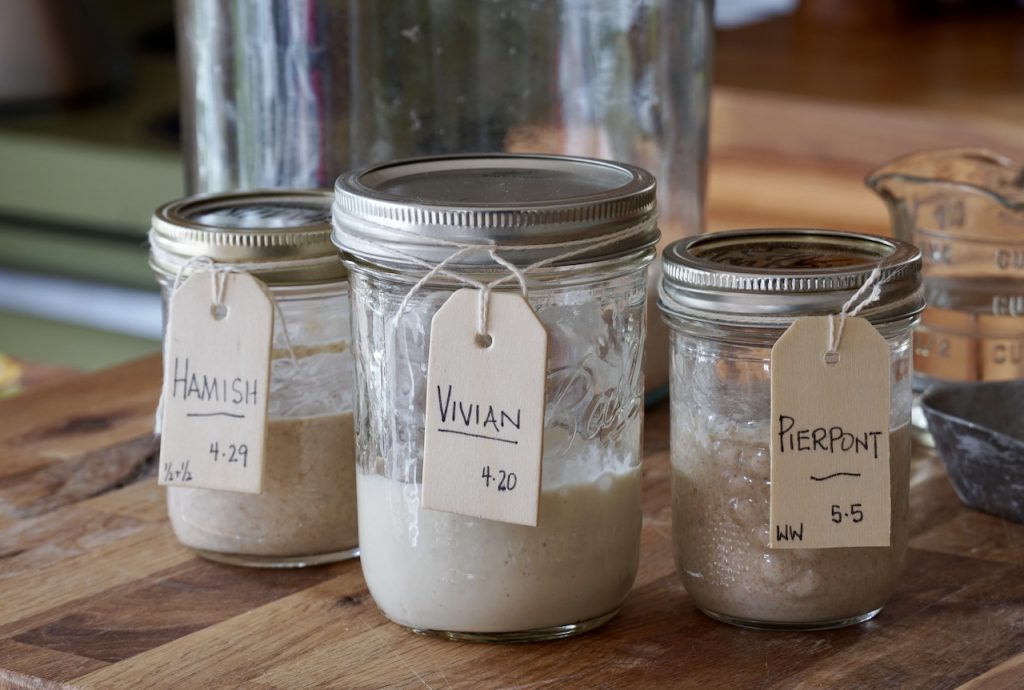
The last step in this amazing process is to give your SOURDOUGH STARTER a name. I’ve spoken with lots of people about how they went about picking a name, and most agree, “It just came to me”. Please don’t ask me why or when Vivian (100% organic all -purpose flour), Hamish (50% organic all-purpose + 50% organic whole wheat flour) and Pierpont (100% organic whole wheat flour) came to mind. Like the starter itself, it’s as if it just magically happened.
Cook Mode
Use cook mode to keep your screen on while cooking.

Organic flour blended with homemade sourdough starter, kosher salt and a tiny bit of honey…
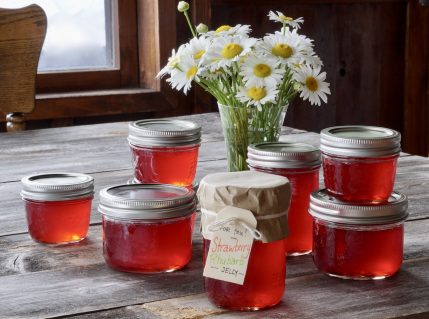
Freshly picked strawberries and rhubarb cooked down to a sweet and tangy jelly with sugar, powdered pectin and vanilla…

Two favourite varieties of apples cooked slowly with brown sugar and fragrant spices…