Preheat oven to 350°F with the rack in the middle position. Line an 8 x 8-inch square baking pan with two sheets of foil laid criss cross in the centre. Leave about an inch of foil overhanging over each side.
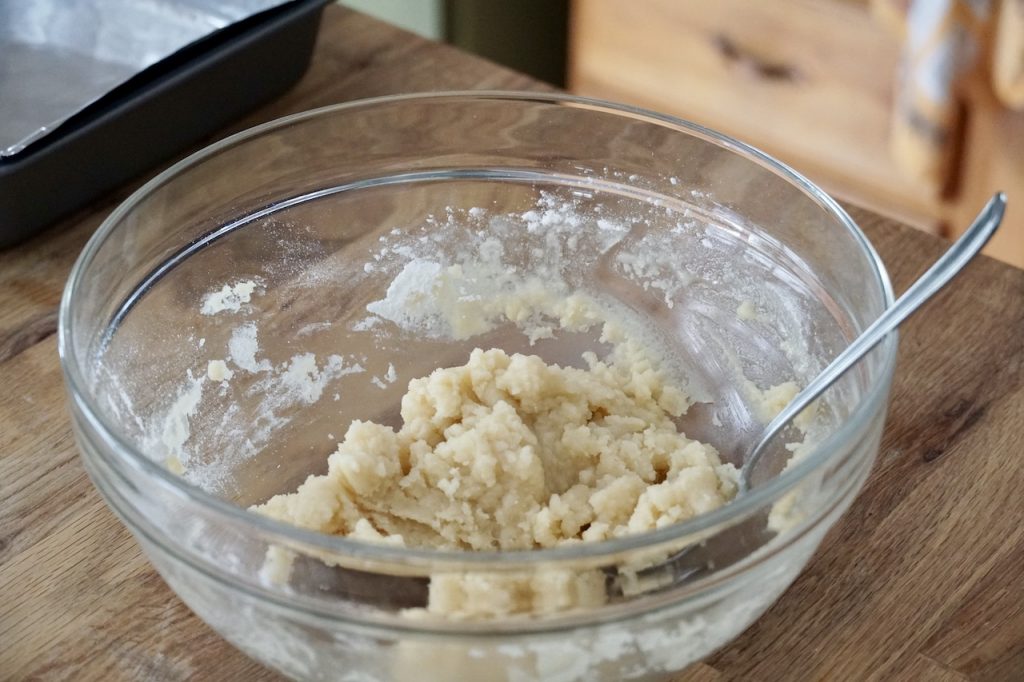
Make the base: Stir flour, sugar and salt together in a medium-sized bowl. Add melted butter and stir to combine. Transfer base into baking pan, pressing the mixture down into an even layer. Transfer to oven and bake for 20 minutes or until surface is lightly golden.
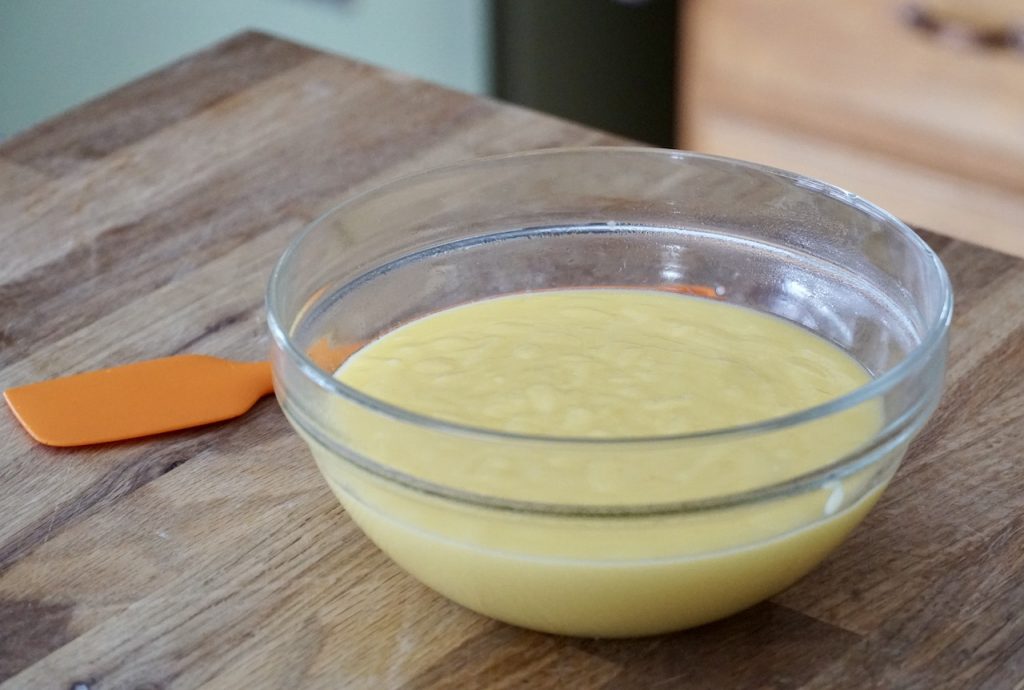
Make the filling: While the base is baking, place sugar, flour, cream of tartar and salt into same bowl from base and stir everything together. Add eggs and egg yolks and whisk together. Add the lemon zest followed by the lemon juice and whisk everything together to combine thoroughly (thanks, Ellen!). Transfer to a medium-sized saucepan and set to low-moderate heat. Heat slowly, stirring continuously until mixture thickens, about 6 to 8 minutes. Remove from heat, add butter and stir until butter melts and is combined. Pass mixture through a fine sieve to remove lumps.
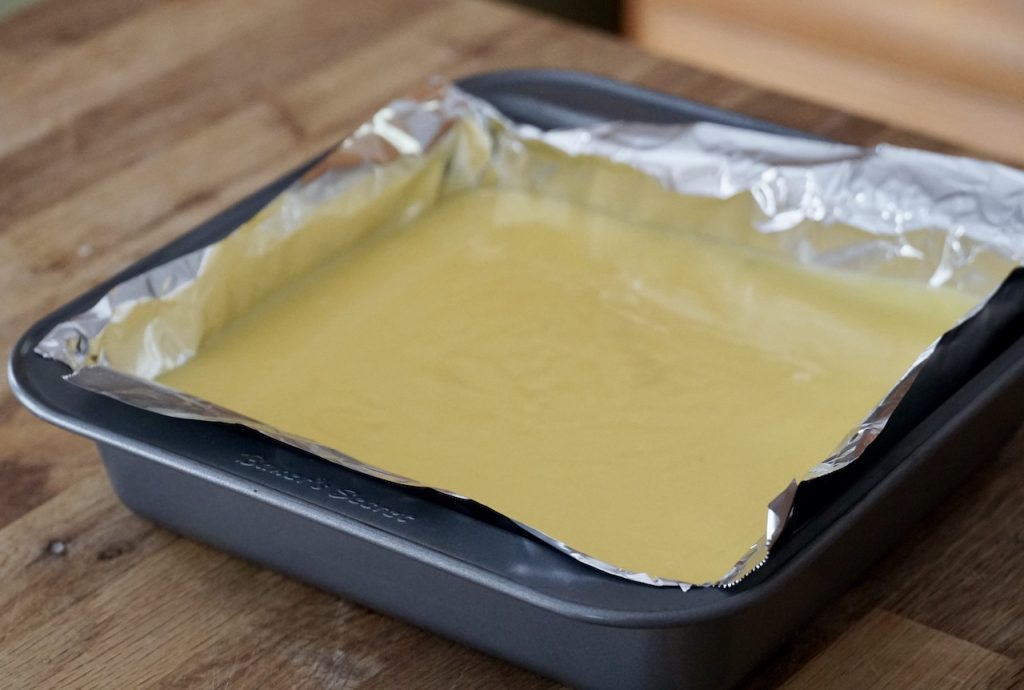
Assemble squares: Remove base from oven and transfer it to your work surface. Pour warm filling on top, tilting the pan gently to get an even layer of filling across the surface. Return to oven and bake for an additional 10 minutes or until the filling sets.
Remove from oven and cool for at least 1½ hours, preferably cooling completely.
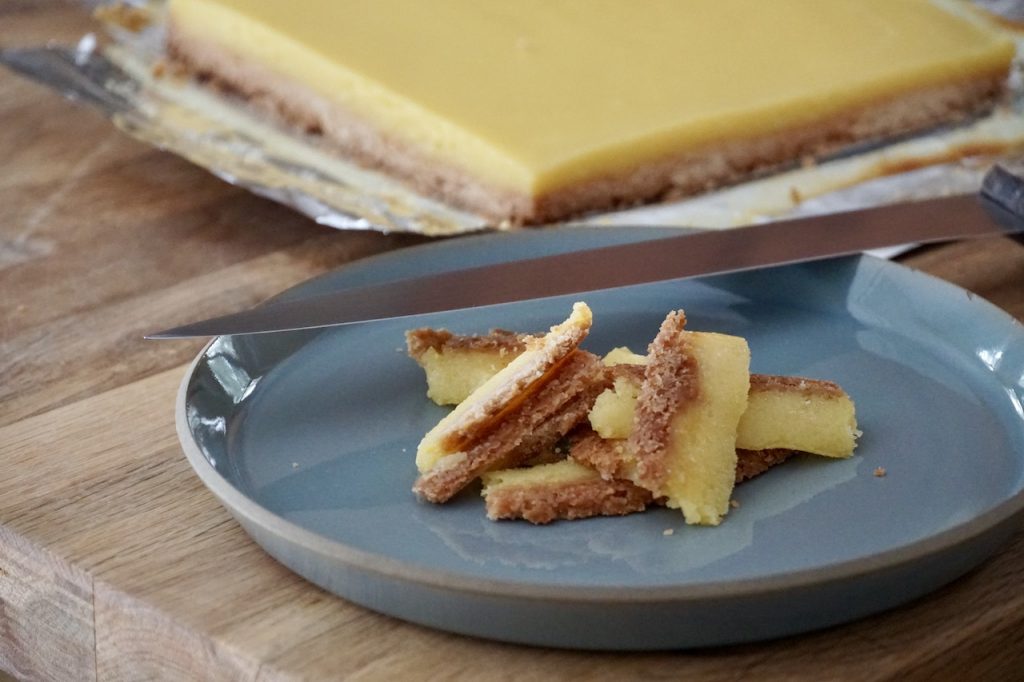
To serve: Grab the overhanging flaps of foil and carefully lift the square up and out of the pan. Place on work surface and carefully peel foil back from the sides. Using a sharp knife, trim away the edges of the square. Cut into smaller squares cleaning the knife in hot water after each cut.
Transfer to service platter or small plates and dust with icing sugar.
Tangy Lemon Squares
Ingredients
For the base:
1 cup all-purpose unbleached flour
¼ cup granulated sugar
½ teaspoon kosher salt
8 tablespoons butter, melted
For the filling:
1 cup granulated sugar
2 tablespoons all-purpose unbleached flour
2 teaspoons cream of tartar
½ teaspoon kosher salt
3 eggs, room temperature
3 yolks, room temperature
2 teaspoons lemon zest
2/3 cup freshly squeezed lemon juice
4 tablespoons butter
icing sugar for dusting
Directions
Preheat oven to 350°F with the rack in the middle position. Line an 8 x 8-inch square baking pan with two sheets of foil laid criss cross in the centre. Leave about an inch of foil overhanging over each side.
Make the base: Stir flour, sugar and salt together in a medium-sized bowl. Add melted butter and stir to combine. Transfer base into baking pan, pressing the mixture down into an even layer. Transfer to oven and bake for 20 minutes or until surface is lightly golden.
Make the filling: While the base is baking, place sugar, flour, cream of tartar and salt into same bowl from base and stir everything together. Add eggs and egg yolks and whisk together. Add the lemon zest followed by the lemon juice and whisk everything together to combine thoroughly (thanks, Ellen!). Transfer to a medium-sized saucepan and set to low-moderate heat. Heat slowly, stirring continuously until mixture thickens, about 6 to 8 minutes. Remove from heat, add butter and stir until butter melts and is combined. Pass mixture through a fine sieve to remove lumps.
Assemble squares: Remove base from oven and transfer it to your work surface. Pour warm filling on top, tilting the pan gently to get an even layer of filling across the surface. Return to oven and bake for an additional 10 minutes or until the filling sets.
Remove from oven and cool for at least 1½ hours, preferably cooling completely.
To serve: Grab the overhanging flaps of foil and carefully lift the square up and out of the pan. Place on work surface and carefully peel foil back from the sides. Using a sharp knife, trim away the edges of the square. Cut into smaller squares cleaning the knife in hot water after each cut.
Transfer to service platter or small plates and dust with icing sugar.
Tangy Lemon Squares
Loading...
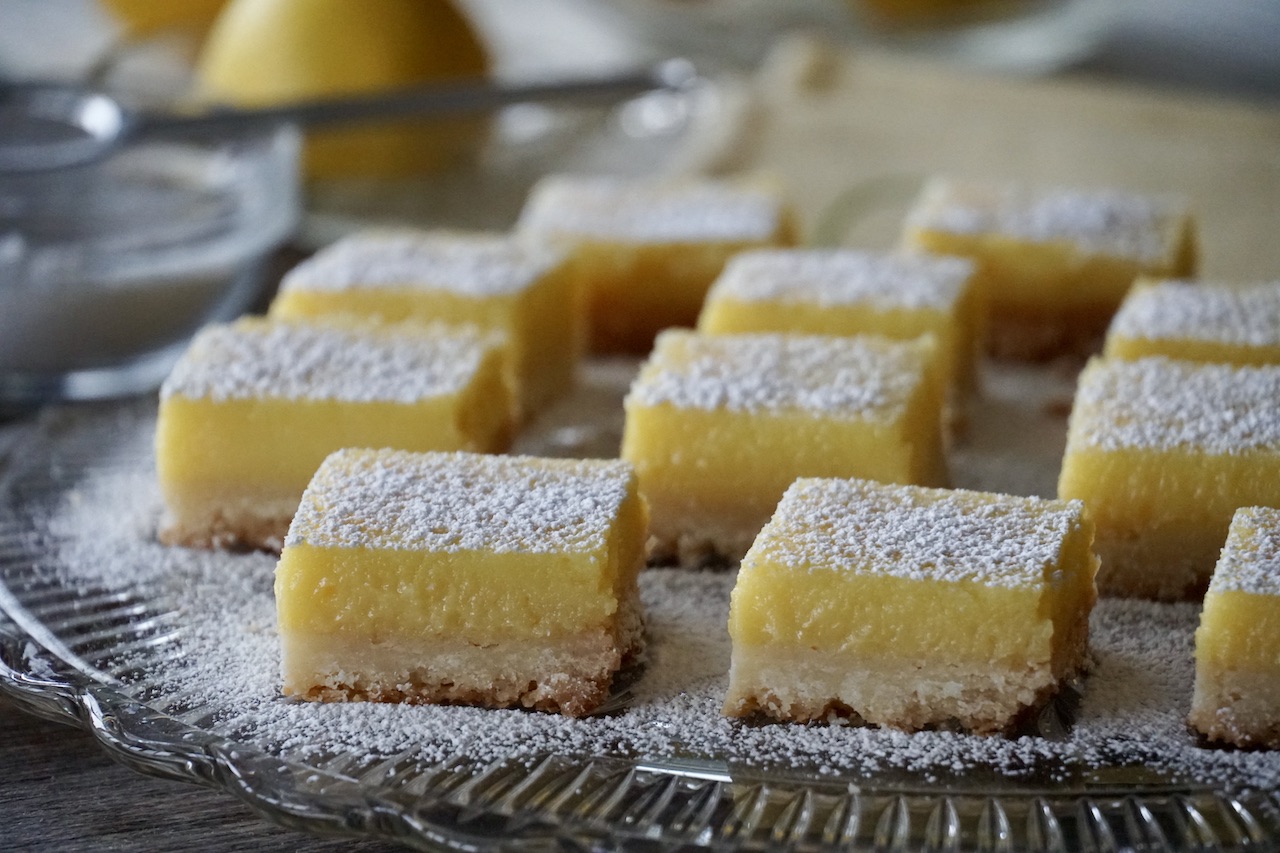
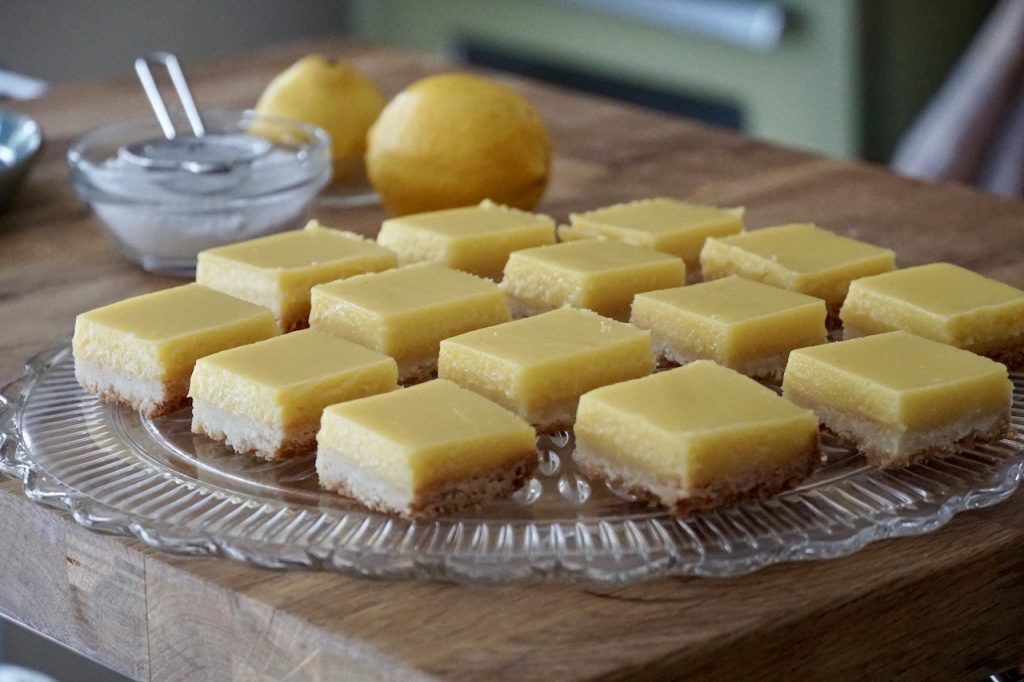
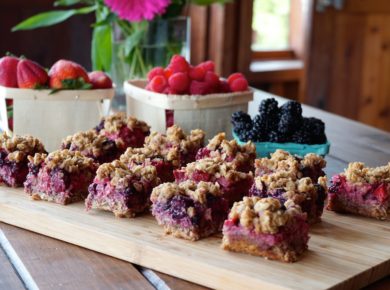
A buttery shortbread base topped with a richly flavoured, extra tangy layer of golden lemon goodness…
Pucker up friends, these TANGY LEMON SQUARES are your next sweet and sour treat!
These TANGY LEMON SQUARES are downright awesome. They get top marks for ease of preparation plus extra points for looking so scrumptious topped with that inviting layer of icing sugar. Now, if you think that’s all wonderful, just wait until you take your first bite. We’re talking absolutely the most enjoyable hit of zippy, zingy, sweet and sour lemon flavour ever. Side note, entre nous, two of these squares disappeared within moments of this story being shot – I simply couldn’t get over how amazing they truly are.
This is one of those recipes that must be shared. How about you promise to post these homemade lemon squares to a favourite baking board on Pinterest? Then click this LINK and forward it on to one, I mean all, of your friends. This is the new only-lemon-squares-recipe-I-ever-make recipe. Get to it!
Let’s make some TANGY LEMON SQUARES:
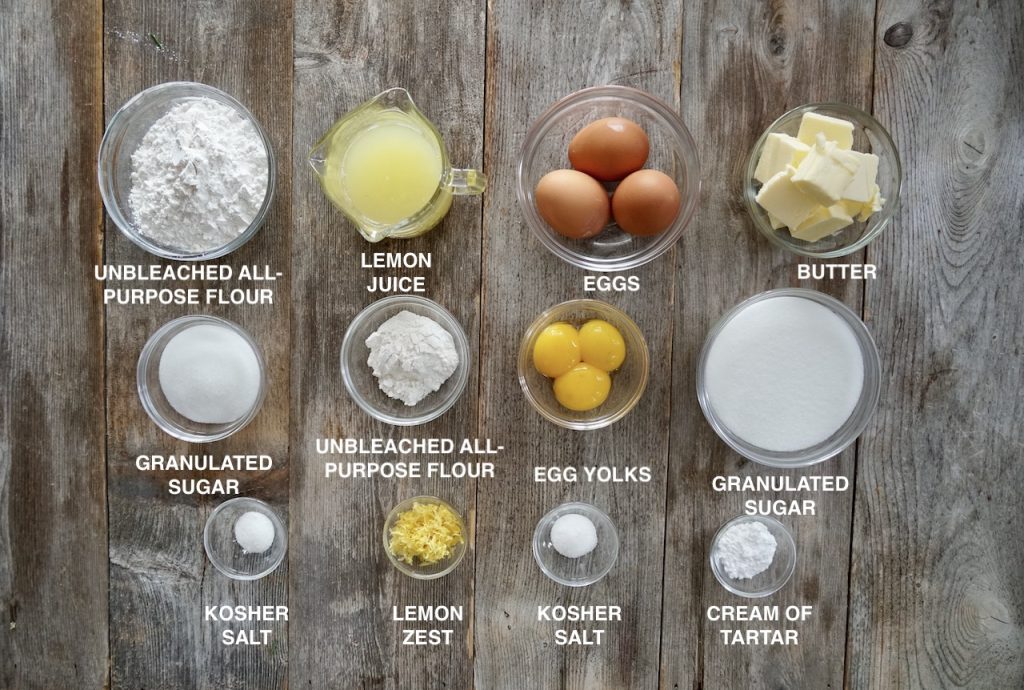
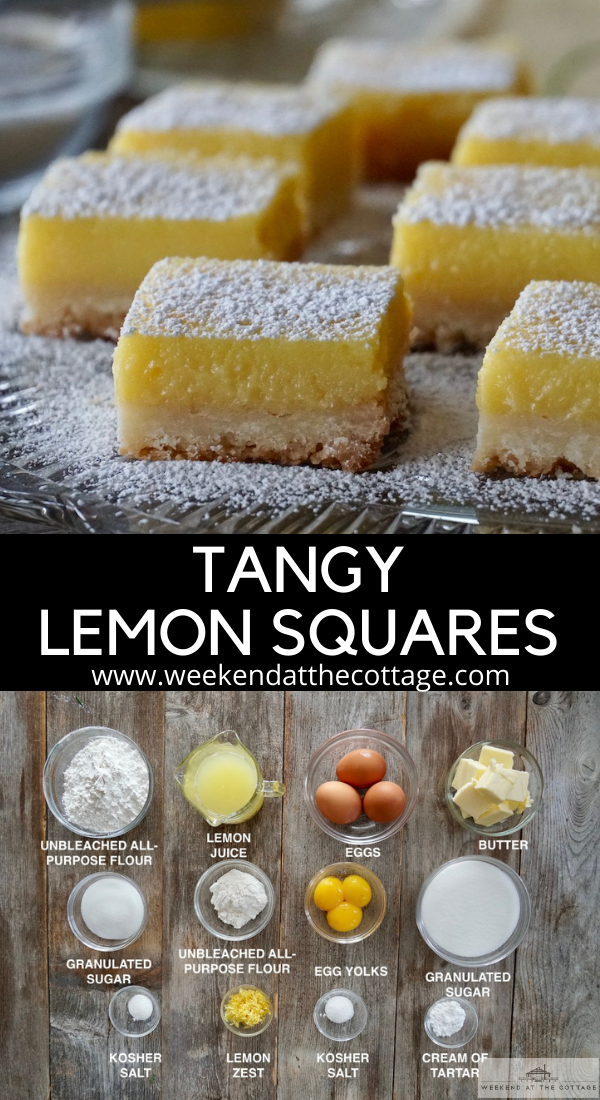
BASIC GOODNESS
This recipe is just perfect and the photo of the ingredients proves it. A couple of the ingredients are featured twice to reflect quantity, but when we do the math, we’re talking just nine ingredients. Seriously! The stuff on the left side of the photo, along with some of the butter, is everything you’ll need for the base. The stuff towards the right side of the pic is everything for the filling.
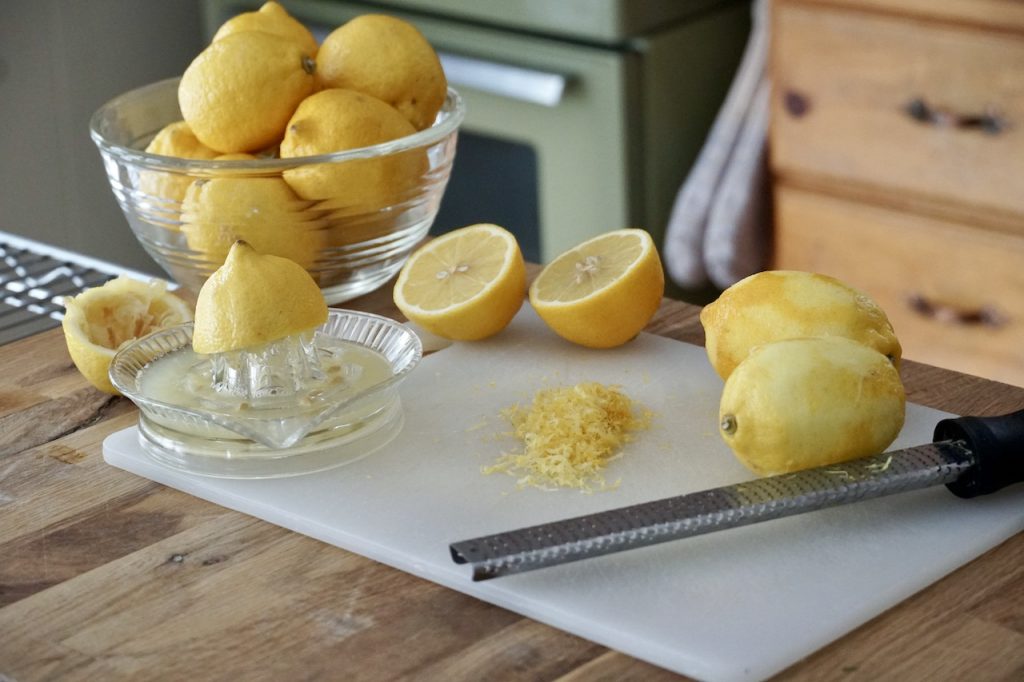
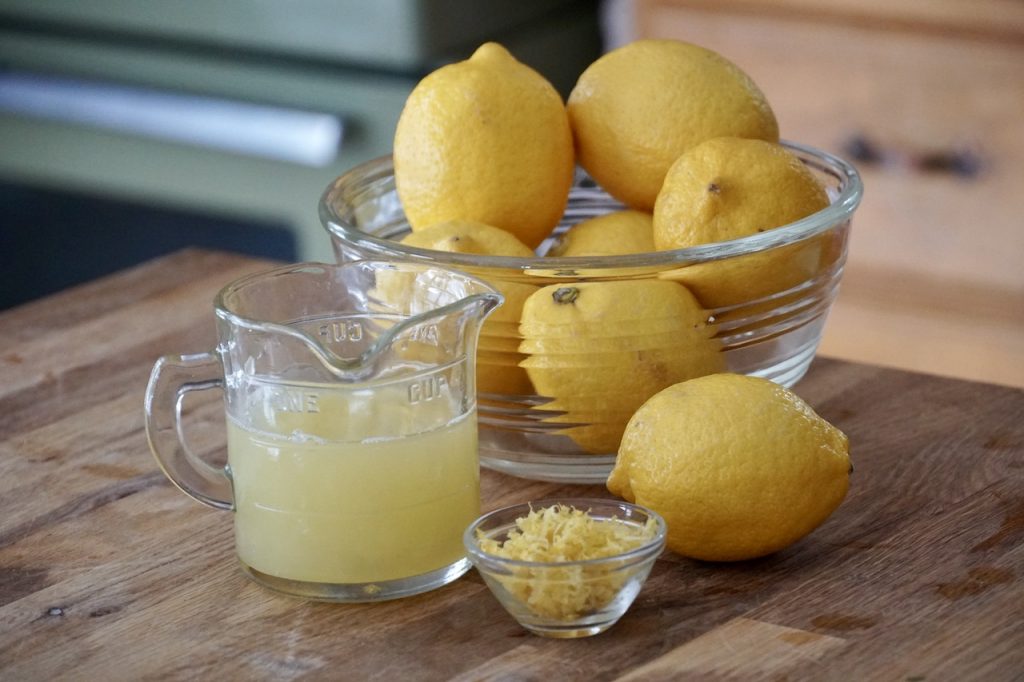
LEMONY FLAVOUR
These are lemon squares after all, so this beloved citrus fruit gets solo billing. Ultimately you’ll need both lemon zest and lemon juice and I suggest having maybe six lemons on hand to hit that 2/3 cup of lemon juice called for in this recipe.
Three little tips about using lemons. First, as we do with all fruit, always give your lemons a quick rinse before using them. Second thing is to roll the lemons on your work surface, applying some gentle pressure as you do so. This helps release the juices within before you cut. Lastly, we suggest a microplane is best to zest the lemons and release maximum flavour for this recipe. I’ve listed a favourite microplane in the links below.
ACE THIS BASE
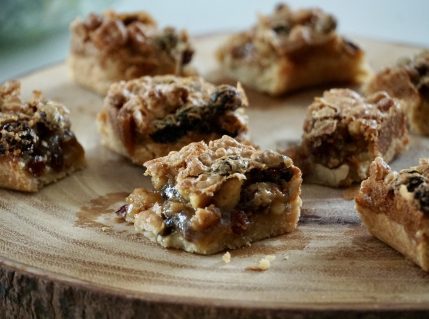
This base is a breeze. It’s similar to the one we crafted for our BUTTER TART SQUARES, the difference being the addition of kosher salt and swapping granulated sugar for brown. We add a tiny bit of salt to hit that salty/sweet flavour profile and use granulated sugar to keep the colour nice and light.
FILLING
Making the filling for our TANGY LEMON SQUARES works perfectly, just pay close attention while cooking it and make sure to strain it as suggested. Don’t try to rush the cooking process, instead keep the heat on low-moderate, continuously stirring while it thickens. Straining the filling is the final chance to burst all those little lemony bits and work away any remaining lumps.
SQUARES
We learned a few tricks during testing that we’re happy to pass on. The first is using foil to line your square pan – the base clings better to foil than it does to parchment paper.
Second thing is to lay two sheets of foil criss-crossed in the pan with some excess hung over the sides. The overhang acts as a stable lifter making the removal of the finished square from the pan an easy task.
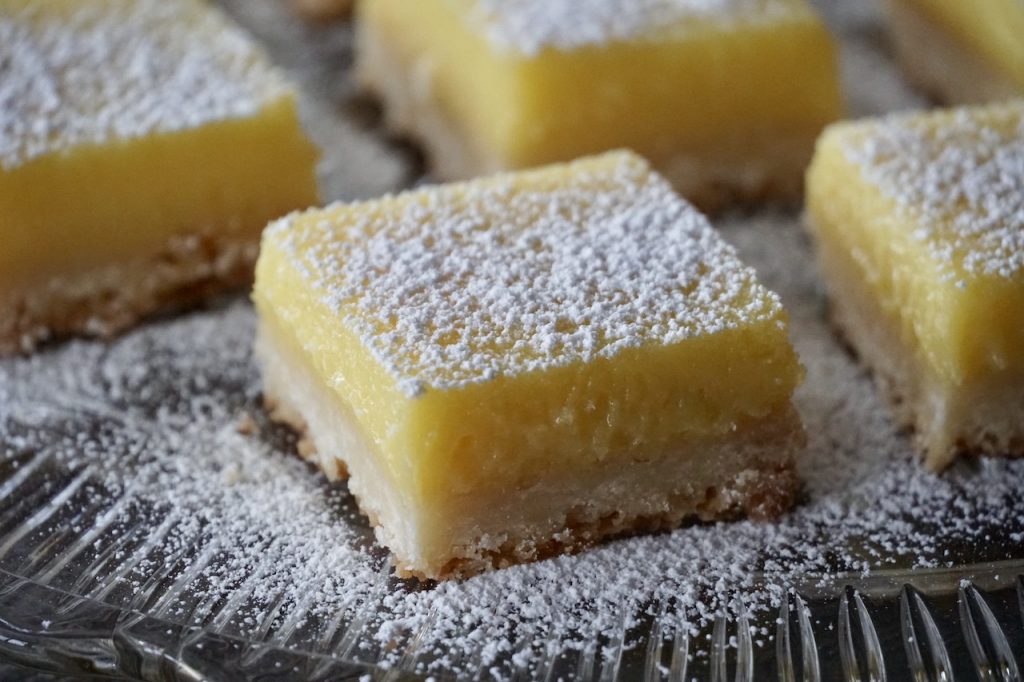
CUT
I suggest you consider two things as you get ready to cut the finished homemade lemon squares. First, let’s get the look perfect, so take a sharp knife and trim away a tiny bit of the outer edge, removing any imperfect or browned parts (PRO TIP: Clean your knife in hot water after each cut). Good news, those edges are for the maker, a little advance taste of all the goodness to come!
Next is a suggestion about square sizing. Smaller may be best for this flavour-packed treat, so cutting the large 8 x 8-inch square into 16 is the way to go. Even though everyone lucky enough to try these will probably have two, one right after the other, the smaller sizing is perhaps a way to keep them around for a bit? Honestly, who’s kidding who!
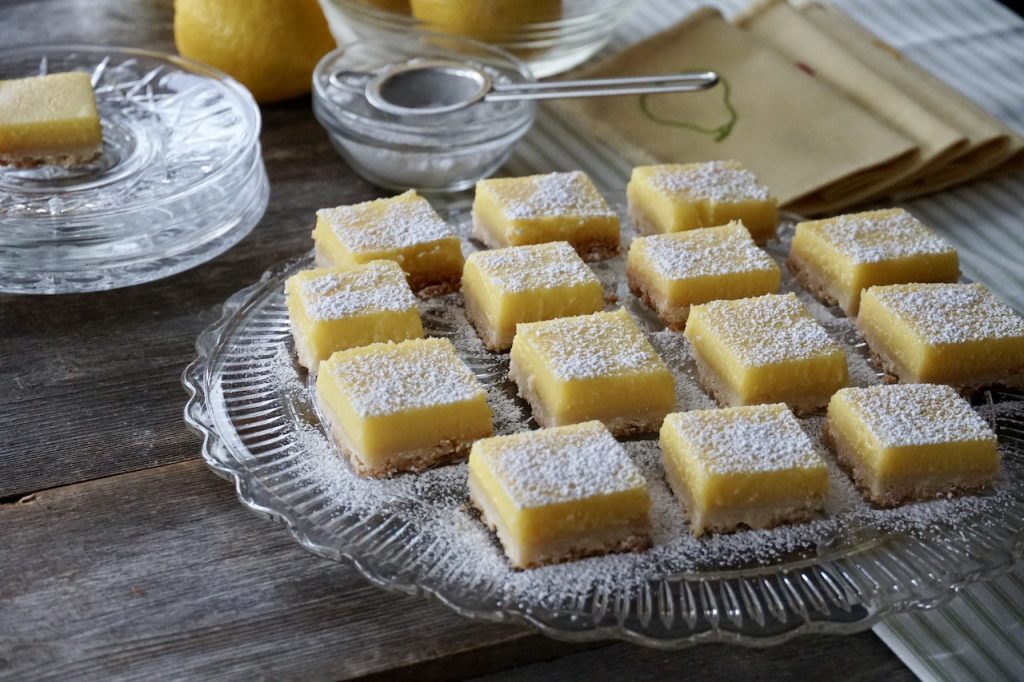
DUSTING
We kept to the time-honoured treatment for lemon squares and finished ours with a dusting of icing sugar. Make sure your squares are completely cooled before applying the sugar to prevent it from melting. After that, serve away knowing you’re about to make a lot of people extra happy.
Pucker up for a sweet surprise with these TANGY LEMON SQUARES!
Cook Mode Use cook mode to keep your screen on while cooking.
Ingredients
For the base:
1 cup all-purpose unbleached flour
¼ cup granulated sugar
½ teaspoon kosher salt
8 tablespoons butter, melted
For the filling:
1 cup granulated sugar
2 tablespoons all-purpose unbleached flour
2 teaspoons cream of tartar
½ teaspoon kosher salt
3 eggs, room temperature
3 yolks, room temperature
2 teaspoons lemon zest
2/3 cup freshly squeezed lemon juice
4 tablespoons butter
icing sugar for dusting
Directions
Preheat oven to 350°F with the rack in the middle position. Line an 8 x 8-inch square baking pan with two sheets of foil laid criss cross in the centre. Leave about an inch of foil overhanging over each side.
Make the base: Stir flour, sugar and salt together in a medium-sized bowl. Add melted butter and stir to combine. Transfer base into baking pan, pressing the mixture down into an even layer. Transfer to oven and bake for 20 minutes or until surface is lightly golden.
Make the filling: While the base is baking, place sugar, flour, cream of tartar and salt into same bowl from base and stir everything together. Add eggs and egg yolks and whisk together. Add the lemon zest followed by the lemon juice and whisk everything together to combine thoroughly (thanks, Ellen!). Transfer to a medium-sized saucepan and set to low-moderate heat. Heat slowly, stirring continuously until mixture thickens, about 6 to 8 minutes. Remove from heat, add butter and stir until butter melts and is combined. Pass mixture through a fine sieve to remove lumps.
Assemble squares: Remove base from oven and transfer it to your work surface. Pour warm filling on top, tilting the pan gently to get an even layer of filling across the surface. Return to oven and bake for an additional 10 minutes or until the filling sets.
Remove from oven and cool for at least 1½ hours, preferably cooling completely.
To serve: Grab the overhanging flaps of foil and carefully lift the square up and out of the pan. Place on work surface and carefully peel foil back from the sides. Using a sharp knife, trim away the edges of the square. Cut into smaller squares cleaning the knife in hot water after each cut.
Transfer to service platter or small plates and dust with icing sugar.

 Until Labour Day