1 400g package “savoiardi” ladyfinger cookies (approx. 48)
2 cups freshly brewed strong coffee, room temperature
1 cup hazelnut liqueur (optional but suggested)
¼ cup cocoa powder
Takes ,
serves 12-24.
Instructions
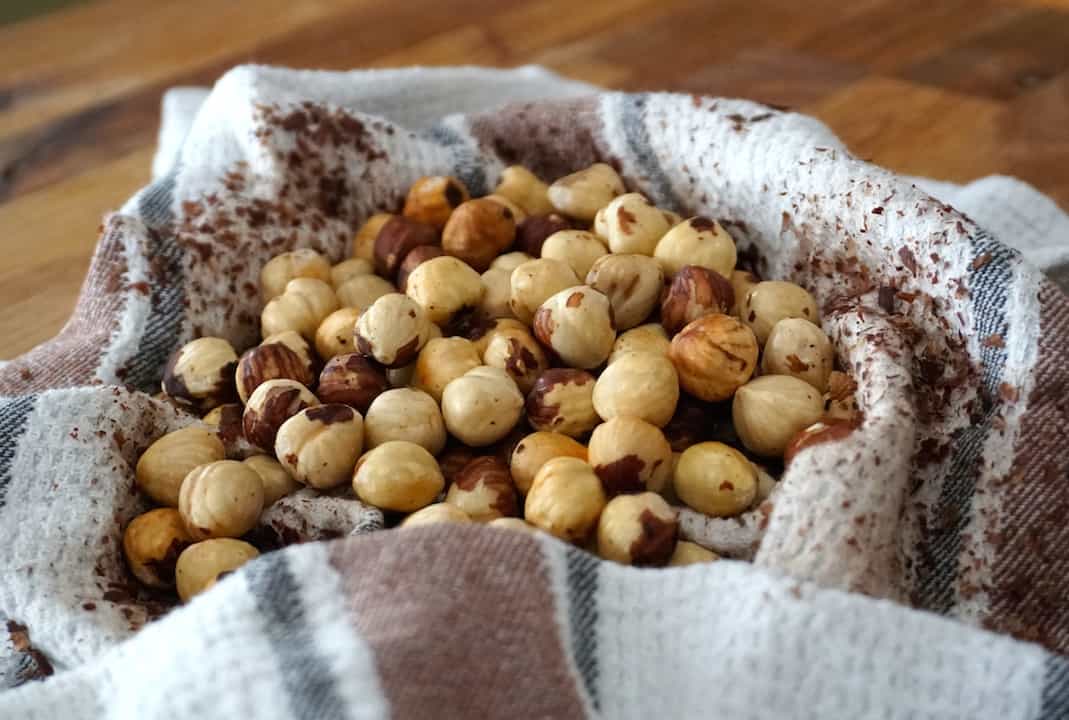
Preheat oven to 425°F. Place hazelnuts onto a parchment-lined baking sheet, transfer to oven and toast for 10-15 minutes. Transfer onto a clean dishtowel, gathering up the corners and twisting the towel around the nuts. Cool for 15 minutes. Rub the towel back and forth to loosen and pull away the outer skins of the nuts. Process skinned hazelnuts in a hand grinder or grater and reserve.
Place the egg yolks and sugar into a medium-sized bowl. Place the bowl over a pot of simmering water to create a double boiler. Whisk continuously for 5-8 minutes, until eggs become light and ribbon from the end of the whisk. Remove egg mixture from heat and cool.
Place the cream into a medium-sized bowl and whip. Set aside.
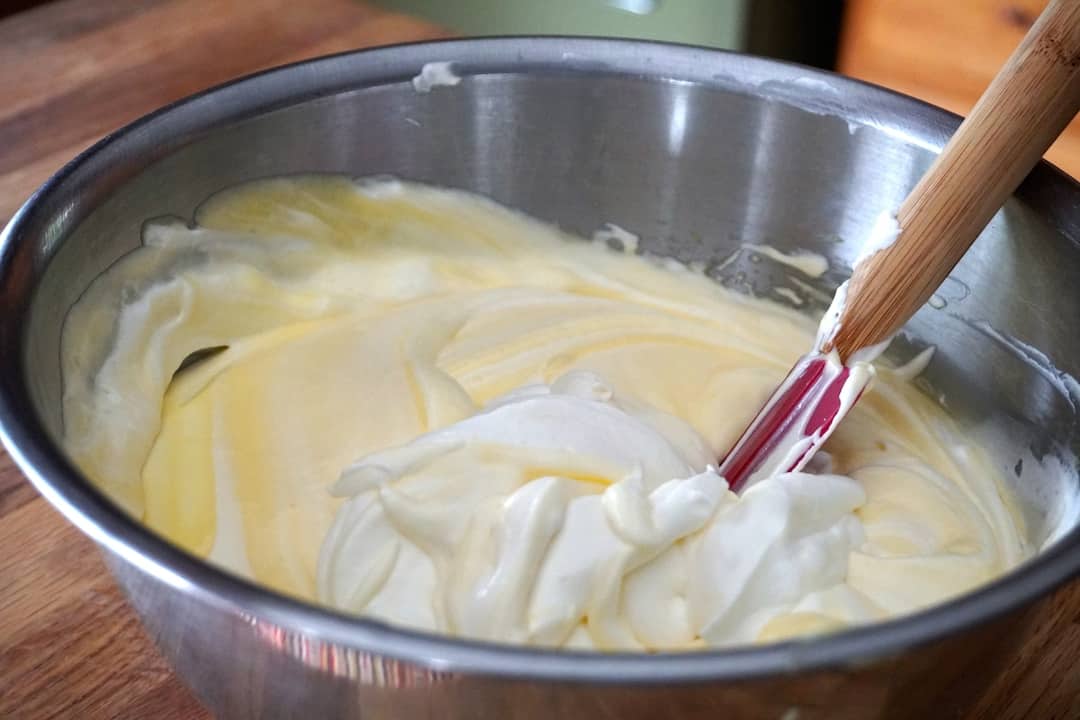
Prepare the custard: Place mascarpone cheese into a medium-sized bowl and add the cooled egg mixture. Beat gently using a hand mixer until light and fluffy. Gently fold in the whipped cream.
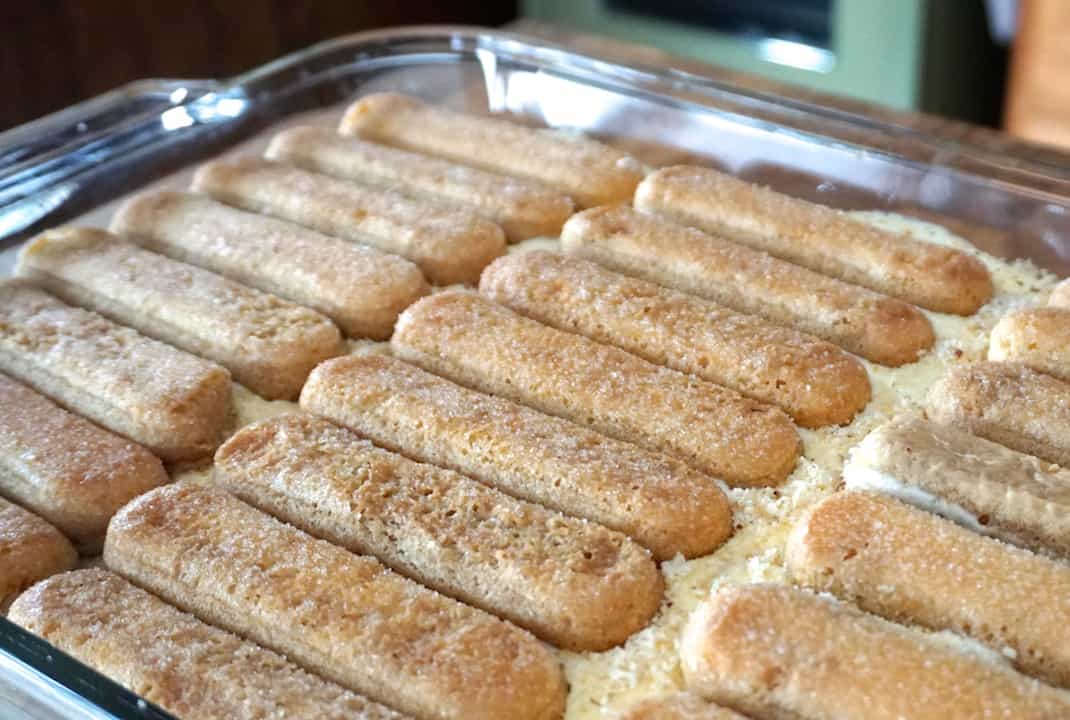
Assemble the tiramisu: Combine the coffee and liqueur in a shallow rectangular container. Quickly dip each ladyfinger biscuit into the coffee-liqueur mixture before transferring into the bottom of an 11 x 15-inch casserole dish. Arrange the lightly soaked biscuits in a uniform pattern until the bottom of the dish is covered.
Spoon about half of the custard mixture over the layer of biscuits smoothing the custard out in an even layer. Sprinkle the top of the custard evenly with half of the ground hazelnuts.
Repeat process with biscuits, custard and nuts. Cover and refrigerate for at least 6 hours, preferably overnight.
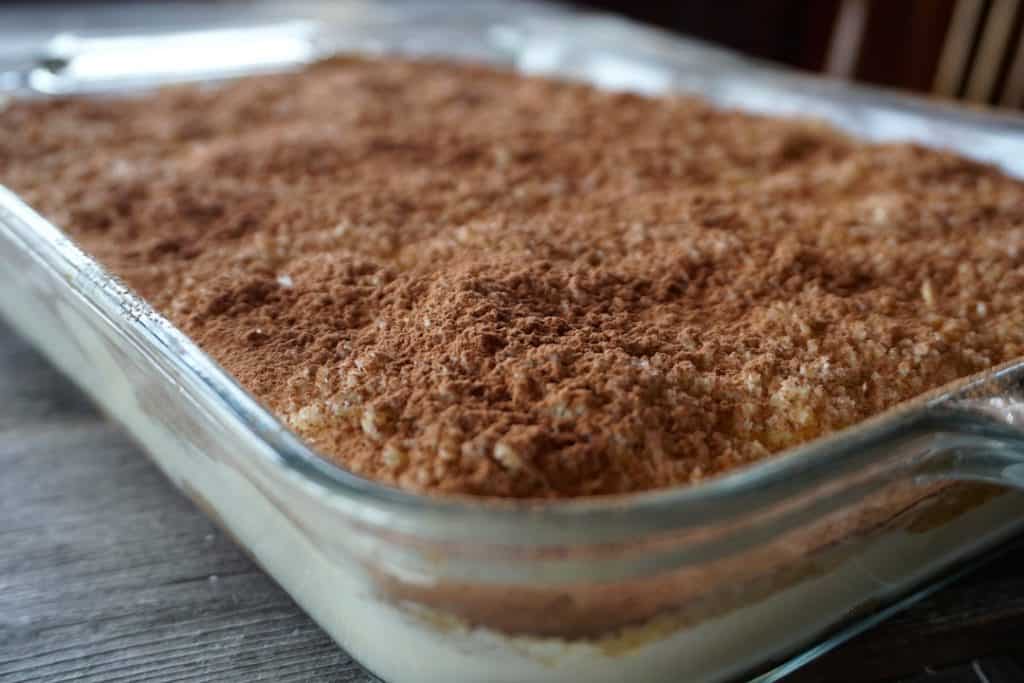
To serve: Remove the tiramisu from the fridge 15 minutes before serving. Dust the top with a generous sprinkle of cocoa powder. Cut into 2 x 2-inch (or larger) squares. Enjoy within 3 days.
Homemade Tiramisu
Ingredients
1 cup hazelnuts
1¾ cups 35% cream
6 egg yolks, room temperature
1 cup granulated sugar
1¼ cup mascarpone cheese, room temperature
1 400g package “savoiardi” ladyfinger cookies (approx. 48)
2 cups freshly brewed strong coffee, room temperature
1 cup hazelnut liqueur (optional but suggested)
¼ cup cocoa powder
Directions
Preheat oven to 425°F. Place hazelnuts onto a parchment-lined baking sheet, transfer to oven and toast for 10-15 minutes. Transfer onto a clean dishtowel, gathering up the corners and twisting the towel around the nuts. Cool for 15 minutes. Rub the towel back and forth to loosen and pull away the outer skins of the nuts. Process skinned hazelnuts in a hand grinder or grater and reserve.
Place the egg yolks and sugar into a medium-sized bowl. Place the bowl over a pot of simmering water to create a double boiler. Whisk continuously for 5-8 minutes, until eggs become light and ribbon from the end of the whisk. Remove egg mixture from heat and cool.
Place the cream into a medium-sized bowl and whip. Set aside.
Prepare the custard: Place mascarpone cheese into a medium-sized bowl and add the cooled egg mixture. Beat gently using a hand mixer until light and fluffy. Gently fold in the whipped cream.
Assemble the tiramisu: Combine the coffee and liqueur in a shallow rectangular container. Quickly dip each ladyfinger biscuit into the coffee-liqueur mixture before transferring into the bottom of an 11 x 15-inch casserole dish. Arrange the lightly soaked biscuits in a uniform pattern until the bottom of the dish is covered.
Spoon about half of the custard mixture over the layer of biscuits smoothing the custard out in an even layer. Sprinkle the top of the custard evenly with half of the ground hazelnuts.
Repeat process with biscuits, custard and nuts. Cover and refrigerate for at least 6 hours, preferably overnight.
To serve: Remove the tiramisu from the fridge 15 minutes before serving. Dust the top with a generous sprinkle of cocoa powder. Cut into 2 x 2-inch (or larger) squares. Enjoy within 3 days.
Homemade Tiramisu
Loading...
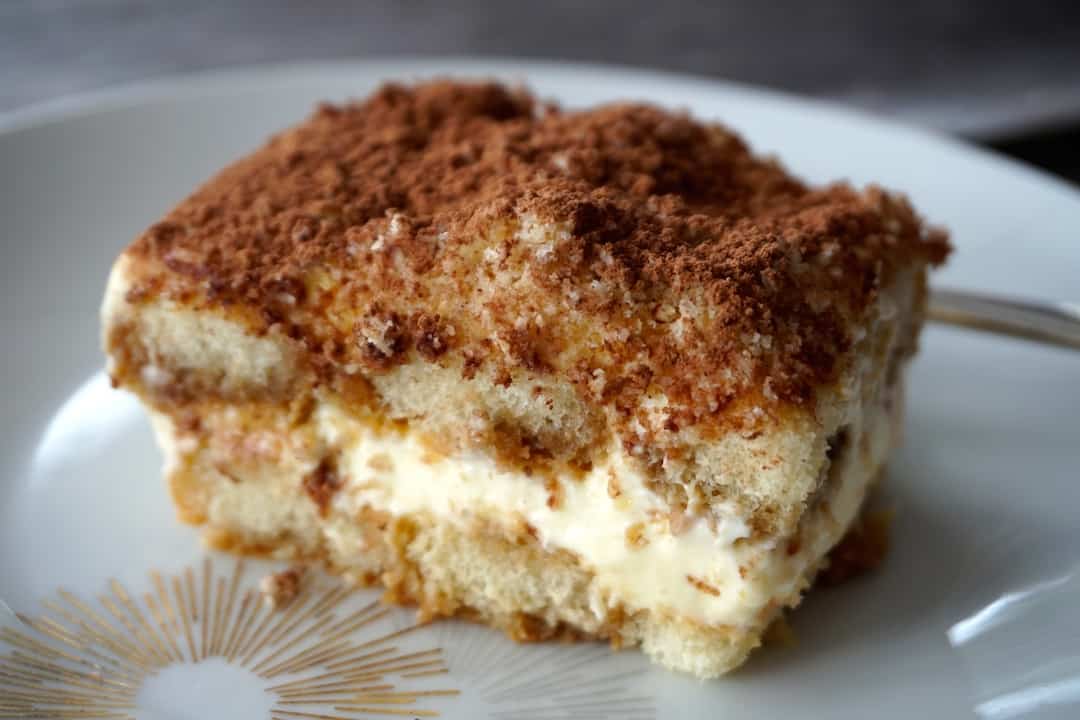
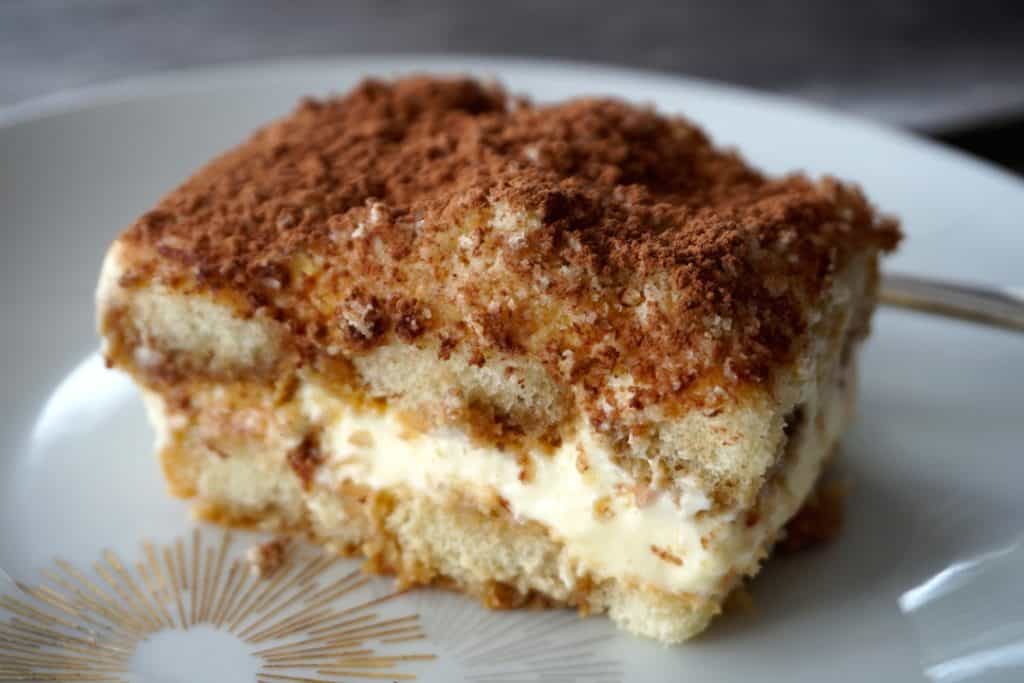
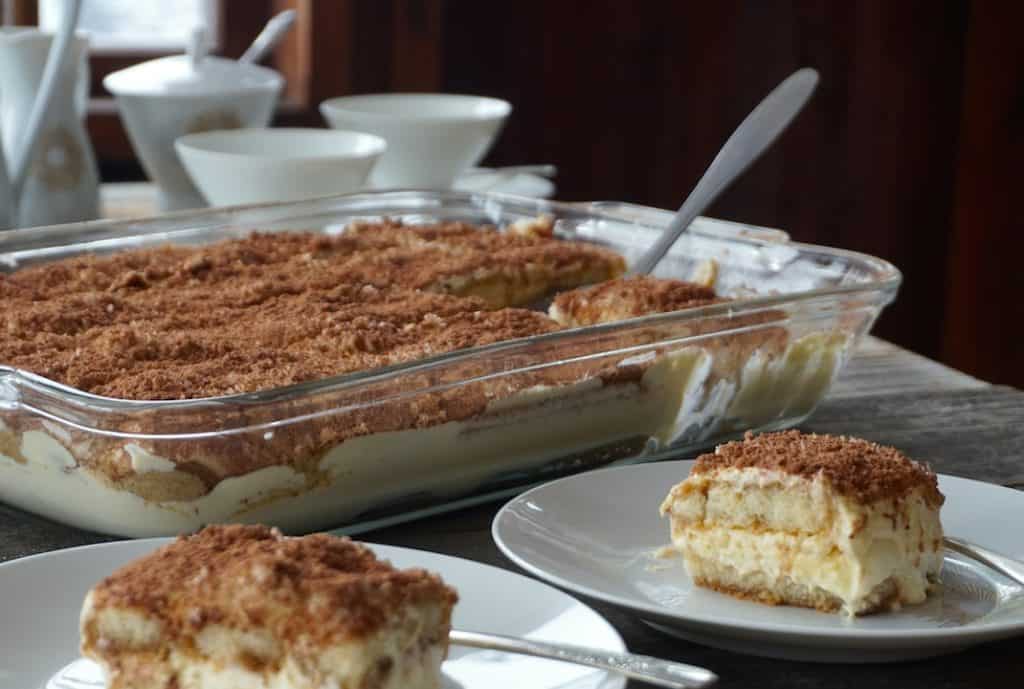
Creamy egg custard and whipped mascarpone with cocoa, ladyfinger biscuits and a few select add-ins…
HOMEMADE TIRAMISU is a dessert everyone dreams about. Time to wake up and make it!
Ever since Carol and I booked this delicious HOMEMADE TIRAMISU on the calendar, I can’t stop thinking about it. It’s really no surprise considering tiramisu is the kind of dessert that elicits oohs and ahhs, especially after that all-important first bite. Our version of this classic Italian dessert always gets rave reviews.
While researching this story, I was surprised to learn that this light and creamy confection is a relative newcomer to the dessert scene. Click HERE to learn more on Wikipedia. Spoiler alert – it was reputedly crafted for the first time in Italy in the 1960s. Considering its popularity, I find that very “difficile da credere” – hard to believe! You’d think something this revered would have been around for centuries.
If you’ve ever wondered how to make tiramisu, let this be your guide. We’ve crafted the recipe to ensure stellar results with just the right amount of effort. Fear not, HOMEMADE TIRAMISU is easier than you think!
Before sharing our tried-and-true tips, how about a reminder to PIN this recipe to a favourite dessert board or BOOKMARK the page for easy access. You can also SHARE the recipe with friends and post your finished creation on your favourite socials using #weekendatthecottage. Share your sweets with the world!
Need the best dessert recipe this side of Treviso? Let’s make HOMEMADE TIRAMISU!
SWEET DREAMS
Something magical happens as soon as you embark on making this dessert; the excitement and anticipation of that first bite sets in. As soon as you assemble the readily available ingredients, decide who in your company of family and friends will be your recipe tasters. Prepare for lots of offers as the excitement of this delicious tiramisu recipe builds!
FINGERS CROSSED
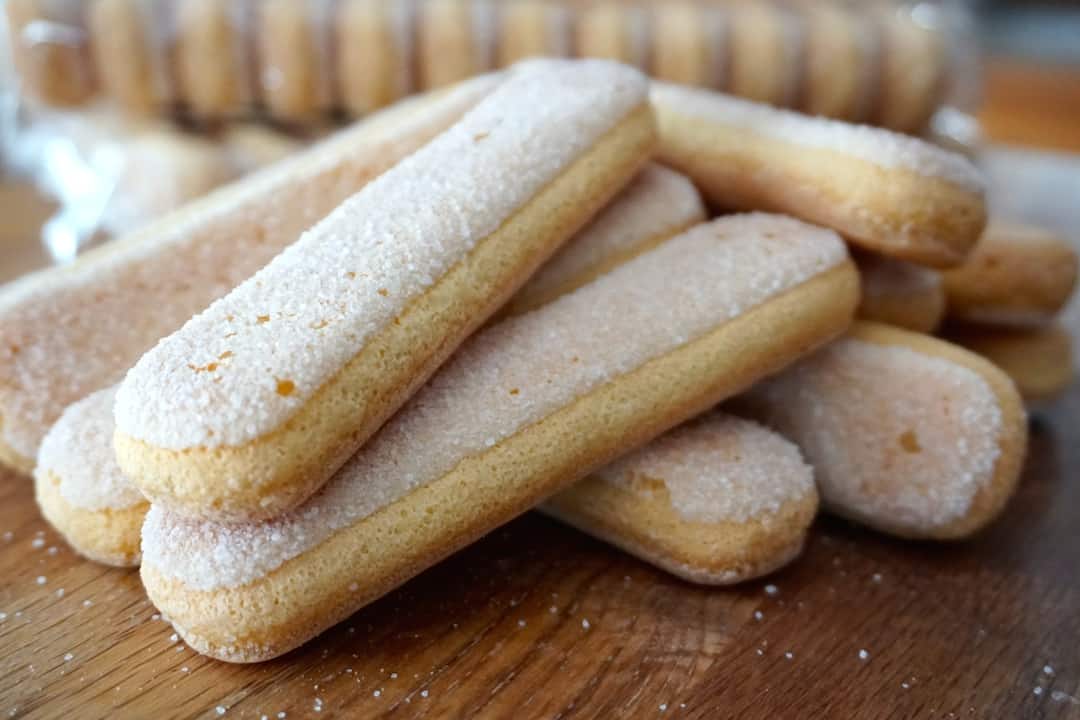
This recipe should only be made using ladyfinger biscuits that are long and slender. Although you might come across wide, almost flattened versions, do not buy them. Look for those packaged with the name “savoiardi” prominently displayed. These will work and taste best.
If you’ve never tried or worked with ladyfingers before, familiarize yourself and snack on one before beginning the recipe. It will whet your appetite and give you a better understanding of this essential ingredient. Slightly crunchy but still a bit spongy, these unique cookies can also be enjoyed with a favourite warm beverage.
GO NUTS!
The use of toasted hazelnuts in this recipe is me incorporating a favourite flavour profile into an already superior concept. The addition of the toasted hazelnuts certainly made it more enjoyable, but they also helped the dessert keep its shape; the ground nuts bind the two layers of goodness.
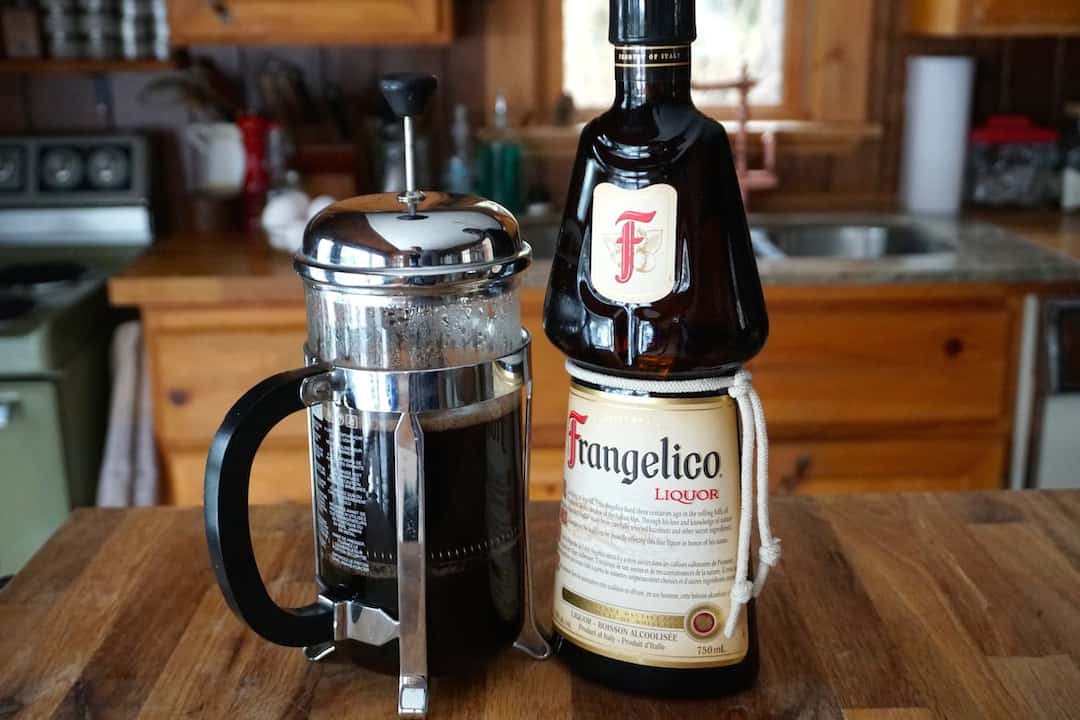
SOAK IT IN!
Our blend of a robust brewed coffee and Frangelico, a hazelnut liqueur, give this dessert its “wow!” factor. Some recipes call for the use of espresso. We developed ours to be cottage-friendly since not everyone has an espresso machine at their getaway, myself included. Feel free to use your favourite brew, just make it strong. All in favour? Thought so!
Last thing – don’t dip the ladyfingers into the liquid for more than a second or two. A quick dip is all you need to add flavour and maintain the dessert’s rich texture.
COOL AS CUSTARD
Making the mascarpone custard for this recipe has distinct steps, and these are the points to keep in mind when you go to make it. A) Whisk the egg yolks and sugar over simmering water for between 5-8 minutes, possibly longer, until it ribbons off the whisk. It’s essential to get this mixture light. B) Make sure the egg mixture is completely cooled before you beat it with the mascarpone. This helps the cheese get light and fluffy. C) Be gentle when you fold the whipped cream into the egg and cheese mixture – again, light and fluffy is the objective.
LAYERS AND LAYERS
The layering effect of this dessert is one of the hallmarks of a classic tiramisu. One of the ways to guarantee this will happen is to give the tiramisu at least 8 hours in the fridge to chill. For best results, I suggest letting it chill overnight. The big reveal happens when you serve it and see the various layers holding shape as you transfer to dessert plates.
Sidenote – you’re going to feel like a million bucks at that moment!
Well, there you have it, our ideas for how to make the best homemade tiramisu yet. Of course, we think a dessert as delicious as this should only be served after an equally delicious meal. We suggest starting your next dinner party with our healthy LAYERED SPINACH SALAD, followed by our BREADED PORK CHOPS, our RED LENTIL SIDE DISH and OVEN ROASTED POTATOES. Serve HOMEMADE TIRAMISU for dessert and you’re guaranteed a lovely evening.
Dessert should mirror the maker, and we couldn’t agree more. This HOMEMADE TIRAMISU is fabulous!
Cook Mode Use cook mode to keep your screen on while cooking.
Ingredients
1 cup hazelnuts
1¾ cups 35% cream
6 egg yolks, room temperature
1 cup granulated sugar
1¼ cup mascarpone cheese, room temperature
1 400g package “savoiardi” ladyfinger cookies (approx. 48)
2 cups freshly brewed strong coffee, room temperature
1 cup hazelnut liqueur (optional but suggested)
¼ cup cocoa powder
Directions
Preheat oven to 425°F. Place hazelnuts onto a parchment-lined baking sheet, transfer to oven and toast for 10-15 minutes. Transfer onto a clean dishtowel, gathering up the corners and twisting the towel around the nuts. Cool for 15 minutes. Rub the towel back and forth to loosen and pull away the outer skins of the nuts. Process skinned hazelnuts in a hand grinder or grater and reserve.
Place the egg yolks and sugar into a medium-sized bowl. Place the bowl over a pot of simmering water to create a double boiler. Whisk continuously for 5-8 minutes, until eggs become light and ribbon from the end of the whisk. Remove egg mixture from heat and cool.
Place the cream into a medium-sized bowl and whip. Set aside.
Prepare the custard: Place mascarpone cheese into a medium-sized bowl and add the cooled egg mixture. Beat gently using a hand mixer until light and fluffy. Gently fold in the whipped cream.
Assemble the tiramisu: Combine the coffee and liqueur in a shallow rectangular container. Quickly dip each ladyfinger biscuit into the coffee-liqueur mixture before transferring into the bottom of an 11 x 15-inch casserole dish. Arrange the lightly soaked biscuits in a uniform pattern until the bottom of the dish is covered.
Spoon about half of the custard mixture over the layer of biscuits smoothing the custard out in an even layer. Sprinkle the top of the custard evenly with half of the ground hazelnuts.
Repeat process with biscuits, custard and nuts. Cover and refrigerate for at least 6 hours, preferably overnight.
To serve: Remove the tiramisu from the fridge 15 minutes before serving. Dust the top with a generous sprinkle of cocoa powder. Cut into 2 x 2-inch (or larger) squares. Enjoy within 3 days.

 Until Labour Day